Build Leg Strength at Home: 6 Exercises That Scale From Beginner to Advanced

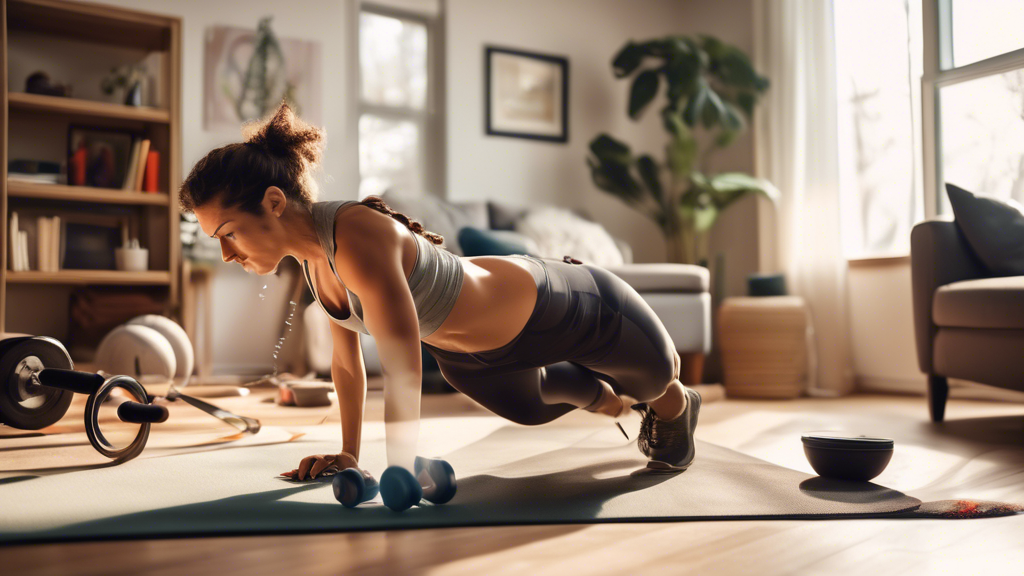
A person in comfortable workout clothes exercising in a cozy, well-lit living room, performing lunges, squats, and leg raises. Various pieces of home fitne

Leg strength and leg size are related but not the same thing. Strength is your nervous system’s ability to recruit muscle fibers efficiently under load. Building it at home requires the same approach as a gym: progressive overload applied to the right movement patterns.

The six exercises below cover every major leg muscle group and each has three levels — so you can start where you are and keep progressing without buying equipment.

Exercise 1: Squat Pattern

The squat builds quad strength primarily, with significant glute and hamstring involvement.

  • Level 1: Bodyweight squat — feet shoulder-width, chest up, thighs parallel to floor. 3 × 15.
  • Level 2: Pause squat — hold the bottom position for 3 seconds before driving up. 3 × 10. This removes the stretch reflex and forces your muscles to generate force from a dead stop.
  • Level 3: Bulgarian split squat — rear foot elevated on a chair. 3 × 8 per leg. This is significantly harder than a two-legged squat and approaches the difficulty of a barbell squat.

Exercise 2: Lunge Pattern

Lunges build unilateral leg strength and expose differences between your left and right sides.

  • Level 1: Reverse lunge — step back into the lunge to reduce knee stress. 3 × 10 per leg.
  • Level 2: Walking lunge — continuous forward movement, more coordination and hip flexor demand. 3 × 12 per leg.
  • Level 3: Lateral lunge — step sideways, sitting into one leg while the other stays straight. Trains the adductors and abductors that forward lunges miss. 3 × 8 per leg.

Exercise 3: Hip Hinge (Hamstrings and Glutes)

The hip hinge pattern is the most neglected movement in home leg training. It’s essential for hamstring strength and injury prevention.

  • Level 1: Glute bridge — lie on back, drive hips up, 2-second hold at top. 3 × 15.
  • Level 2: Single-leg Romanian deadlift (bodyweight) — hinge forward on one leg, extending the other behind you for balance. 3 × 8 per leg. Highly effective for hamstring and glute development.
  • Level 3: Nordic hamstring curl — hook feet under a sofa, kneel upright, lower your torso toward the floor using your hamstrings. Start with just the lowering phase (catch yourself with your hands). 3 × 5 negatives. This exercise has the strongest evidence base for hamstring strength development of any bodyweight exercise.

Exercise 4: Single-Leg Push (Glutes)

Hip extension under load is what builds the glutes specifically — not just squats.

  • Level 1: Single-leg glute bridge — lie on back, extend one leg, drive through the planted heel. 3 × 12 per leg.
  • Level 2: Hip thrust (shoulders on couch) — a longer range of motion and heavier loading than the floor bridge. Add a loaded backpack across your hips. 3 × 12.
  • Level 3: Single-leg hip thrust with resistance band — maximum glute isolation. 3 × 10 per leg.

Exercise 5: Calf Raise

Calves are often skipped in home programs. They respond best to high volume and range of motion.

  • Level 1: Standing calf raise — rise onto your toes, hold 1 second, lower fully. 3 × 20.
  • Level 2: Single-leg calf raise — one leg at a time, full range. 3 × 15 per leg.
  • Level 3: Single-leg calf raise with tempo — 3 seconds up, 1 second hold, 3 seconds down. Add load (hold a heavy object) when this feels manageable. 3 × 10 per leg.

Exercise 6: Explosive Work (Power)

Strength and power are different qualities. Power training — fast, explosive movements — develops fast-twitch muscle fibers and improves athletic performance. It also increases calorie burn.

  • Level 1: Jump squat — explosive drive from the bottom of a squat into a jump. Land softly with knees bent. 3 × 8.
  • Level 2: Broad jump — jump forward as far as possible from a standing position, landing in a squat. 3 × 5.
  • Level 3: Single-leg hop — hop on one leg, focusing on soft landing and control. 3 × 6 per leg.

Building a Weekly Program

Train legs 2–3 times per week with at least one full day between sessions. A simple structure:

  • Session A: Squat pattern + Hip hinge + Calf raise
  • Session B: Lunge pattern + Hip extension + Explosive work

Alternate A and B across the week. When an exercise feels easy — when you can complete all sets with energy left over — move to the next level. Don’t stay at a level longer than it’s challenging you.

One Rule for Progression

Before moving to the next level of any exercise, you must be able to complete the current level with: full range of motion, controlled tempo, no compensations (e.g., knee caving, back rounding), and without feeling like you’re at maximum effort. Jumping ahead before you’re ready builds bad movement habits that are hard to correct later.
How to Build Stronger Forearms at Home: 8 Exercises, No Gym Required

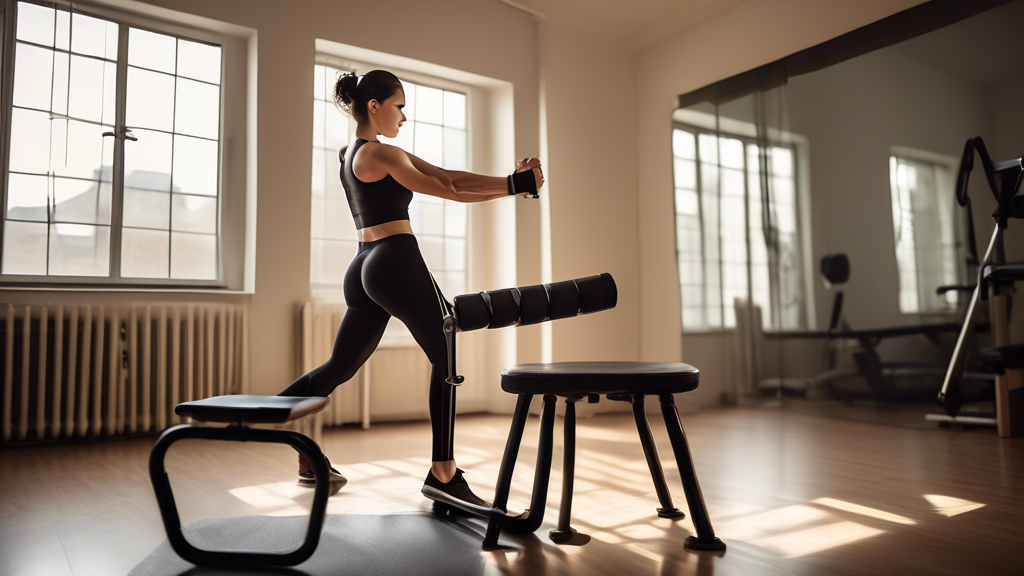
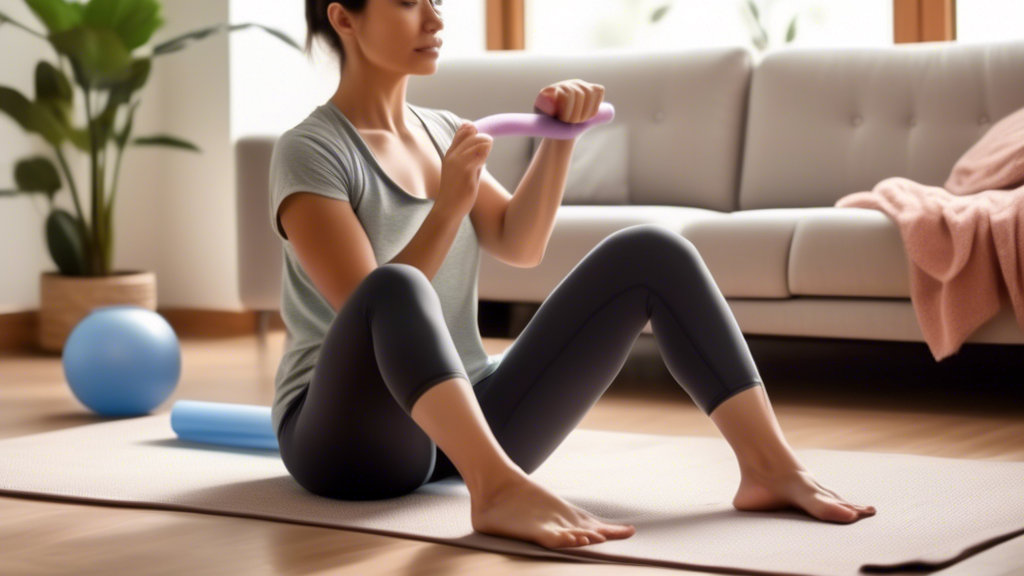
A person performing various forearm exercises in a cozy living room setting, using simple household items like a towel, a water bottle, and a resistance ba

Forearm strength is one of the most practical fitness qualities you can build. It improves your grip in every pulling exercise (pull-ups, rows, deadlifts), helps in daily tasks like carrying groceries, and reduces the risk of elbow injuries like tennis elbow and golfer’s elbow.

The good news: your forearms respond well to simple, consistent work. You don’t need a gym. Here are 8 exercises you can do at home, with progressions and a simple weekly routine.

Understanding Your Forearm Muscles

Your forearm has two main groups:

  • Flexors (palm side): responsible for curling your wrist downward and gripping
  • Extensors (back of hand side): responsible for pulling your wrist upward

Most training naturally hits the flexors. The extensors are almost always undertrained — and this imbalance is the primary cause of lateral elbow pain (tennis elbow). Train both sides equally.

Exercise 1: Wrist Curl — Flexors

Rest your forearm on a table with your wrist hanging off the edge, palm up. Hold a dumbbell, water bottle, or can of food. Curl your wrist upward, pause, lower slowly.

Sets/reps: 3 × 15 per side. Use the heaviest object you can control through the full range.

Exercise 2: Reverse Wrist Curl — Extensors

Same position, but palm facing down. Lift the weight by curling your wrist upward against the resistance. These feel much weaker than regular wrist curls — that’s normal and expected.

Sets/reps: 3 × 15 per side. Use a lighter weight than your wrist curls.

Exercise 3: Dead Hang

Hang from a pull-up bar (or a sturdy doorframe pull-up bar) with straight arms and a relaxed shoulder. Hold as long as possible. This is the single best exercise for grip strength and also decompresses your spine.

Target: Build to 60 seconds. Start with 3 × max time and track your improvement weekly.

No pull-up bar? Use the top edge of a door frame (wear socks, grip only the door frame trim, not the door itself) or purchase a doorframe pull-up bar for around $25–35.

Exercise 4: Towel Hang

Drape a thick towel over a pull-up bar and hang from the towel instead of the bar. Gripping a thick, unstable surface forces your forearms to work far harder than gripping a smooth bar.

Sets/reps: 3 × max time. Even 10–15 seconds is challenging when you first start.

Exercise 5: Farmer’s Carry

Pick up the heaviest objects you have (full water jugs, heavy grocery bags, loaded backpack split into two equal parts) and walk for 30–40 seconds. Keep your shoulders back and core braced. This builds crushing grip strength and forearm endurance.

Sets/reps: 3–4 × 30–40 seconds. Increase load whenever 40 seconds feels easy.

Exercise 6: Towel Wringing

Soak a small towel in water. Hold it with both hands and twist in opposite directions as hard as you can for 20–30 seconds, then reverse the twist. This targets the rotational muscles of the forearm that most exercises miss.

Sets/reps: 3 × 20–30 seconds per direction. Simple and surprisingly effective.

Exercise 7: Finger Extension with Rubber Band

Place a thick rubber band around all five fingers on one hand. Open your hand against the resistance, spreading your fingers as wide as possible. This directly trains the extensors of the fingers and hand — muscles that get zero work from gripping exercises.

Sets/reps: 3 × 20 reps per hand. Use multiple bands stacked together as this becomes easy.

Exercise 8: Plate Pinch (or Book Pinch)

Hold a heavy book (or two thin ones pressed together, smooth sides out) between your thumb and fingers for as long as possible. Pinch grip — where only the fingers and thumb are holding the object, not the full hand — develops the thumb’s intrinsic muscles and builds a strong, complete grip.

Sets/reps: 3 × max time per hand.

The Weekly Forearm Routine

You can train forearms 3 times per week. They’re smaller muscles that recover faster than large muscle groups. Add this at the end of any training session, or as a standalone 15-minute routine.

Day Exercises
Monday Dead hang (3×max) + Wrist curl (3×15) + Reverse wrist curl (3×15)
Wednesday Farmer’s carry (4×35 sec) + Towel hang (3×max) + Finger extension (3×20)
Friday Plate/book pinch (3×max) + Towel wringing (3×30 sec) + Dead hang (3×max)

How Long Until You Notice Results?

Most people notice measurable grip strength improvement within 3–4 weeks of consistent training. Visible forearm muscle development takes longer — 8–12 weeks of consistent work. The limiting factor is usually consistency, not the exercises themselves.

One reliable progress test: track your dead hang time from week to week. A hang time that improves from 20 seconds to 45 seconds over 6 weeks represents real, measurable strength gain — regardless of what the muscles look like in the mirror.

How to Get Six-Pack Abs at Home: The Honest Guide (Diet Matters More Than Crunches)

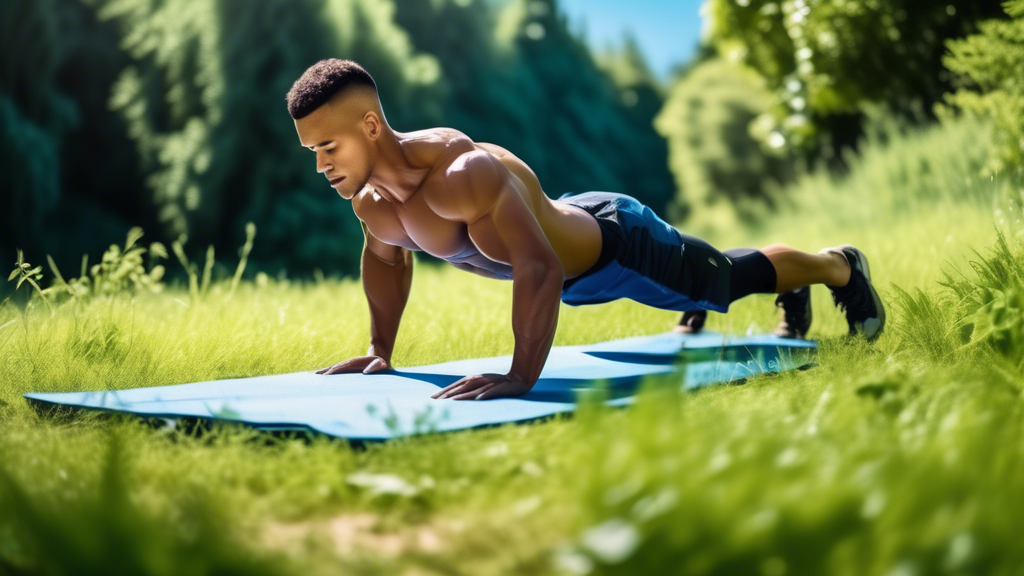
A fit person with defined abs exercising outdoors in a serene natural setting, performing bodyweight exercises like planks and leg raises, surrounded by lu

Everyone knows someone who does endless ab exercises and still can’t see their abs. Everyone also knows someone who rarely does ab-specific work and has a visible six-pack. The reason is simple and almost nobody wants to hear it: abs are revealed by low body fat, not built by crunches.

This guide explains what actually determines whether your abs are visible, what body fat levels are required, and how to train your abs effectively once you understand the real goal.

The Biology: Why You Can’t See Your Abs

You already have a six-pack. Everyone does — it’s a muscle called the rectus abdominis. The reason it’s not visible is that it’s covered by subcutaneous fat (the fat layer directly beneath your skin).

For abs to become visible:

  • Men typically need to reach 10–14% body fat
  • Women typically need to reach 16–20% body fat

The average adult male is at roughly 18–24% body fat. The average adult female is at 25–31%. This means most people need to lose a significant amount of fat before their abs will show — no matter how many crunches they do.

What Creates the Calorie Deficit You Need

One pound of fat is approximately 3,500 calories. To lose one pound per week, you need a daily deficit of 500 calories (eating less or moving more). A realistic timeline for most people to reach visible-abs body fat:

  • At 10 lbs to lose: 10–12 weeks at a 500 cal/day deficit
  • At 20 lbs to lose: 20–25 weeks
  • At 30+ lbs to lose: 30–40+ weeks

There’s no shortcut to this math. Ab exercises, waist trainers, ab stimulators, and “fat burning” supplements do not meaningfully affect this equation.

The Role of Ab Training: Building the Muscle Underneath

While diet is what reveals your abs, ab training is what makes them look impressive once visible. Well-developed abs have more definition, deeper grooves, and better symmetry. Training them matters — it just doesn’t accomplish what most people think it does.

The Best Home Ab Exercises

Hanging Leg Raise — From a pull-up bar, raise your legs to 90 degrees (bent knee) or straight, lower under control. This is the most effective exercise for the lower rectus abdominis and hip flexors. 3 × 8–10 reps.

Ab Wheel Rollout — From your knees, extend the wheel forward while keeping your core braced. Only go as far as you can without your lower back arching. 3 × 6–8 reps. Builds the deep core stabilizers that make abs look dense and thick.

Hollow Body Hold — Lie on your back, press your lower back to the floor, arms extended overhead, legs raised 6–12 inches. Hold. This is a gymnastics foundational exercise that creates extraordinary core tension. 3 × 20–30 seconds.

Slow Bicycle Crunch — 2 seconds per rotation, pause at the top. Targets the obliques for the “V” lines on the sides of the abs. 3 × 12 per side.

Dead Bug — On your back, lower opposite arm and leg while keeping your lower back pressed flat. Builds the deep transverse abdominis that creates the tight, “corset” look. 3 × 8 per side.

What Doesn’t Work (And Why)

High-rep crunches — Crunches only train the upper rectus abdominis in spinal flexion. They don’t burn meaningful calories and they don’t develop the deep stabilizing muscles that create visible ab definition. 100 crunches daily will not get you abs if your body fat is too high.

“Spot reduction” — You cannot choose where your body burns fat. Doing ab exercises doesn’t preferentially burn fat from your stomach. Fat is lost from all over the body simultaneously, in a pattern determined by genetics, not by which muscles you train.

Ab stimulators and waist trainers — No meaningful evidence supports either for fat loss or muscle development in clinical research.

A Simple Framework That Actually Works

  1. Calculate your maintenance calories (use an online TDEE calculator — your Total Daily Energy Expenditure)
  2. Eat 300–500 calories below maintenance with high protein (0.7–1g per pound of bodyweight) to preserve muscle
  3. Train abs 3× per week with the exercises above (15–20 minutes per session)
  4. Add 2–3 cardio sessions per week (20–30 min each) to accelerate the calorie deficit
  5. Be patient — visible abs for most people take 3–6 months of consistent work

The Realistic Timeline

If you’re currently at 22% body fat (roughly average for men) and want to reach 12%:

  • That’s 10% of body fat to lose
  • At 175 lbs, that’s about 17–18 lbs of fat
  • At 500 cal/day deficit: 17–18 weeks (about 4–5 months)
  • With a 300 cal/day deficit: 7–8 months (more sustainable, less muscle loss)

Neither timeline is fast. But it’s honest. Anyone selling you a 30-day six-pack program is selling you the training side of the equation while leaving out the diet side — which does most of the work.

Train your abs consistently, eat in a sustained deficit with high protein, and give it the time the math requires. That’s the complete honest guide to visible abs at home.

How to Build Strong Obliques at Home: 8 Exercises That Actually Work

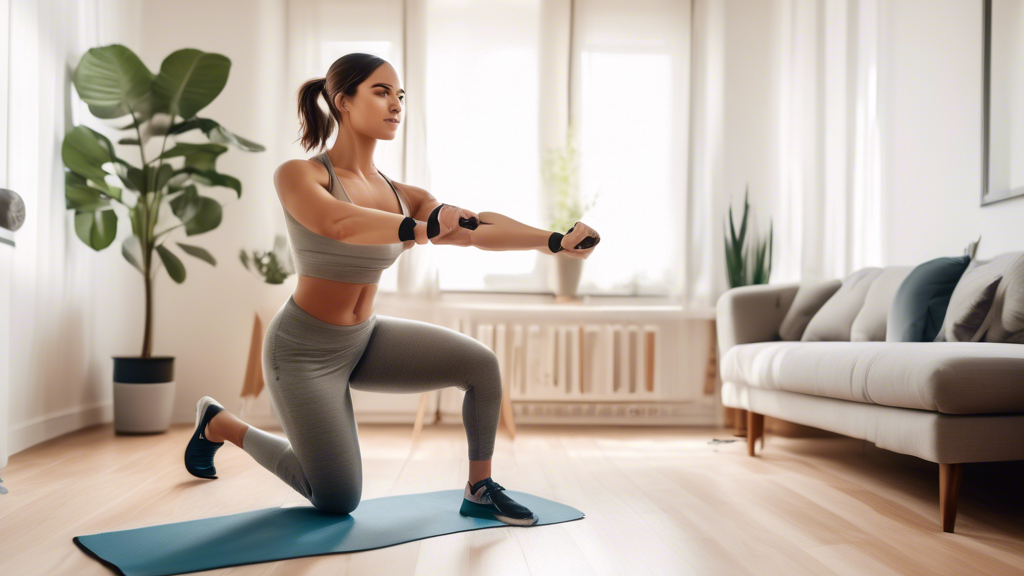
A person exercising in a cozy home environment, performing oblique-targeting exercises such as side planks, bicycle crunches, and Russian twists. The backg

Your obliques run diagonally along the sides of your abdomen — both the external obliques on the outside and the internal obliques beneath them. They rotate your trunk, produce lateral flexion, and resist unwanted rotation — the stability function that protects your spine in almost every movement you make.

Most people either skip oblique training or only do side planks and Russian twists. Here are 8 exercises that go beyond the basics, with a structured weekly routine.

Exercise 1: Side Plank — 3 × 25–30 sec per side

Forearm side plank, body straight, hips raised. The foundational anti-lateral flexion exercise — you’re resisting gravity trying to collapse your hips sideways.

Progress to: Side plank hip dips (lower hips to floor and raise) — 3 × 10 reps per side.

Exercise 2: Slow Russian Twist — 3 × 12 per side

Sit with knees bent, feet slightly raised, lean back 30–45°. Twist torso fully each direction, touching the floor beside your hip. 2 seconds each direction — fast twists become momentum exercises, not oblique exercises.

Progress to: Hold a water jug or dumbbell as you rotate.

Exercise 3: Resistance Band Woodchop — 3 × 10 per side

Step on a resistance band or anchor it low. Stand sideways to the anchor, hold with both hands, and chop diagonally from low to high across your body. Trains rotational power — obliques generating force, not just resisting it.

Progress to: High-to-low woodchop (anchor the band high, chop downward).

Exercise 4: Pallof Press — 3 × 10 per side

Anchor a resistance band at chest height. Stand perpendicular to the anchor, hold the band at your chest, press it straight out and hold 2 seconds. Your obliques resist rotation toward the anchor the entire time. This exercise looks easy. It is not.

Exercise 5: Suitcase Carry — 3 × 25–30 meters per side

Hold a heavy object in one hand only (loaded backpack by handle, heavy jug). Walk without letting your torso tilt toward the load. Your obliques on the opposite side work continuously to keep you upright — exactly the function they perform in daily life.

Exercise 6: Bicycle Crunch (Controlled) — 3 × 12 per side

Alternate elbow to opposite knee with full torso rotation. Pause 1 second at the top of each rotation before switching. This converts a momentum exercise into a genuine oblique contraction.

Exercise 7: Star Side Plank — 3 × 8 per side

Full side plank (on hand, not forearm). Raise your top arm and top leg simultaneously into a star shape. Hold 1 second. Adds instability and hip abductor demand to the standard side plank.

Exercise 8: Dead Bug with Rotation — 3 × 8 per side

Standard dead bug position. As you lower the opposite arm and leg, add a slight torso rotation toward the lower arm. Trains obliques in their anti-rotation role while engaging deep core stabilizers simultaneously.

Weekly Structure

Two sessions per week, 15–20 minutes each, added at the end of any workout.

Session A (Anti-rotation): Pallof press → Side plank → Suitcase carry → Dead bug with rotation

Session B (Rotational): Woodchop → Slow Russian twist → Bicycle crunch → Star side plank

What to Skip: Dumbbell Side Bends

Dumbbell side bends are a common oblique exercise that produces poor results. The range of motion is small, the loading pattern doesn’t match any real movement, and the exercises above are more effective in every measurable way. Don’t add them.

Arm Workout Without Weights: 8 Bodyweight Exercises With Progressions

Create an image depicting a person performing various arm exercises without the use of weights. Show the individual engaging in push-ups, tricep dips using

You can build real upper body strength without any equipment — but you need to train both push muscles (triceps, chest, shoulders) and pull muscles (biceps, upper back) equally. Most people only do push exercises. Here are 8 exercises covering both sides, with progressions so you keep getting stronger over time.

The Push Side

Exercise 1: Push-Up Variations — 3 × 8–12

The most versatile upper body exercise in bodyweight training. Hand position determines which muscles are emphasized:

  • Standard (shoulder-width, elbows at 45°): balanced chest, shoulder, tricep
  • Diamond (hands close under chest): heavy tricep focus
  • Wide-grip (wider than shoulders): chest emphasis
  • Pike (hips raised, pushing downward): shoulder focus

Beginner: Wall or knee push-up → Advanced: Archer push-up (one arm reaches wide while the other does the work)

Exercise 2: Tricep Dip — 3 × 10–15

Hands on the edge of a sturdy chair, legs extended, lower until upper arms are parallel to the floor, press back up. Keep elbows pointing back, not flaring outward.

Beginner: Feet flat with knees bent → Advanced: Feet elevated on a second chair

Exercise 3: Pike Push-Up — 3 × 8–10

From a push-up position, walk hands toward feet until hips are raised high (inverted V). Bend elbows and lower the top of your head toward the floor, press back. The primary shoulder-building exercise in bodyweight training.

Beginner: Reduce hip elevation (less vertical) → Advanced: Feet elevated on a chair

Exercise 4: Plank Shoulder Tap — 3 × 12 per side

In a push-up position, lift one hand to tap the opposite shoulder while your core prevents your hips from rotating. Slow and controlled. Builds shoulder stability and isometric tricep strength.

The Pull Side

This is where most home workouts fall short. Without training the pulling muscles, you create imbalances that lead to shoulder injuries and rounded posture.

Exercise 5: Table Row — 3 × 8–12

Lie under a sturdy table, grip the edge, pull your chest up to the table surface. Keep your body straight — don’t let your hips sag. This is the best back and bicep exercise you can do without any equipment. Treat it with the same seriousness as a barbell row.

Beginner: Bent knees → Advanced: Feet elevated on a chair, or wear a loaded backpack

Exercise 6: Towel Row — 3 × 10–12

Wrap a towel around a door handle or secure anchor. Lean back with arms extended, grip the towel, pull your chest toward the anchor. Adjust your body angle to change difficulty — more horizontal means harder.

Exercise 7: Pull-Up — 3 × max reps

If you have a doorframe pull-up bar (about $25–35), this is the most effective upper body pulling exercise available. Pull chin over the bar, lower under full control.

Beginner: Dead hang holds + negative pull-ups (jump up, lower slowly over 3–5 sec)

Exercise 8: Inchworm — 3 × 8

Stand, hinge forward, walk hands out to a plank, do one push-up, walk hands back to feet, stand. One rep. Hits shoulders, triceps, and core through a full range of motion — also an excellent mobility drill.

A Complete Weekly Structure

Session A (Push focus): Standard push-up 3×10 + Diamond push-up 3×8 + Tricep dip 3×12 + Plank shoulder tap 3×12

Session B (Pull focus): Table row 3×10 + Towel row 3×10 + Pike push-up 3×8 + Inchworm 3×8

Alternate 2–3 times per week. Progress by increasing reps first, then moving to harder variations when you have 2–3 reps left in the tank at the end of every set.

Why Both Sides Matter

Training only push exercises pulls the shoulders forward into rounded posture and significantly increases rotator cuff injury risk. Every push exercise should be matched with a pull exercise at similar volume. Most people are undertrained on the pull side — the table row and towel row are where to start fixing that.

Can You Get 10-Pack Abs? What Genetics Decide (And What You Can Change)

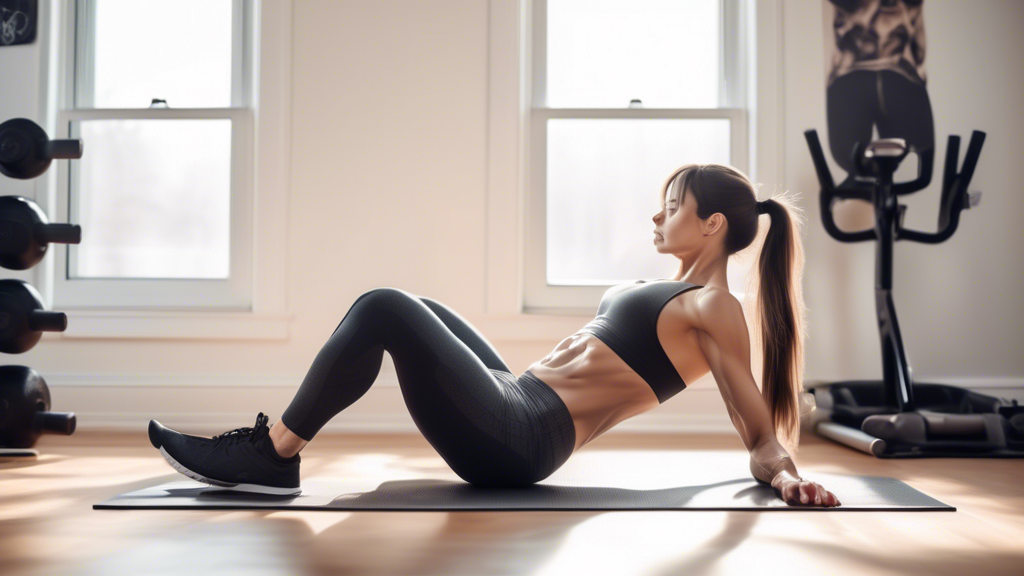
A fit individual in a home gym setting, performing intense abdominal exercises. Surroundings include a yoga mat, dumbbells, and a stability ball. The perso

The 10-pack abs goal is one of the most misunderstood targets in fitness. Before spending months chasing it, you need to understand one critical fact: whether you can physically display 10-pack abs is determined by your genetics — not your training. Here’s what the anatomy says and what you can actually do about it.

Why the Number of Ab Segments Is Fixed at Birth

Your “abs” are one muscle: the rectus abdominis. It runs vertically down the center of your abdomen, divided by horizontal connective tissue bands called tendinous intersections. These divisions create the segmented appearance.

The number of segments is set by how many tendinous intersections you have — determined genetically before you’re born:

  • 3 intersections → 6 visible segments (most common)
  • 4 intersections → 8 visible segments (less common)
  • 5 intersections → 10 visible segments (rare)
  • Asymmetric intersections → uneven numbers like 5 or 7

No training, diet, or supplementation can add intersections you weren’t born with. If you have 6-pack genetics, training cannot produce a 10-pack.

What “10-Pack” Actually Requires Even With the Genetics

People with 10-pack genetics rarely display all ten segments because the lower segments require extremely low body fat to become visible:

  • Upper abs visible: ~15% body fat for men, ~20% for women
  • Middle abs visible: ~12% for men, ~18% for women
  • Lower segments visible: ~8% for men, ~15% for women

These lower levels are at the athletic end of body fat ranges and require sustained dietary discipline over months.

What You Can Actually Control

Body Fat Percentage — The Primary Variable

This determines visibility more than anything else. A sustained calorie deficit of 300–500 calories per day with high protein intake (0.7–1g per lb bodyweight) produces consistent fat loss. This is the work that reveals whatever ab structure you have.

Muscle Thickness and Development

Well-trained abs are thicker and have deeper grooves than undertrained ones — even at the same body fat. Build them with progressive overload:

  • Hanging leg raise — 3 × 10, progress to straight-leg
  • Ab wheel rollout — 3 × 8, extend range over weeks
  • Hollow body hold — 3 × 30 sec, lower legs as you get stronger
  • Weighted sit-up (hold a book or jug) — 3 × 12

Posture and Alignment

Anterior pelvic tilt (hips tilted forward) makes your lower abs appear to protrude even when lean. Fix it with glute strengthening and hip flexor stretching:

  • Glute bridge — 3 × 15 daily
  • Dead bug — 3 × 8 per side
  • Hip flexor stretch — 30 sec per side after every session

Summary: What’s Fixed vs. What’s Trainable

Factor Determined by What to do
Number of visible segments Genetics Nothing — fixed at birth
Whether abs are visible at all Body fat % Calorie deficit + cardio
How impressive visible abs look Muscle development Progressive ab training
Lower segment visibility Body fat + posture Lower BF + hip alignment work

If you have 10-pack genetics and put in the work, those 10 segments can become visible. If you don’t have the genetics, the best version of your six-pack — thick, defined, and symmetrical — is still worth building. Train your abs progressively, manage your body fat consistently, and you’ll maximize whatever structure you were born with.