No-Equipment Home Workout System: Build Real Fitness Without Spending a Dollar

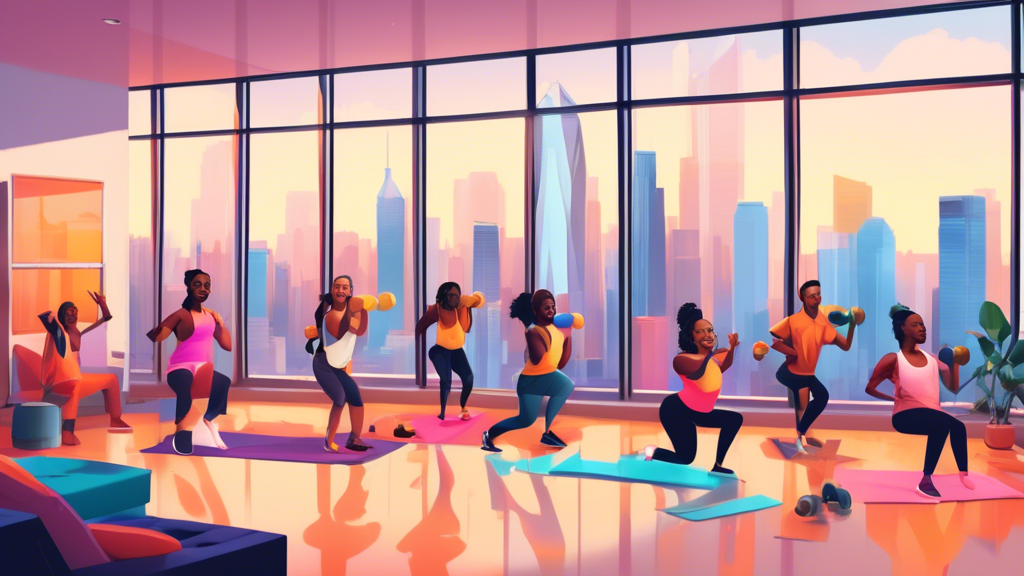
A diverse group of people smiling and doing a variety of no-equipment exercises in a living room with an Atlanta skyline visible through the window.

The most effective home workout program costs nothing. No dumbbells, no resistance bands, no pull-up bar — just your bodyweight, some floor space, and a structured approach. This guide gives you a complete no-equipment training system: a weekly schedule, specific workouts by goal, and the progressions that make bodyweight training as effective as the gym long-term.

Why No-Equipment Training Works

Your muscles don’t know whether they’re lifting a barbell or your body. They respond to tension, time under tension, and progressive overload — all of which are achievable with bodyweight movements. The limitation of bodyweight training isn’t effectiveness; it’s that beginners plateau quickly if they never increase the difficulty. This guide addresses that directly.

The Four Foundational Movements

Every no-equipment program worth following builds around these four movement patterns:

  • Push: Push-ups and their variations (incline, decline, wide, narrow, pike)
  • Pull: Door-frame rows, towel rows, or anything that involves pulling your body toward a fixed point
  • Squat: Air squat, Bulgarian split squat, single-leg squat progressions
  • Hinge: Single-leg Romanian deadlift, good mornings, hip thrusts

These four patterns train every major muscle group. If your program includes all four, you have a complete training stimulus.

A Complete No-Equipment Weekly Schedule

Option A: 3 Days Per Week (Full-Body)

Train Monday, Wednesday, Friday. Each session covers all four movement patterns.

Session structure:

  • 5-minute warm-up: arm circles, leg swings, hip circles, slow marching
  • Push: Push-ups — 3 sets × 10–15 reps
  • Pull: Door-frame row or towel row — 3 sets × 8–12 reps
  • Squat: Bodyweight squat — 3 sets × 15–20 reps
  • Hinge: Single-leg hip thrust — 3 sets × 10 each side
  • Core: Plank — 3 sets × 20–45 seconds
  • 5-minute cool-down: static stretches for the muscles trained

Option B: 4 Days Per Week (Upper/Lower Split)

Train Monday/Thursday (upper body), Tuesday/Friday (lower body).

Upper body days:

  • Push-ups: 4 × 10–15
  • Pike push-ups: 3 × 8–10
  • Door-frame rows: 4 × 10–12
  • Tricep dips (using a chair): 3 × 12
  • Plank: 3 × 30–45 seconds

Lower body days:

  • Bodyweight squat: 4 × 15–20
  • Reverse lunges: 3 × 12 each leg
  • Single-leg hip thrust: 3 × 12 each side
  • Step-ups (using a stair or box): 3 × 12 each leg
  • Calf raises: 3 × 20

How to Make It Harder Over Time

Progressive overload without equipment means changing variables other than weight. Progression options:

  • Reps: Add 2 reps per set each week until you hit the upper end of your rep range
  • Harder variation: Incline push-up → standard → decline → archer → pseudo-planche
  • Tempo: Slow the lowering phase to 3–4 seconds to increase time under tension
  • Reduced rest: Cut rest by 10 seconds between sets as fitness improves
  • Single-limb work: Two-leg squat → Bulgarian split squat → pistol squat

The Door-Frame Row: Your No-Equipment Pull Exercise

The biggest gap in most no-equipment programs is horizontal pulling — there’s nothing to pull toward. The door-frame row solves this without any equipment:

  1. Stand in a doorway and grip both sides of the frame at about hip height
  2. Walk your feet forward until your body is at roughly 45 degrees — the lower, the harder
  3. Hang with straight arms, then pull your chest toward the door
  4. Lower with control

This is a legitimate back exercise. Progress it by walking your feet further forward (increasing the angle) or by slowing the eccentric (lowering) phase.

No-Equipment Cardio Options

For cardiovascular work without equipment, these are the most effective options:

  • Jumping jacks: Simple, effective, low injury risk
  • High knees: Higher intensity than jacks; engages hip flexors and core
  • Mountain climbers: Combines cardio and core
  • Burpees: High effort, full-body — appropriate once you’re comfortable with the components
  • Walking/running: The simplest form of cardio; free, scalable, always available

Realistic Expectations

With consistent no-equipment training, beginners can expect significant strength and fitness gains in the first 3–6 months. The exercises will become noticeably easier, and you’ll need to actively progress them to keep making gains.

The ceiling for no-equipment training is higher than most people think. Many athletes maintain excellent physiques and performance levels using only bodyweight work. But there is a ceiling — specifically for adding significant muscle mass above beginner level, adding external load (weights) eventually becomes necessary. For general fitness, health, and a capable body, bodyweight training is sufficient indefinitely.

Home Workout Injuries: The 5 Most Common Problems and How to Avoid Each One

simple home workout 25

Most home workout injuries are predictable and preventable. They follow specific patterns — overuse from repetitive movements, form breakdown as muscles fatigue, insufficient warm-up, poor surface choices, or ignoring early warning signs. Understanding those patterns lets you train around them before they become setbacks.

Here are the five most common home workout injury types and what to do about each.

1. Lower Back Strain

Why it happens: Lower back strain in home workouts usually comes from two sources: poor hip hinge mechanics during exercises like deadlifts and bent-over rows, and core fatigue during floor exercises that leads to the lumbar spine sagging and overloading the lower back.

The specific failure: Back rounding during any hip hinge movement — even bodyweight exercises. When the lumbar spine flexes under load (even body weight), the pressure on spinal discs and ligaments increases significantly.

Prevention:

  • Learn to hip hinge before loading it. Stand with feet hip-width, push hips back (not bend forward at the waist), keep spine neutral. Practice this movement daily until it’s automatic.
  • During plank and core exercises: check that your hips aren’t dropped. Filmed feedback (even 10 seconds of phone video) reveals lower back issues that you can’t feel while it’s happening.
  • If your lower back is tight before training, warm it up specifically: cat-cow, bird dog, and glute bridges before any hinging movements.

Early warning sign to act on: Dull ache in the lower back during or after exercises that use the posterior chain. Don’t push through this — it typically means form has broken down. Reset technique before continuing.

2. Knee Pain from Squats and Lunges

Why it happens: Knee pain in squat patterns usually traces back to one of three problems: knees caving inward (valgus collapse), excessive forward lean of the torso that shifts load onto the knee joint rather than the hip, or too much range of motion too soon without the stability to control it.

Prevention:

  • Check your knees during squats: they should track over your second toe, not collapse inward. Place a light resistance band above your knees during squats — the gentle outward resistance cues proper tracking.
  • For lunges: step forward far enough that your shin stays vertical. Short steps put excessive forward force on the knee.
  • Build hip strength alongside quad strength. Weak glutes are the primary driver of knee valgus in most people. Clamshells, lateral band walks, and single-leg hip thrusts address this directly.

When to stop and reassess: Pain inside the kneecap or along the kneecap tendon during the exercise itself. Pain that worsens with each session rather than improving.

3. Wrist Pain During Push-Ups and Planks

Why it happens: Wrist pain during floor pressing movements comes from dorsiflexion (bending the wrist back) that the wrist joint doesn’t have the mobility to support, or from loading weight through a compromised wrist position.

Prevention:

  • Make fists: doing push-ups on closed fists keeps the wrist neutral. This immediately eliminates dorsiflexion load and usually resolves wrist pain for most people.
  • Use push-up handles or parallettes if available: these also keep wrists neutral.
  • Build wrist mobility: daily wrist circles and loaded stretches (on all fours, rocks forward and back over wrists) increase tolerance over time.
  • Check your hand position: fingers should point forward (or slightly out), and you should feel even pressure across the whole palm, not loaded on the outer wrist.

4. Shoulder Impingement

Why it happens: Shoulder impingement in home training typically develops from high-volume overhead work with poor mechanics — pike push-ups, overhead press movements, or anything where the shoulder is repeatedly moving through elevation with the arm internally rotated.

Signs: Pain or pinching at the front or top of the shoulder during overhead movements or when reaching across the body.

Prevention:

  • Balance pushing with pulling. A program heavy on push-ups without corresponding pulling work (rows, face pulls) creates anterior shoulder tightness that promotes impingement over time.
  • Warm up the rotator cuff before overhead movements: external rotation exercises with a resistance band (side-lying external rotation, band pull-aparts) take 3 minutes and significantly reduce impingement risk.
  • Don’t internally rotate at the top of overhead movements: keep your thumb pointing back (externally rotated) at the top of any press or reach.

5. Shin Splints and Ankle Strain from Impact Work

Why it happens: Shin splints (medial tibial stress syndrome) develop from sudden increases in impact volume — starting HIIT, adding plyometrics, or increasing workout frequency too quickly. Ankle sprains happen on slippery surfaces or when landing from jumps on hard floors without adequate footwear.

Prevention:

  • Increase impact volume gradually: no more than 10% increase in weekly jumping/running volume per week.
  • Never do plyometrics on hardwood or tile without proper athletic footwear or a mat. Socks on hardwood is a sprain waiting to happen.
  • If shin splints develop: reduce or eliminate impact work for 1–2 weeks, replace with swimming or cycling if possible, stretch the calves daily, and return to impact gradually.
  • Strengthen the ankles directly: single-leg balance (build to 30+ seconds), calf raises on a single leg, and resistance band ankle eversion.

The Underlying Pattern

Most home workout injuries share a common cause: doing more than your current capacity allows. Either the movement is unfamiliar and form breaks down, the volume increased too fast, or an early warning sign was ignored. Respecting gradual progression and paying attention to what your body signals is more protective than any specific technique tip.

The corollary: if something hurts, stop and figure out why. Training through pain is not toughness — it’s a way to turn a minor problem into a major one.