Arm Exercises Without Weights for Beginners: 6 Moves to Start With

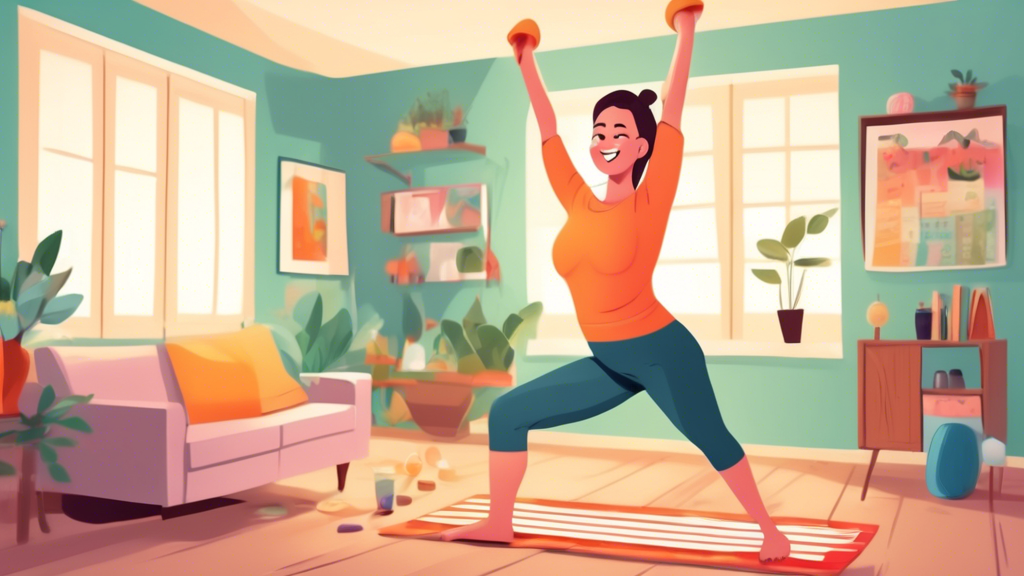
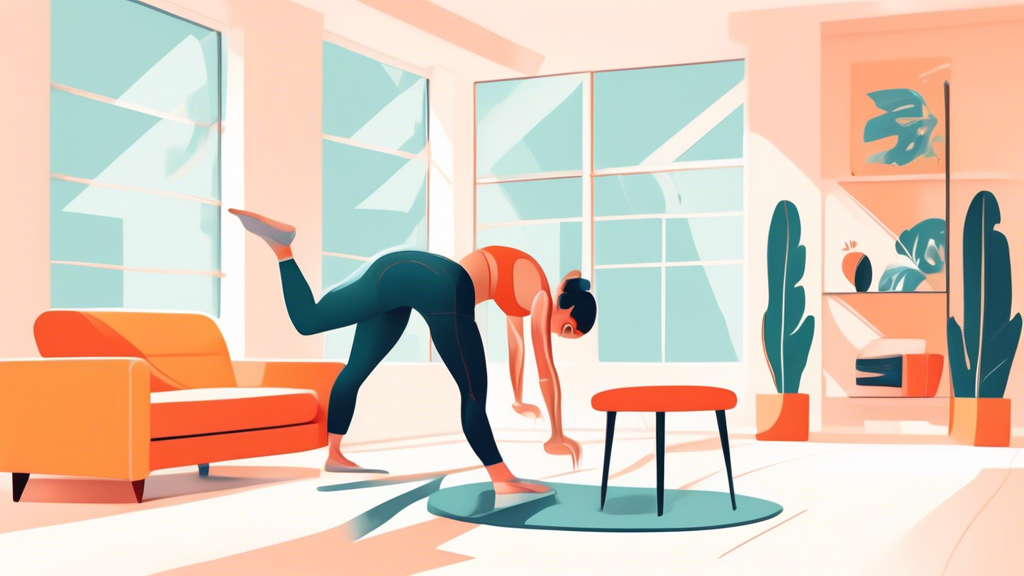
A cheerful beginner performing a variety of arm exercises without any weights, utilizing everyday objects like a towel and chair for resistance. The settin

If you’re new to fitness and don’t have weights, you can still build arm strength with bodyweight movements — but only the right ones. Here are the 6 most effective arm exercises for beginners without weights, with clear instructions and the progressions to use as you get stronger.

What Beginners Actually Need to Know First

Your triceps (back of upper arm) respond well to bodyweight pressing — push-ups, dips, and their variations are genuinely effective. Your biceps (front of upper arm) are harder to train without external resistance, but doorway rows and table rows provide a pulling stimulus that does work the biceps. Start with both.

The 6 Exercises

1. Wall Push-Up (Easiest Starting Point for Absolute Beginners)

Stand facing a wall, hands at chest height, slightly wider than shoulder-width. Lean in and bend your elbows to bring your chest toward the wall, then push back. This is the lowest-difficulty version of a push-up. If you can’t do a floor push-up yet, start here. 3 × 10–15.

Progress to: knee push-up, then standard push-up.

2. Knee Push-Up

Standard push-up position but with knees on the floor. This reduces the weight you’re pushing to about 50% of body weight. Focus on keeping your hips in line with your shoulders — don’t let them sag or pike up. 3 × 8–12.

Progress to: full push-up when you can do 3 × 12 cleanly.

3. Standard Push-Up (Triceps + Chest + Shoulders)

Hands slightly wider than shoulder-width, body straight from head to heels. Lower your chest to the floor (or close to it), then push back up. Elbows should angle back at about 45 degrees, not flare straight out. 3 × 5–10.

Even 3 sets of 5 is worth doing. Build to 3 × 10 before adding harder variations.

4. Tricep Dip Off a Chair (Triceps)

Sit on the edge of a sturdy chair, hands on the seat beside your hips. Slide forward so your weight is on your hands, feet flat on the floor. Lower your body by bending your elbows to about 90 degrees, then push back up. Keep elbows pointing back, not flaring wide. 3 × 6–10.

5. Doorway Row (Biceps)

Stand in a doorway, grip the frame at chest height with both hands (palms facing you). Walk your feet forward until your body leans back at about 30–40 degrees. Pull your chest toward the door frame. This is a horizontal pulling movement — your biceps do real work. 3 × 8–12.

To make it harder: walk feet further forward (more horizontal angle = harder).

6. Diamond Push-Up (Triceps Emphasis)

Push-up position with hands close together, thumbs and index fingers forming a diamond shape. Lower your chest toward your hands, keeping elbows pointing back and somewhat in. Harder than standard push-ups — only add this once you can do 3 × 10 regular push-ups. 3 × 5–8.

A Simple Beginner Weekly Plan

Train arms 2× per week, at least 2 days apart:

  • Session 1: Wall or Knee Push-Up 3×10, Tricep Dip 3×8, Doorway Row 3×10
  • Session 2: Standard Push-Up 3×5–8, Diamond Push-Up 2×5, Doorway Row 3×12

This takes about 15–20 minutes per session. Progress is measured by increasing reps, then moving to harder variations (not by adding more exercises).

When to Add Equipment

Once you can do 3 × 10 push-ups and 3 × 12 doorway rows comfortably, a resistance band set ($15–25) adds enough variety and resistance to keep progressing. A pull-up bar ($25–35) lets you do chin-ups — the single most effective bicep exercise available at home.

How to Train Legs at Home: A Complete Guide With Progressive Workouts

Create an image of a person performing a variety of leg exercises at home, including squats, lunges, and calf raises, using minimal equipment like resistan

Legs are the most undertrained body part in home workouts — partly because they’re “invisible” in most mirrors, partly because leg training is genuinely hard. Here’s a complete approach: the exercises that actually build leg strength and muscle at home, a weekly program, and how to keep progressing without adding weights.

The Problem With Most Home Leg Routines

Most home leg programs give you squats and lunges, then stop. That leaves out hip hinge patterns (hamstrings and glutes), calf work, and single-leg movements that allow progressive overload without adding weight. A complete leg program needs all four.

The Core Movement Patterns

  • Knee dominant (quad focus): Squat, lunge, step-up
  • Hip dominant (hamstring/glute focus): Glute bridge, Romanian deadlift hinge, hip thrust
  • Single-leg: Bulgarian split squat, single-leg deadlift, pistol squat progression
  • Calf: Calf raise, single-leg calf raise

The Exercises

Bodyweight Squat → Jump Squat → Bulgarian Split Squat

Start with bodyweight squats (3 × 15). Once that’s easy, progress to jump squats (3 × 10) for power, or Bulgarian split squats (rear foot elevated on a chair, front foot forward, lower rear knee toward floor — 3 × 8–10 per leg) for unilateral load. The Bulgarian split squat is significantly harder than a regular squat despite using the same body weight.

Glute Bridge → Single-Leg Glute Bridge → Hip Thrust

Lie on your back, feet flat, drive hips up. Two-leg version: 3 × 15. Single-leg: one foot raised, drive up with one glute, 3 × 10 per leg. Hip thrust (shoulders on a couch or bench, feet flat, drive hips up): loads the glutes more at the top of the movement. 3 × 12.

Forward Lunge → Reverse Lunge → Walking Lunge

Reverse lunges are easier on the knees than forward lunges for most people — step back rather than forward. 3 × 10 per leg. Add a pause at the bottom (front thigh parallel to floor, 2-second hold) for extra difficulty.

Step-Up

Use a sturdy chair or step. Step up, drive through the heel of the working leg, fully extend at the top. 3 × 12 per leg. To progress: slow the lowering phase (3 seconds), or use a higher step.

Romanian Deadlift Hinge

Stand tall, push your hips back while keeping your back flat, lowering your hands down your thighs until you feel a strong hamstring stretch, then drive hips forward to stand. This is the hamstring hip-hinge pattern. Without weights it’s more of a mobility drill, but with a filled backpack or resistance band, it becomes a real hamstring exercise. 3 × 12.

Calf Raise

Stand on the edge of a step (toes on the step, heels hanging). Lower heels below step level, then raise up on your toes. Single-leg version adds significant load. 4 × 15–20. Slow the lowering phase to 2 seconds.

A 3-Day Home Leg Program

  • Day A: Bulgarian Split Squat 3×10/leg, Glute Bridge 3×15, Step-Up 3×12/leg, Calf Raise 3×20
  • Day B (48 hours later): Jump Squat 3×10, Single-Leg Glute Bridge 3×10/leg, Reverse Lunge 3×10/leg, Single-Leg Calf Raise 3×15/leg
  • Day C (optional, 48 hours later): Full lower body circuit — one set of each exercise from Days A and B with 45 seconds rest

Progressive Overload Without Weights

When exercises feel easy, make them harder — not by doing more reps indefinitely, but by:

  • Slowing the eccentric phase (3–4 seconds to lower)
  • Adding a pause at the hardest point (bottom of a squat, top of a glute bridge)
  • Moving to a harder variation (regular squat → Bulgarian split squat → pistol squat)
  • Adding resistance via a filled backpack or resistance bands

No-Equipment Arm Exercises: 7 Moves and What They Can (and Can’t) Do

Create an image of a person performing various arm exercises without any equipment in a bright and airy living room. The person is shown doing activities l

No-equipment arm exercises work — but only if you understand their limits. Here’s an honest breakdown of which movements produce real arm development without weights, which are filler, and how to structure them for actual progress.

The Honest Limitation

Bicep isolation without external resistance is nearly impossible. Your biceps are a pulling muscle — they need something to pull against. Bodyweight alone doesn’t provide that unless you’re pulling your own bodyweight (rows, chin-ups). Without at least a doorframe, table, or pull-up bar, bicep development from pure bodyweight training is limited.

Triceps, on the other hand, respond well to bodyweight pressing. The 7 exercises below maximize what’s achievable without any equipment.

The 7 Exercises

1. Diamond Push-Up (Triceps ★★★★★)

The best bodyweight tricep exercise. Hands close together under your chest (thumbs and index fingers touching or near-touching), elbows pointing back as you lower. 3 × 8–15. When you can do 3 × 15, add a 3-second lowering phase.

2. Tricep Push-Up (Triceps ★★★★)

Standard push-up position but elbows stay tight against your sides throughout. This shifts load from the chest to the triceps. 3 × 10–15.

3. Doorway Row (Biceps ★★★★)

Requires a doorframe (no equipment purchased). Stand in the doorway, grip the frame at chest height, walk feet forward until your body angles back ~45 degrees, pull your chest toward the frame. Biceps do significant work here. 3 × 10–15.

4. Table Row (Biceps ★★★)

Lie under a sturdy table. Grip the edge with palms facing you, body straight from feet to head. Pull your chest to the table underside. Very similar to a row with a barbell. 3 × 8–12. Harder the more horizontal you are.

5. Pike Push-Up (Shoulders ★★★★)

Inverted V position (downward dog). Bend elbows to lower the top of your head toward the floor, keeping hips high throughout. Trains anterior deltoid more than triceps, but the triceps do assist. 3 × 8–12.

6. Decline Push-Up (Upper Chest + Triceps ★★★)

Feet on a chair, hands on the floor. The angle shifts more load to the upper chest and triceps vs. standard push-ups. 3 × 8–12.

7. Isometric Bicep Hold (Biceps ★★ — supplementary only)

Press your forearm upward against the underside of a table. Hold maximum tension for 8–10 seconds. This trains the bicep isometrically — limited for building size but useful if you have truly zero equipment or pull-up bar access. 3 × 3 holds per arm.

What’s Missing From This List (And Why)

“Arm circles” are not an arm exercise — they’re a shoulder mobility drill. Including them in an arm workout is filler. This list excludes exercises that don’t produce meaningful arm stimulus.

A Complete No-Equipment Arm Session (25 minutes)

  • Diamond Push-Up: 3 × 10
  • Tricep Push-Up: 3 × 12
  • Doorway Row: 3 × 12
  • Pike Push-Up: 3 × 8
  • Decline Push-Up: 3 × 10

Rest 60 seconds between sets. 2× per week is enough frequency for arms — they get secondary work from any pushing or pulling you do on other days.

When to Add Equipment

If you’ve been consistent with this routine for 4–6 weeks and want to keep progressing, the single best upgrade is a resistance band (~$15) for bicep curls, or a doorframe pull-up bar (~$25–30) for chin-ups. Either dramatically expands what’s achievable without requiring a gym membership or a dedicated workout space.

How to Avoid Injury During Home Workouts: 5 Common Mistakes With Fixes

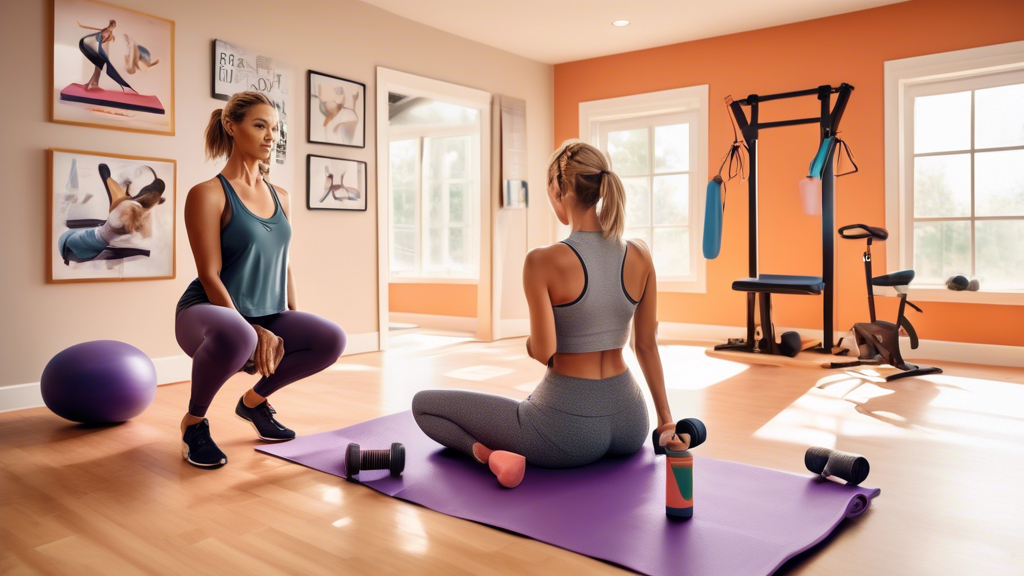
A brightly lit home gym setup with a yoga mat, a set of weights, and a stationary bicycle. A person is seen correctly doing a warm-up stretch using a resis

Home workout injuries are largely predictable. The same five mistakes cause the majority of strains, sprains, and overuse problems. Here’s what they are, why they happen, and specifically how to fix each one.

Mistake 1: Skipping the Warm-Up

What happens: Cold muscles and joints are less elastic and less capable of absorbing load. The risk of muscle strain and tendon issues is significantly higher in the first 5–10 minutes of training.

The fix: A 5-minute dynamic warm-up before every session. Not static stretching — movement-based prep: arm circles, leg swings, bodyweight squats, hip rotations, light jogging in place. This increases tissue temperature and lubricates joints. Static stretching (holding a stretch) is for after training, not before.

Mistake 2: Progressing Too Fast

What happens: Going from no training to a 6-day-per-week program, or jumping from push-ups to weighted push-ups overnight. Tendons and connective tissue adapt more slowly than muscles. You’ll feel strong enough before your connective tissue is ready — that gap is where overuse injuries live.

The fix: The 10% rule — don’t increase total weekly volume by more than 10% per week. If you did 30 push-ups across 3 sessions last week, do at most 33 this week. Small increases compound into significant progress without overwhelming recovery capacity.

Mistake 3: Training With Poor Form Under Fatigue

What happens: The last few reps of a set are often done with compensated form — hips sagging in a plank, lower back arching during a push-up, knee caving during a squat. Compensation patterns under load are how overuse injuries develop.

The fix: End the set when form breaks. One clean rep is better than three sloppy ones. For any exercise, film yourself occasionally from the side to catch form issues you can’t feel. Common problems: hip sag in planks (fix: brace core harder), lower back arch in push-ups (fix: tuck pelvis and brace abs), knee cave in squats (fix: actively push knees out over toes).

Mistake 4: Training on an Unsafe Surface

What happens: Lateral movements on carpet create friction that torques the knee. Hard concrete without cushioning stresses joints in jumping exercises. A loose rug during a lunge leads to ankle sprains.

The fix: Clear the area before every session. Use a yoga mat for floor work. Wear athletic shoes with lateral support for anything involving jumping or direction changes. If your only available surface is carpet, avoid high-friction lateral exercises (lateral lunges, shuffle steps) and substitute straight-plane movements.

Mistake 5: Ignoring Pain Signals

What happens: Distinguishing between “muscle burn” (normal) and “injury pain” (stop) is difficult for new trainees. People push through joint pain, sharp pain during movement, or persistent post-workout pain in the same joint — turning a minor issue into a major one.

The fix:

  • Normal: continue training — Muscle burn during exercise, DOMS (delayed onset muscle soreness) 24–48 hours after training
  • Stop immediately — Sharp pain during a movement, pain that’s localized to a joint (not the muscle belly), pain that gets worse with each rep, any popping or snapping with pain

When in doubt, stop. Resting 2–3 days costs almost nothing. Training through a joint injury can set you back weeks or months.

A Note on Equipment Safety

For home-specific risks:

  • Test your pull-up bar for stability before every use — particularly for bars that wedge into door frames
  • Check resistance bands for nicks or fraying before use; a snapped band under tension causes lacerations
  • Never use a chair with wheels for dips or step-ups

How to Train Your Abs at Home: A 3-Level Core Program

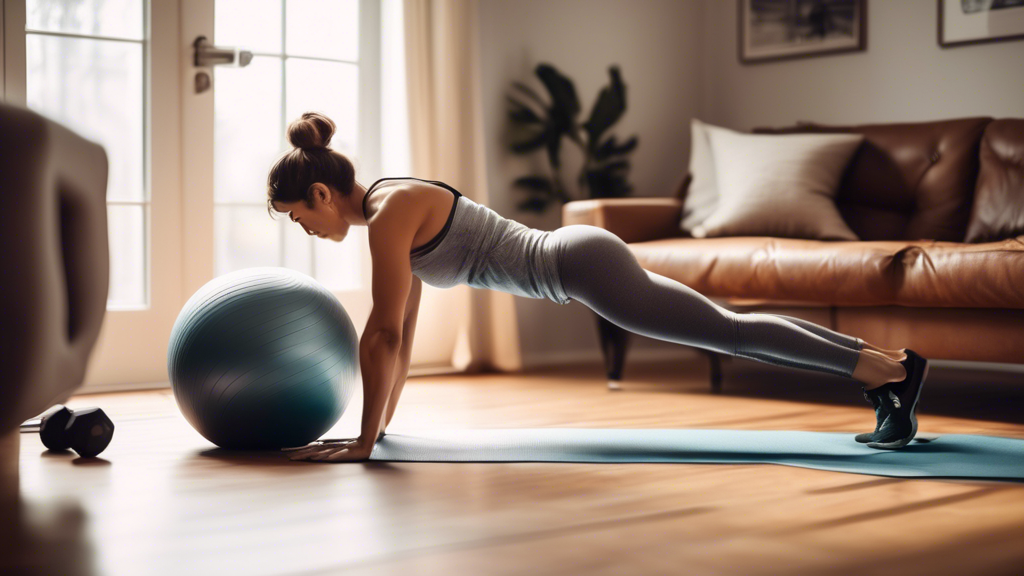
Create an image of a person working out in a cozy living room setting, performing various abdominal exercises like sit-ups, crunches, and planks. Include f

Most ab programs fail because they either do too much isolation work (endless crunches) or too little progression (the same plank hold every week forever). An effective home core program targets the full core — not just the rectus abdominis — and gets harder over time. Here’s a three-level program you can start today.

What “Core” Actually Means

Your core is more than your six-pack muscles. It includes:

  • Rectus abdominis: The “six-pack” — flexion and stability
  • Transverse abdominis: Deep stabilizer, wraps around the spine
  • Obliques (internal and external): Rotation and lateral flexion
  • Erector spinae: Lower back muscles that work alongside the abs

A good core program trains all of these, not just the front.

Level 1 — Foundation Core (4–6 weeks)

Frequency: 3× per week. Time per session: 10–12 minutes.

  • Dead Bug: 3 × 8 per side — Lie on your back, arms up, knees bent 90°. Extend opposite arm and leg simultaneously, keeping lower back pressed to floor. Return and alternate.
  • Glute Bridge: 3 × 12 — Lie on your back, feet flat, drive hips up until body is straight from knees to shoulders. Hold 2 seconds at top.
  • Forearm Plank: 3 × 20–30 seconds — Body straight, core braced, don’t let hips sag or rise.
  • Side Lying Hip Abduction: 3 × 12 per side — Builds the lateral core and glutes together.

Progression signal: complete all sets with good form and no core shaking.

Level 2 — Intermediate Core (4–6 weeks)

Frequency: 3× per week. Time per session: 15–18 minutes.

  • Hollow Body Hold: 3 × 25 seconds — Lie on back, arms overhead, legs extended. Lift arms, head, and legs off the floor. Lower back stays pressed down. This is harder than it looks.
  • Bicycle Crunch: 3 × 15 per side — Slow and controlled (2 seconds per rep), not rushed. Rushing eliminates oblique engagement.
  • Lying Leg Raise: 3 × 10 — Lie flat, lower back pressed down, raise legs from the floor to vertical. Lower slowly over 3 seconds.
  • Side Plank: 3 × 25 seconds per side
  • Bird Dog: 3 × 10 per side — From all fours, extend opposite arm and leg. Hold 2 seconds, maintain spine neutral.

Level 3 — Advanced Core

Frequency: 3× per week. Time per session: 18–22 minutes.

  • Ab Wheel Rollout: 4 × 8 — Requires an ab wheel (~$10). Kneel, roll out slowly (3 seconds), pull back in. Keep core braced throughout.
  • Dragon Flag Negative: 3 × 5 — Lie on a bench or the floor, hands gripping overhead support. Get into a full flag position (body straight), then lower slowly over 5 seconds. Don’t go up yet — just the negative.
  • Hanging Knee-to-Chest: 3 × 12 — Requires pull-up bar. Dead hang, then pull both knees to chest using abs (not hip flexor momentum).
  • Copenhagen Plank: 3 × 20 seconds per side — Side plank with top foot on a chair or bench. Works the adductors and lateral core simultaneously.

How Often to Train Abs

3–4 times per week is sufficient. Abs recover faster than larger muscle groups, but they still need 24–48 hours. Daily ab training isn’t more effective than 3× per week — it just creates more fatigue.

Training Abs vs. Seeing Abs

This program will strengthen your core and improve stability, posture, and athletic performance. Whether it produces visible abs depends almost entirely on your body fat percentage. The training builds the muscle; diet determines whether it’s visible. Both matter — neither works alone.

Home Workout Safety: 8 Rules That Prevent Most Injuries

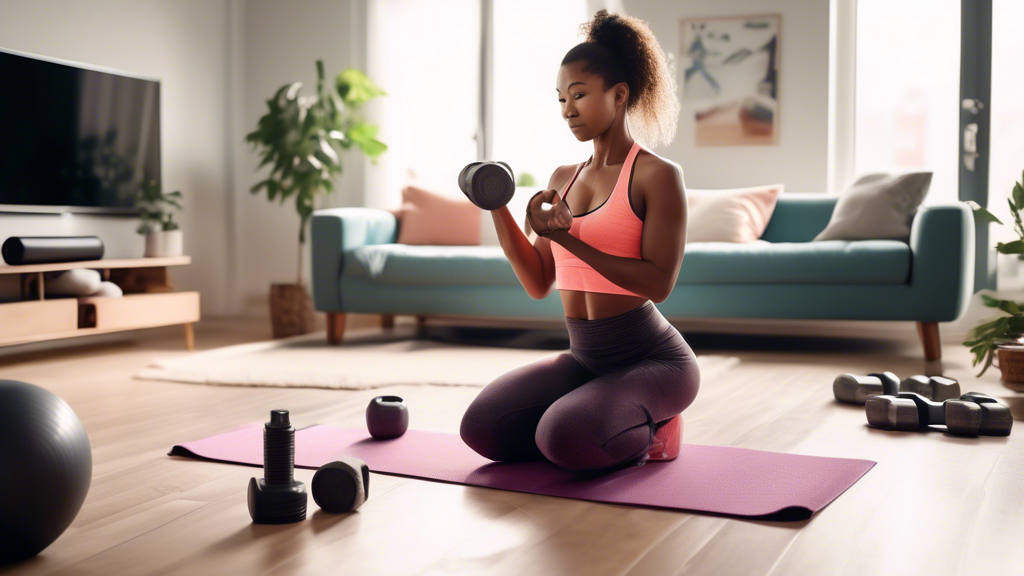
Create an image of a person engaging in a home workout in a well-lit, clutter-free living room. The person is using proper form while lifting dumbbells, wi

Most home workout injuries are preventable. They stem from a short list of identifiable mistakes: skipping warm-up, using bad form under fatigue, training on unsuitable surfaces, and progressing too fast. Here are the 8 rules that eliminate the majority of the risk.

Rule 1: Warm Up Every Time, Even for Short Sessions

A proper warm-up increases blood flow to working muscles, improves joint mobility, and reduces injury risk. For a home workout, 5 minutes is usually enough:

  • 30 seconds of arm circles (forward and backward)
  • 30 seconds of leg swings (front-to-back, then side-to-side)
  • 30 seconds of hip circles
  • 30 seconds of jumping jacks or jogging in place
  • 10 slow bodyweight squats
  • 10 slow push-ups

This isn’t optional — it’s the cheapest injury insurance available.

Rule 2: Know Your Form Before Adding Load

The most common cause of home workout injuries is performing an exercise with poor form under load (resistance bands, weights, added reps). Learn the pattern without load first. A push-up done correctly 10 times beats a sloppy one done 30 times.

For any new exercise: watch a 2-minute tutorial video, practice the movement slowly, then add resistance or reps.

Rule 3: Clear Your Workout Space Before You Start

Check for: loose rugs (trip hazard), furniture at head height (impact risk if you fall), objects on the floor behind you (for exercises like lunges). A 6×6 foot clear space is the minimum for most routines. Check the overhead clearance for jumping exercises.

Rule 4: Choose the Right Surface

  • Hardwood or tile: Good for strength work; use a yoga mat for floor exercises
  • Carpet: Fine for bodyweight work; bad for lateral movements (friction causes knee stress)
  • Outdoor concrete: Hard on joints for jumping; use cushioned shoes

A yoga mat (~$20) fixes most surface problems for floor work.

Rule 5: Increase Volume or Intensity — Not Both at Once

The 10% rule: don’t increase total weekly training volume by more than 10% per week. Adding too much, too soon, too fast is the primary cause of overuse injuries (shin splints, tendinitis, rotator cuff problems). If you’re adding a new exercise, adding sets, AND increasing reps in the same week, you’re increasing injury risk significantly.

Rule 6: Stop When Form Breaks Down

Grinding out reps with bad form doesn’t build more muscle — it builds injury risk. The set is over when you can no longer maintain form. A push-up where your hips sag or your lower back arches isn’t a push-up; it’s a setup for back pain.

Rule 7: Rest Days Are Part of the Program

Muscles grow and repair during rest, not training. Two to three rest days per week is the minimum for most people. Signs you need more rest: persistent soreness (not just next-day DOMS), declining performance week over week, disrupted sleep, elevated resting heart rate.

Rule 8: Don’t Train Through Sharp or Joint Pain

Distinguish between muscle burn (normal, continue) and sharp/joint pain (stop immediately). Muscle soreness 24–48 hours after training is normal. Sharp pain during a movement, or pain localized in a joint (knee, shoulder, wrist), is a signal to stop and assess. Training through joint pain turns minor problems into major ones.

Equipment Safety Notes

  • Pull-up bars: Check weight capacity and door frame fit before every use. A bar that slips while you’re hanging is a serious injury risk.
  • Resistance bands: Inspect for nicks or fraying before each use. A snapped band under tension causes injury. Replace damaged bands.
  • Chairs for dips: Use sturdy chairs on non-slip floors. Test stability before adding body weight.