How to Work Your Biceps at Home: Effective Exercises and Programming

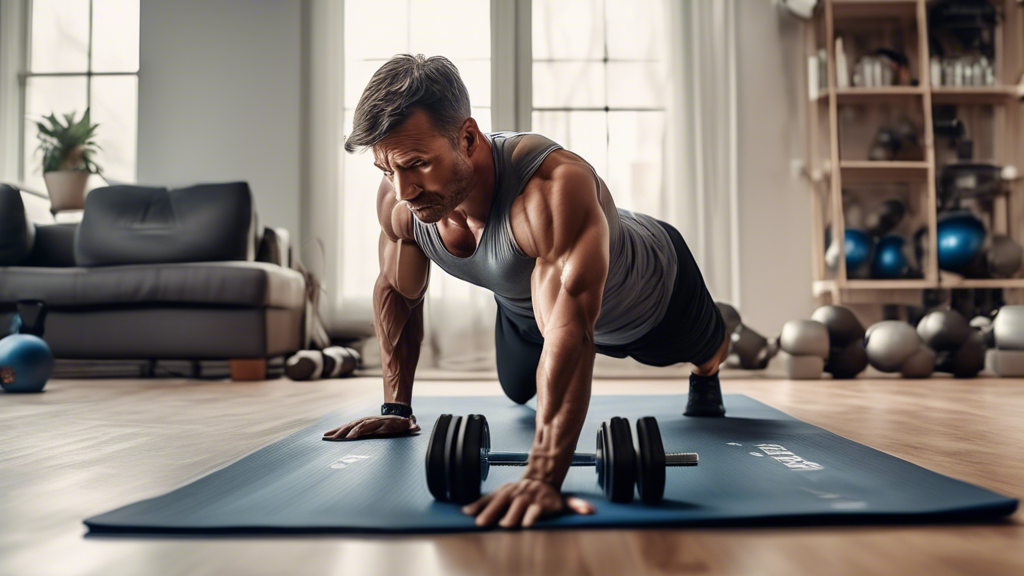
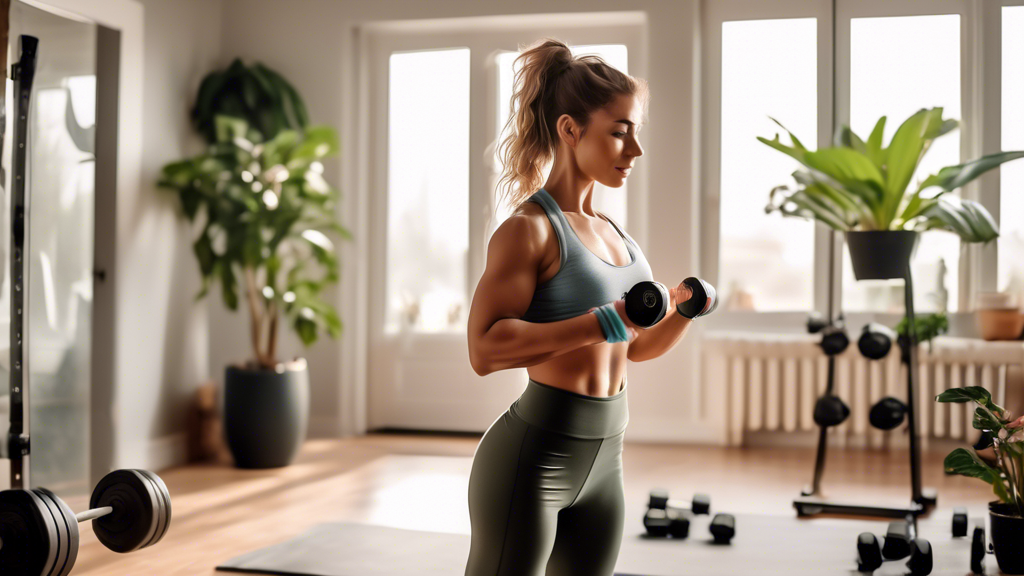
A fitness enthusiast exercising in a cozy, well-lit home gym, using resistance bands and dumbbells for bicep curls, with clear motivational posters and pot

Training your biceps at home effectively requires understanding what actually loads the bicep — pulling movements — and which home-available tools and exercises provide that load. Here’s a complete guide: exercises, progressions, and a weekly program you can start with what you have.

How Biceps Actually Work

Your biceps contract when you flex your elbow (curl) and when you supinate your forearm (palm turns upward). They work most effectively when they’re under load through the full range of that motion. Pulling movements — rows, chin-ups, curls — are how you load them.

The most effective bicep training is not isolation-first. Compound pulling (chin-ups, rows) builds more mass than isolated curling, particularly for beginners. Add isolation work after your main pulling is done.

The Exercises, Ranked by Effectiveness

1. Chin-Up (Best Bodyweight Option)

Underhand grip (palms toward you), hands shoulder-width. Pull until chin clears the bar. 3–5 × AMRAP.
If you can’t do one yet: use a resistance band looped over the bar for assistance, or do negatives (jump to top, lower over 5 seconds).

2. Resistance Band Curl

Stand on the middle of the band, one end in each hand, palms up. Curl both hands to shoulders. Squeeze at top. Lower over 2–3 seconds. 3 × 12–15.
The band provides more resistance at the top of the curl (full contraction) than the bottom — this is actually advantageous compared to free weights, which are hardest at 90 degrees.

3. Doorway Row

Grip the door frame, walk feet forward, pull chest to frame. Biceps do significant work. Can be done with no equipment beyond a door. 3 × 10–15.

4. Dumbbell Curl (If You Have Dumbbells)

Standard curl, palms up. Focus on the lowering phase (2–3 seconds down). Don’t swing. 3 × 10–12.

5. Hammer Curl (Bands or Dumbbells)

Palms facing inward throughout the curl. This shifts emphasis to the brachialis (the muscle under the bicep that pushes the peak up) and brachioradialis (forearm). 3 × 10–12.

6. Concentration Curl (Bands or Dumbbells)

Seated, elbow resting on inner thigh, curl one arm. Eliminates momentum. Pure bicep isolation. 3 × 10 per arm.

A 3-Day Bicep Program

Train biceps 2–3× per week with at least 48 hours between sessions:

Day A (Strength focus):

  • Chin-Up: 4 × AMRAP
  • Band Curl (slow): 3 × 10
  • Hammer Curl: 3 × 10

Day B (Volume focus):

  • Doorway Row: 3 × 15
  • Band Curl (regular pace): 4 × 12
  • Concentration Curl: 3 × 10 per arm

Day C (optional — intensity):

  • Chin-Up: 3 × AMRAP with 10-second rest-pauses
  • Band Curl with 4-second negative: 3 × 8

Progressive Overload Without a Gym

  • More reps: Increase from 10 to 12 to 15 before adding resistance
  • Slower eccentrics: 2-second lowering → 3-second → 4-second
  • Heavier bands: Move to the next resistance level when current reps feel easy
  • More volume: Add a set (3 → 4 → 5 sets) before changing any other variable

What to Expect

With 2–3 sessions per week and adequate protein (0.7–1g/lb bodyweight daily), noticeable bicep size changes occur within 8–12 weeks. Strength increases come faster (3–4 weeks). Chin-up max reps is the best single metric for tracking bicep development — measure it every 4 weeks.
Best No-Weight Arm Exercises: An Honest Ranking of What Actually Works

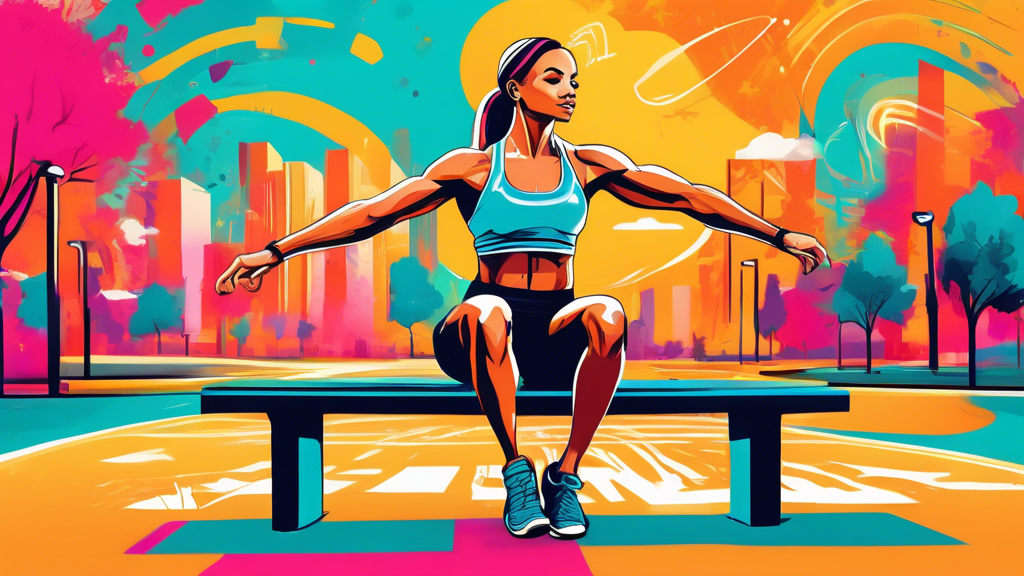
A fit individual in a park performing various arm exercises without weights, such as push-ups, tricep dips on a bench, and arm circles, with motivational q

Not all no-weight arm exercises are equal. Some produce real strength and muscle development. Others are filler that YouTube thumbnails include for visual variety. Here’s an honest ranking of the best no-weight arm exercises — what works, what’s limited, and what’s mostly a waste of time.

Tier 1: Genuinely Effective (Do These First)

Diamond Push-Up

What it trains: Triceps primarily, chest secondarily.
Why it ranks highly: The hand position shifts significant load to the triceps — more so than any other push-up variation. Triceps make up about 2/3 of upper arm size, so targeting them effectively matters.
How to do it: Hands close together, thumbs and index fingers forming a diamond shape, elbows track back (not flaring wide). 3 × 8–15.

Doorway Row

What it trains: Biceps and upper back.
Why it ranks highly: It’s the only true pulling movement you can do with zero equipment (just a door frame). Pulling = bicep work. Nothing else on this list provides meaningful bicep load without equipment.
How to do it: Grip the door frame at chest height, walk feet forward until body is angled back, pull chest toward the frame. 3 × 10–15.

Tricep Dip (Chair)

What it trains: Triceps.
Why it ranks highly: Loads the tricep through a larger range of motion than push-up variations. The overhead extension component (at the bottom of the dip) provides a stretch load that’s particularly effective for tricep development.
How to do it: Hands on a sturdy chair seat behind you, feet extended forward, lower by bending elbows to ~90°. 3 × 8–12.

Tier 2: Useful When Combined With Tier 1

Standard Push-Up

A solid compound exercise. Trains triceps (and chest and shoulders), but less tricep-specific than diamond push-ups. Include it for volume, not as a primary arm movement.

Pike Push-Up

Trains anterior shoulder with tricep assistance. Good for shoulder development, which affects total arm appearance. Not primarily an arm exercise but worth including.

Table Row

Lie under a table, grip the edge, pull chest up. Similar stimulus to a doorway row. Good when a door frame isn’t available. 3 × 8–12.

Tier 3: Limited Value (Often Listed, Rarely Effective)

Arm Circles

A shoulder mobility drill. Does not build arm strength or muscle. Include in warm-ups, not workouts.

Isometric Bicep Curl Against a Table

Pressing up against a table provides isometric bicep work. Builds some strength and keeps the nerve pathways firing, but limited for hypertrophy. Use only when you have truly zero equipment and no door frame.

“Plank to Push-Up” as an Arm Exercise

This is a good core and shoulder exercise. It’s not primarily an arm movement — listing it as a top arm exercise is misleading. Include it for what it is: a dynamic core stability exercise.

A Complete No-Weight Arm Session

Time: ~20 minutes. Frequency: 2× per week.

  • Diamond Push-Up: 3 × 10
  • Doorway Row: 3 × 12
  • Tricep Dip (chair): 3 × 8–10
  • Standard Push-Up: 2 × 12 (volume filler)
  • Table Row: 3 × 10

When to Add Equipment

A resistance band ($15–20) for curls, or a pull-up bar ($25–30) for chin-ups, will meaningfully expand your options. Once you’ve built a foundation with these bodyweight exercises, equipment adds the pulling resistance needed for real bicep growth. The ceiling for bicep development with zero equipment is lower than most articles will tell you.

How to Tone Your Thighs and Glutes at Home: What Works and What Doesn’t

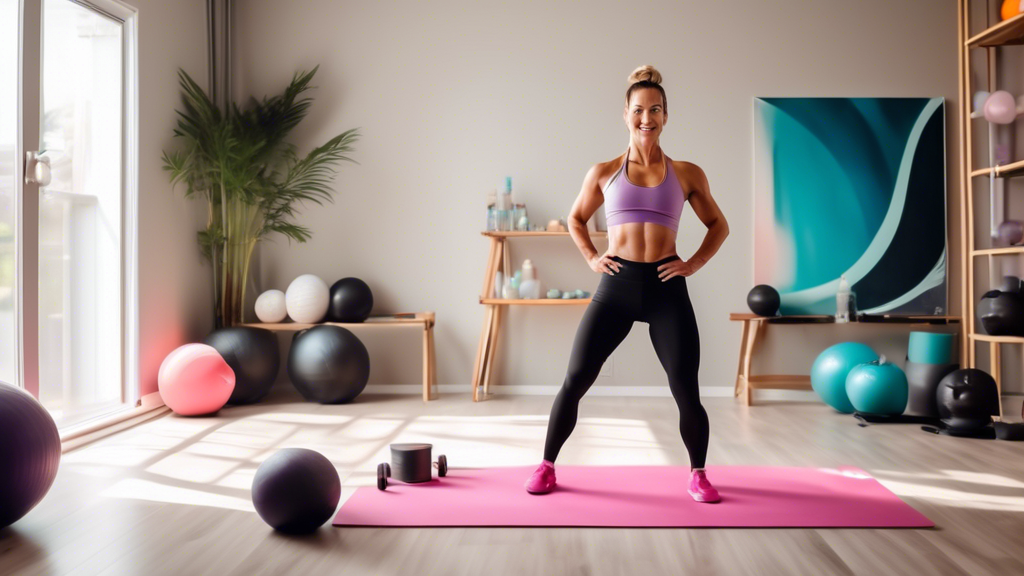
A vibrant home gym scene with a cheerful fitness trainer demonstrating effective thigh and buttocks exercises such as squats, lunges, and leg raises. The r

“Toning” is one of the most misused words in fitness. It promises a specific look but rarely defines what’s required to get there. Here’s what toning actually means physiologically, what it takes to achieve it in the thighs and glutes specifically, and a program that delivers results.

What “Toning” Actually Means

Toning is the combination of two things: building muscle and reducing body fat in the target area. The defined, firm appearance comes from muscle with low-to-moderate fat covering it. You can’t achieve the look through exercise alone if body fat is high — and you can’t achieve it through diet alone if muscle isn’t developed.

There is no exercise that specifically burns fat from your thighs. Fat loss happens systemically (from everywhere) in response to a caloric deficit. What you can control specifically: which muscles you build, and how lean you get overall.

The Exercises That Build Thigh and Glute Muscle at Home

Squats and Progressions

Bodyweight squat: 3 × 15 — Standard starting point. Feet shoulder-width, toes slightly out. Lower until thighs are parallel to the floor (or as close as mobility allows).
Jump squat: 3 × 10 — Adds power and increases caloric burn. Land softly with bent knees.
Bulgarian split squat: 3 × 10 per leg — Rear foot on a chair, front foot forward. Most effective bodyweight quad/glute exercise available at home due to single-leg loading.

Hip Thrusts and Glute Bridges

Glute bridge: 3 × 15 — Lie on back, feet flat, drive hips up. Squeeze glutes at the top for 2 seconds.
Single-leg glute bridge: 3 × 12 per leg — Same movement with one foot raised. Significantly harder.
Hip thrust (shoulders on couch): 3 × 12 — Greater range of motion than floor bridge; more glute involvement at top of movement. Add a resistance band above knees for added difficulty.

Lateral Band Walks (Outer Thigh and Hip Abductor)

Place a resistance band just above the knees. Step sideways 10–12 steps, then back. Keep tension in the band throughout. 3 × 12 steps per direction. This targets the gluteus medius — the lateral hip muscle responsible for the outer curve of the glutes.

Reverse Lunge

3 × 10 per leg. Step back and lower the rear knee toward the floor. Drive through the front heel to return. Easier on the knees than forward lunges for most people.

A Sample Weekly Program

  • Monday: Bulgarian Split Squat 3×10/leg, Hip Thrust 3×12, Lateral Band Walk 3×12/direction
  • Thursday: Jump Squat 3×10, Single-Leg Glute Bridge 3×12/leg, Reverse Lunge 3×10/leg

Add one extra day when the two-day schedule feels manageable. Results come from consistency over 8–12 weeks, not from doing more in week one.

The Diet Side

For visible toning (reduced fat), a modest caloric deficit is required: roughly 300–500 calories per day below your TDEE. Protein keeps muscle while you lose fat — aim for 0.7–1g per pound of bodyweight.

Without the diet component, the training will build muscle and improve function, but the defined look will remain covered. Both are necessary.

How Long Until Results Are Visible?

With consistent training (2–3× per week) and a maintained caloric deficit: most people see noticeable changes in leg and glute shape within 8–12 weeks. Strength improvements come sooner (3–4 weeks). The muscle is building throughout — visibility depends on fat loss progress running in parallel.

Preventing Home Workout Injuries: The 6 Most Common Problems and Their Fixes

A bright home gym setup with a yoga mat, dumbbells, and resistance bands neatly organized. A fitness trainer demonstrates proper exercise form while an ind

Home workouts carry specific injury risks that gym training doesn’t — primarily because there’s no environment designed for safety, no trained staff, and no structured equipment. The six injuries below account for the large majority of home workout problems. Here’s what causes each and how to specifically prevent it.

1. Lower Back Strain

Cause: Spinal flexion under load with poor bracing (sit-ups with hands behind neck, deadlift hinges with a rounded back), or plank holds where the core fatigues and hips sag.

Prevention:

  • For any plank: end the set when your hips start to sag — don’t hold longer at the cost of form
  • For hip hinge movements: keep your back flat (imagine someone placed a broomstick along your spine) throughout
  • Strengthen your core before loading it: master the dead bug and bird dog before adding loaded hinge work

2. Shoulder Impingement

Cause: Overhead pressing or push-up variations where elbows flare straight out to the sides (90-degree angle to torso). This pinches soft tissue in the shoulder joint.

Prevention:

  • Keep elbows at a 45-degree angle to your torso during push-ups and dips, not 90 degrees
  • Include band pull-aparts and face pulls in your routine to keep the rear shoulder muscles balanced with the front
  • If shoulder pain appears during overhead movements, reduce range of motion (don’t go below 90-degree elbow angle) until strength improves

3. Knee Pain During Squats and Lunges

Cause: Knee tracking inward (valgus collapse), excessive forward lean, or squatting with heels raised (tight ankle mobility).

Prevention:

  • Actively push your knees out over your toes throughout the squat — they should track in line with your second and third toes
  • If your heels lift during squats, stand with feet slightly wider and toes turned out, or elevate heels on a folded mat
  • Switch to reverse lunges if forward lunges cause pain — most people tolerate reverse lunges better

4. Wrist Pain During Push-Ups

Cause: Wrist extension under load — the default push-up position puts significant stress on wrist extensors, particularly if wrist flexibility is limited.

Prevention:

  • Try push-ups on fists (knuckles on floor) to keep wrists in a neutral position
  • Or use push-up handles (~$10) that allow a neutral grip
  • Warm up wrists specifically before push-up sessions: wrist circles, gentle wrist extension and flexion stretches

5. Muscle Strain (From Jumping Into Intense Training)

Cause: Starting or returning to training with more volume and intensity than the body can handle — particularly after a period of inactivity.

Prevention:

  • Use the 10% rule: don’t increase total weekly training volume by more than 10% per week
  • After a break of 2+ weeks, return at 50–60% of your previous volume for the first week
  • Always warm up before sessions and never skip rest days in the first 4 weeks of a new routine

6. Ankle Sprain (From Training on Inappropriate Surfaces)

Cause: Lateral movements or jumping on slippery surfaces (socks on hardwood, loose rugs).

Prevention:

  • Wear athletic shoes for any training involving lateral movement, jumping, or pivoting
  • Remove loose rugs from your workout space
  • For barefoot training, stick to stable, non-slip surfaces (rubber mat, carpet) and avoid lateral exercises

General Injury Prevention Checklist

  • ✓ 5-minute dynamic warm-up before every session
  • ✓ Clear, unobstructed workout space (6×6 feet minimum)
  • ✓ End every set when form breaks down
  • ✓ Progress gradually (not more than 10% volume increase per week)
  • ✓ At least 2 rest days per week
  • ✓ Stop immediately when experiencing sharp or joint pain

Safe Home Exercise Routines: How to Train Effectively Without Getting Hurt

A cozy living room scene with a soft workout mat laid out in the center. A person is doing gentle stretching exercises while following a guided routine on

Exercising at home removes the friction of gym commutes but adds risks that gym environments mitigate: no staff to correct form, no proper equipment, no well-designed space. Here’s how to train effectively while keeping injury risk low.

Principle 1: Match Routine Difficulty to Current Fitness Level

The most common home workout injury pattern: someone who hasn’t exercised in months finds a challenging YouTube workout, completes it while exhausted (and with progressively worse form), and is sore or injured within 48 hours.

Start easier than you think you need to. A beginner doing a 20-minute bodyweight workout consistently is making more progress than someone doing one brutal session per week followed by a week of recovery.

Beginner benchmark: 3 × 10 push-ups and 3 × 12 bodyweight squats with good form. Start at whatever level is mildly challenging, not exhausting.

Principle 2: Warm Up With Movement, Not Static Stretching

Static stretching before exercise (holding a stretch for 30+ seconds) can temporarily reduce muscle force production. Dynamic warm-up is what works before training:

  • Arm circles: 20 forward, 20 backward
  • Leg swings: 10 front-to-back, 10 side-to-side per leg
  • Hip rotations: 10 per direction
  • Bodyweight squats: 10 slow
  • Push-up to downward dog: 8

5 minutes. Every session.

Three Safe Home Routines for Different Fitness Levels

Beginner Routine (No Equipment)

Frequency: 3× per week. Time: 20 minutes.

  • Knee Push-Up: 3 × 8
  • Bodyweight Squat: 3 × 12
  • Glute Bridge: 3 × 12
  • Dead Bug: 3 × 6 per side
  • Doorway Row: 3 × 8

Rest 60–90 seconds between sets. Never go to failure — stop when form starts to slip.

Intermediate Routine (Bands + Pull-Up Bar)

Frequency: 3–4× per week. Time: 30 minutes.

  • Push-Up: 4 × 12
  • Chin-Up: 3 × AMRAP
  • Bulgarian Split Squat: 3 × 10 per leg
  • Band Row: 4 × 12
  • Single-Leg Glute Bridge: 3 × 10 per leg
  • Plank: 3 × 35 seconds

Advanced Routine (Pull-Up Bar + Bands)

Frequency: 4× per week (Push/Pull/Legs/Full Body split). Time: 35–45 minutes per session.

Push Day: Decline Push-Up, Diamond Push-Up, Dip, Pike Push-Up
Pull Day: Weighted Chin-Up, Band Row, Face Pull, Bicep Curl
Legs Day: Bulgarian Split Squat, Hip Thrust, Step-Up, Single-Leg Calf Raise
Full Body: Circuit of 6 exercises (2 push, 2 pull, 2 legs), 3 rounds

Cool-Down Protocol

5 minutes post-workout. Static stretching is appropriate here (after training, muscles are warm):

  • Chest/shoulder stretch: 30 seconds per side
  • Hip flexor lunge stretch: 30 seconds per side
  • Hamstring stretch (standing or lying): 30 seconds per side
  • Child’s pose: 45 seconds

Modifying for Common Limitations

  • Knee pain: Replace squats and lunges with glute bridges and leg press against a wall (supine). Avoid deep knee flexion until pain resolves.
  • Wrist pain: Use fists for push-ups to keep wrists neutral. Avoid exercises that require wrist extension under load.
  • Lower back pain: Focus on hip hinge patterns and core stabilization (dead bug, bird dog). Avoid loaded spinal flexion (sit-ups, leg raises) until strength improves.

How to Build a Bigger Upper Body at Home: An 8-Week Progressive Plan

A man working out at home in a well-lit living room, performing push-ups with perfect form. Nearby, a set of dumbbells and resistance bands are on the floo

Building a bigger upper body at home is achievable but requires two things most home programs skip: a push/pull balance and a concrete progression plan. Here’s an 8-week program that covers both, using minimal equipment.

The Push/Pull Balance Problem

Most home upper body programs are push-heavy — push-ups, dips, and more push-ups. Without pull movements (rows, chin-ups), you develop an imbalance: overdeveloped chest and front shoulders, underdeveloped back and rear shoulders. This causes posture problems and limits upper body development.

Every push exercise needs a pull equivalent in your program.

Equipment Needed

  • Doorframe pull-up bar (~$25–35): Required for chin-ups and rows
  • Resistance band set (~$15–25): Adds pulling variety and bicep work
  • Two sturdy chairs: For dips

Total investment: ~$40–60. No bench, no dumbbells required (though dumbbells expand your options).

The 8-Week Program

Weeks 1–2: Foundation

Focus on form and establishing baselines. Don’t go to failure — stop 2–3 reps short.

  • Push-Up: 3 × 8–10
  • Inverted Row (under table or using doorframe): 3 × 8
  • Chin-Up or Negative Chin-Up: 3 × 5
  • Tricep Dip: 3 × 8
  • Pike Push-Up: 2 × 8

Train 3× per week. Rest at least one day between sessions.

Weeks 3–4: Build Volume

  • Push-Up: 4 × 12
  • Chin-Up: 4 × AMRAP (add band assistance if needed to keep reps at 4+)
  • Diamond Push-Up: 3 × 10
  • Band Row: 4 × 12
  • Tricep Dip: 4 × 10–12
  • Pike Push-Up: 3 × 10

Weeks 5–6: Increase Intensity

Add slow eccentrics (3-second lowering) to push movements. Go closer to failure.

  • Slow Push-Up (3-second lower): 4 × 8–10
  • Chin-Up: 5 × AMRAP
  • Archer Push-Up (one arm bears more load): 3 × 5 per side
  • Band Bicep Curl: 3 × 12
  • Band Face Pull: 3 × 15 (rear shoulder and upper back)
  • Dip: 4 × 10–12

Weeks 7–8: Peak Effort

  • Weighted Chin-Up (backpack with books): 4 × 5–6
  • Decline Push-Up (feet on chair): 4 × 10
  • Pseudo Planche Push-Up (hands at hip level, lean forward): 3 × 6
  • Band Rear Delt Fly: 3 × 15
  • Close-Grip Push-Up Negative (5-second lower): 3 × 5
  • Band Pull-Apart: 3 × 15

Nutrition for Upper Body Growth

Training stimulus plus insufficient nutrition = limited results. For muscle building:

  • Eat at maintenance calories or a small surplus (200–300 above TDEE)
  • 0.7–1g protein per pound of bodyweight daily
  • Sleep 7–9 hours — growth hormone is released primarily during deep sleep

Tracking Progress

Measure chin-up reps and push-up max at the start of weeks 1, 4, and 8. These are reliable indicators of upper body development. Expect 30–50% improvement in both by week 8 with consistent training.