4-Week Toned Arms Program: Bodyweight Only, No Equipment Needed

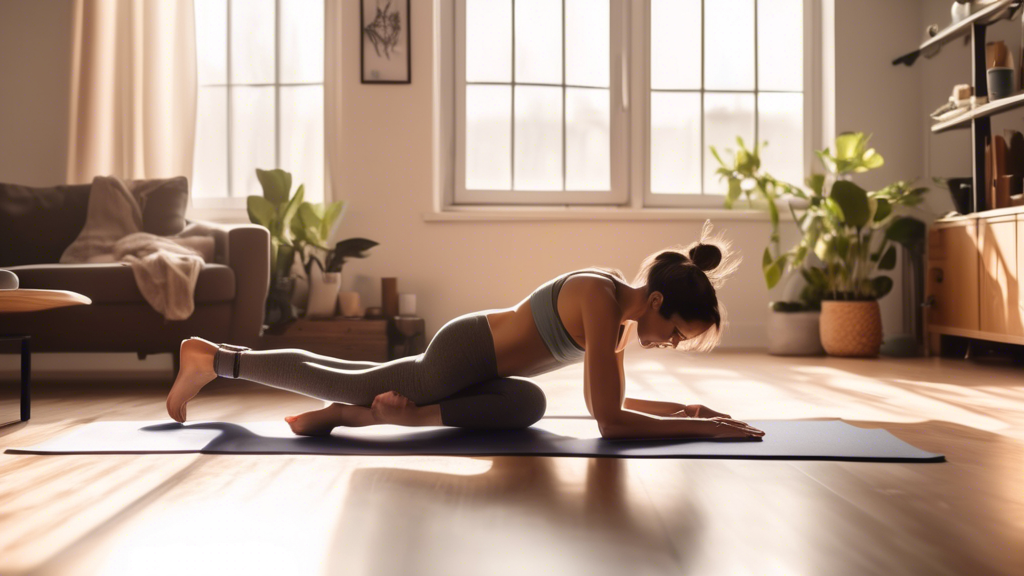
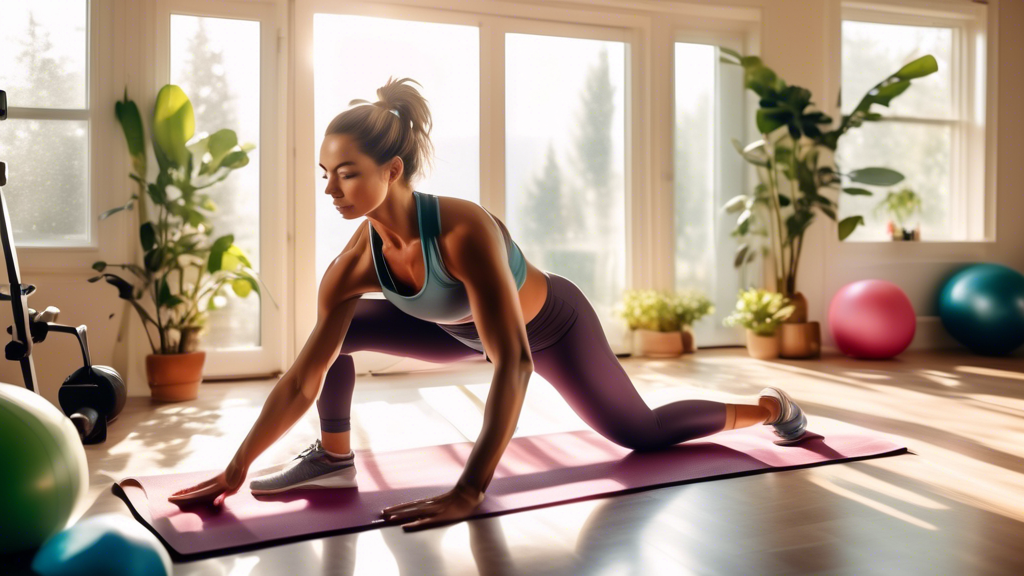
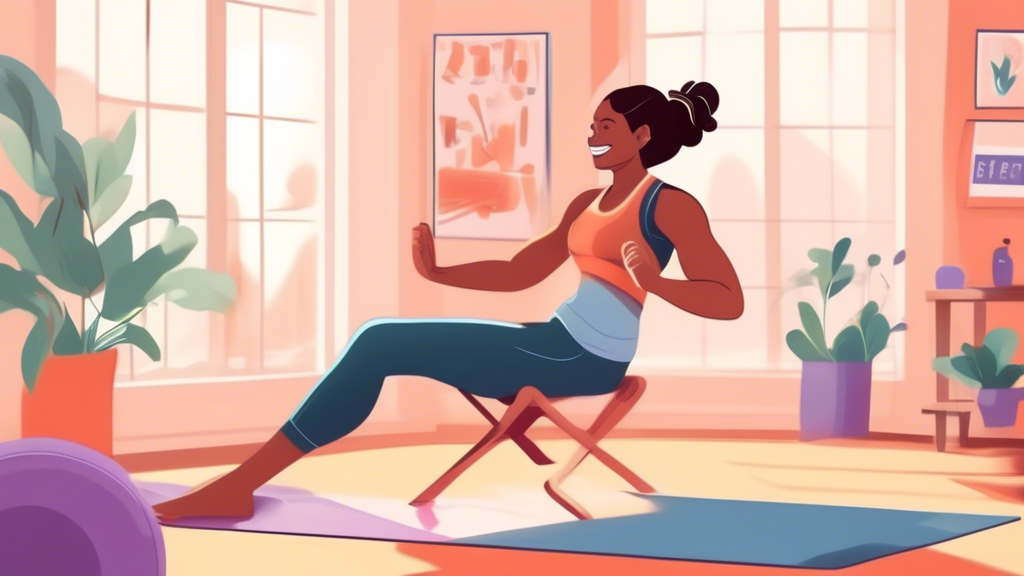
A fit person performing various arm exercises without weights, such as push-ups, tricep dips using a chair, and arm circles, in a bright and clean home gym

“Toned” arms means two things working together: enough muscle development to create definition, and low enough body fat to make it visible. This 4-week program handles the training side — progressive bodyweight sessions that build muscle in your arms using nothing but your own bodyweight.

What to Expect

Weeks 1–2: most gains are neural — your nervous system gets better at recruiting existing muscle fibers. You’ll feel stronger without much visible change. Visible muscle changes begin around weeks 4–6 of consistent training. Don’t judge the program by 2-week results.

Week 1: Foundation

Three sessions this week. Focus entirely on form — these reps should feel manageable.

Session (repeat all 3 days):

  • Push-up — 3 × 8 (knee push-up if needed)
  • Tricep dip (feet flat, knees bent) — 3 × 10
  • Table row — 3 × 10
  • Plank shoulder tap — 3 × 10 per side
  • Arm circles — 30 sec forward, 30 sec backward

Rest 60 sec between sets.

Week 2: Volume

Add one set to every exercise. The 25% volume increase is the training stress this week.

Session (3 days):

  • Push-up — 4 × 8
  • Tricep dip — 4 × 10
  • Table row — 4 × 10
  • Pike push-up — 3 × 6
  • Plank shoulder tap — 3 × 12 per side

Rest 60 sec between sets.

Week 3: Intensity

Harder variations, fewer reps. Quality over quantity.

Session A (Monday/Friday):

  • Diamond push-up — 3 × 8
  • Tricep dip (legs straight) — 3 × 8
  • Pike push-up — 3 × 8
  • Table row (more horizontal body angle) — 3 × 10

Session B (Wednesday):

  • Wide push-up — 3 × 10
  • Towel row — 3 × 10
  • Diamond push-up — 3 × 8
  • Plank shoulder tap — 3 × 15 per side

Rest 75 sec between sets.

Week 4: Peak

Session A (Monday/Friday):

  • Archer push-up — 3 × 6 per side (one arm reaches wide while the other does the work)
  • Pike push-up — 4 × 10
  • Tricep dip + 3-second negative — 3 × 8
  • Table row + 3-second negative — 3 × 10

Session B (Wednesday):

  • Push-up — 3 × max reps
  • Table row — 3 × max reps
  • Diamond push-up — 3 × 10
  • Plank shoulder tap — 3 × 15 per side

Rest 90 sec between sets.

After Week 4

Retest your max push-ups and max table rows. Most people see 30–60% improvement in 4 weeks of consistent training. To continue: restart the program at Week 1 using harder starting variations — if week 1 used standard push-ups, start the next cycle with diamond or archer push-ups.

The Other Half: Nutrition

This program builds muscle. Whether it shows depends on body fat. Consistent protein intake (0.7–1g per pound of bodyweight daily) and a moderate calorie deficit will reveal the muscle you’re building. Training and nutrition work together — neither produces full results alone.
Can You Get 10-Pack Abs? What Genetics Decide (And What You Can Change)

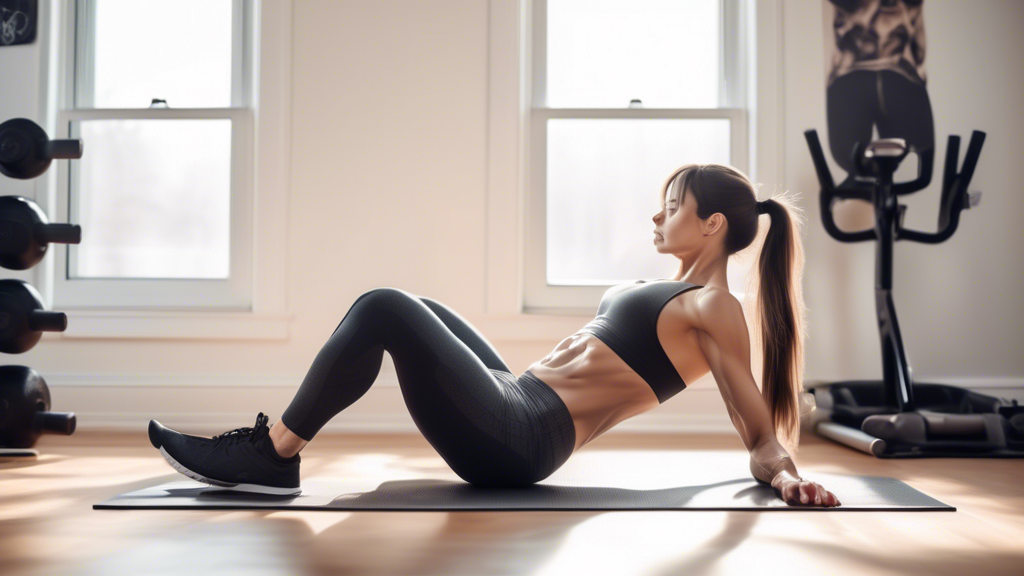
A fit individual in a home gym setting, performing intense abdominal exercises. Surroundings include a yoga mat, dumbbells, and a stability ball. The perso

The 10-pack abs goal is one of the most misunderstood targets in fitness. Before spending months chasing it, you need to understand one critical fact: whether you can physically display 10-pack abs is determined by your genetics — not your training. Here’s what the anatomy says and what you can actually do about it.

Why the Number of Ab Segments Is Fixed at Birth

Your “abs” are one muscle: the rectus abdominis. It runs vertically down the center of your abdomen, divided by horizontal connective tissue bands called tendinous intersections. These divisions create the segmented appearance.

The number of segments is set by how many tendinous intersections you have — determined genetically before you’re born:

  • 3 intersections → 6 visible segments (most common)
  • 4 intersections → 8 visible segments (less common)
  • 5 intersections → 10 visible segments (rare)
  • Asymmetric intersections → uneven numbers like 5 or 7

No training, diet, or supplementation can add intersections you weren’t born with. If you have 6-pack genetics, training cannot produce a 10-pack.

What “10-Pack” Actually Requires Even With the Genetics

People with 10-pack genetics rarely display all ten segments because the lower segments require extremely low body fat to become visible:

  • Upper abs visible: ~15% body fat for men, ~20% for women
  • Middle abs visible: ~12% for men, ~18% for women
  • Lower segments visible: ~8% for men, ~15% for women

These lower levels are at the athletic end of body fat ranges and require sustained dietary discipline over months.

What You Can Actually Control

Body Fat Percentage — The Primary Variable

This determines visibility more than anything else. A sustained calorie deficit of 300–500 calories per day with high protein intake (0.7–1g per lb bodyweight) produces consistent fat loss. This is the work that reveals whatever ab structure you have.

Muscle Thickness and Development

Well-trained abs are thicker and have deeper grooves than undertrained ones — even at the same body fat. Build them with progressive overload:

  • Hanging leg raise — 3 × 10, progress to straight-leg
  • Ab wheel rollout — 3 × 8, extend range over weeks
  • Hollow body hold — 3 × 30 sec, lower legs as you get stronger
  • Weighted sit-up (hold a book or jug) — 3 × 12

Posture and Alignment

Anterior pelvic tilt (hips tilted forward) makes your lower abs appear to protrude even when lean. Fix it with glute strengthening and hip flexor stretching:

  • Glute bridge — 3 × 15 daily
  • Dead bug — 3 × 8 per side
  • Hip flexor stretch — 30 sec per side after every session

Summary: What’s Fixed vs. What’s Trainable

Factor Determined by What to do
Number of visible segments Genetics Nothing — fixed at birth
Whether abs are visible at all Body fat % Calorie deficit + cardio
How impressive visible abs look Muscle development Progressive ab training
Lower segment visibility Body fat + posture Lower BF + hip alignment work

If you have 10-pack genetics and put in the work, those 10 segments can become visible. If you don’t have the genetics, the best version of your six-pack — thick, defined, and symmetrical — is still worth building. Train your abs progressively, manage your body fat consistently, and you’ll maximize whatever structure you were born with.

15-Minute No-Equipment Arm Workout: 3 Circuits for Every Fitness Level

A fit person performing various arm exercises without any equipment in a bright and clean home gym. They are doing push-ups, tricep dips on a chair, and ar

When you have 15 minutes and no equipment, you can still get a real arm workout if the circuit is structured correctly. Here are three 15-minute circuits — beginner, intermediate, and advanced — built around the best bodyweight arm exercises. Run the one that matches your level 2–3 times per week.

How These Circuits Work

Complete each exercise for the specified reps, with short rest between exercises and 60–90 seconds between rounds. Total time including rest: 12–15 minutes.

Circuit 1: Beginner

For people new to arm training or returning after a break. Every exercise has a modification.

3 rounds — rest 20 sec between exercises, 75 sec between rounds:

  • Wall push-up — 15 reps (or knee push-up if wall is too easy)
  • Chair tricep dip (feet flat, knees bent) — 10 reps
  • Arm circles — 20 sec forward, 20 sec backward
  • Plank hold — 20 seconds

Total: ~13 minutes

Circuit 2: Intermediate

For people who can do 10+ full push-ups and have been training for at least a month.

3 rounds — rest 15 sec between exercises, 60 sec between rounds:

  • Push-up — 10 reps
  • Diamond push-up — 8 reps
  • Chair tricep dip (legs straight) — 10 reps
  • Pike push-up — 8 reps
  • Plank shoulder tap — 10 per side

Total: ~14 minutes

Circuit 3: Advanced

For people who can do 15+ consecutive push-ups with good form.

3 rounds — rest 10 sec between exercises, 90 sec between rounds:

  • Archer push-up — 6 per side
  • Pike push-up — 10 reps
  • Diamond push-up — 10 reps
  • Tricep dip with 3-second negative — 8 reps
  • Close-grip push-up — max reps

Total: ~15 minutes

Exercise Technique Notes

Push-Up

Hands shoulder-width, elbows at 45° (not flared to 90°), body straight from head to heels. Lower chest to floor, press back. Elbows flared outward is the most common form error — it stresses the shoulder joint unnecessarily.

Diamond Push-Up

Hands close under your chest, thumbs and index fingers forming a diamond shape. Loads the triceps and inner chest significantly more than a standard push-up.

Tricep Dip

Hands on a sturdy chair, feet extended. Lower hips until elbows reach 90°, press back. Back stays close to the chair — elbows point backward, not sideways.

Pike Push-Up

Walk feet toward hands until hips are raised and body forms an inverted V. Lower the top of your head toward the floor. This is the bodyweight equivalent of an overhead press — primarily targets shoulders, not chest.

Archer Push-Up

Wide push-up position. As you lower, shift weight toward one arm while the other straightens out to the side. Push back up through the bent arm. One arm does most of the work. Don’t attempt until standard push-ups feel easy.

When to Progress to the Next Circuit

  • Circuit 1 → Circuit 2: when you can complete 3 rounds without stopping
  • Circuit 2 → Circuit 3: when you can hit the top rep count on every exercise
  • Beyond Circuit 3: eliminate rest between exercises, or add a 4th round

Your arms adapt in 4–6 weeks — after that, the same circuit stops producing meaningful results. Move up as soon as the current circuit consistently feels manageable.

Six-Pack Abs Training Plan: 6 Exercises, 3 Levels, and How to Program Them

A fit person performing various bodyweight exercises like planks, crunches, and leg raises in a minimalistic, cozy living room. The room has a yoga mat on

Diet determines whether your abs are visible. Training determines how impressive they look once they are. This guide focuses entirely on the training side: the six best bodyweight ab exercises, three difficulty levels for each, and a concrete weekly program you can follow at home with no equipment.

If you’re not yet at a body fat level where abs are visible, start training now anyway. You’re building the muscle that will show when the fat drops.

Exercise 1: Dead Bug

Lie on your back, arms to the ceiling, knees at 90°. Lower opposite arm and leg while pressing lower back flat. Return and switch. Best for the transverse abdominis — the deep stabilizing layer.

  • Level 1: Bent-knee lowering only — 3 × 6 per side
  • Level 2: Full extension (arm overhead, leg straight) — 3 × 8 per side
  • Level 3: 3-second hold at full extension — 3 × 6 per side

Exercise 2: Hollow Body Hold

Lie on back, lower back pressed to floor, arms extended overhead, legs raised. Hold. Best for sustained tension across the entire rectus abdominis.

  • Level 1: Arms crossed on chest, knees bent — 3 × 20 sec
  • Level 2: Arms extended overhead, knees bent — 3 × 25 sec
  • Level 3: Full position, straight legs low — 3 × 30 sec (add hollow rocks when strong)

Exercise 3: Plank

Forearm plank, body straight, core braced, glutes engaged. Best for anti-extension stability.

  • Level 1: Static hold — 3 × 20–30 sec
  • Level 2: Plank shoulder taps — 3 × 12 per side
  • Level 3: Plank with alternating leg raise — 3 × 10 per side

Exercise 4: Leg Raise

Best for the lower rectus abdominis. If you have a pull-up bar, do hanging leg raises. If not, the lying version works well.

  • Level 1: Lying leg raise, bent knees — 3 × 12
  • Level 2: Lying leg raise, straight legs — 3 × 10
  • Level 3: Hanging leg raise (pull-up bar) — 3 × 8–10

Exercise 5: Slow Bicycle Crunch

Alternate elbow to opposite knee with full torso rotation. 2 seconds each direction, 1-second pause at the top of each rotation. Best for obliques and upper abs.

  • Level 1: 3 × 8 per side
  • Level 2: 3 × 12 per side with pause
  • Level 3: 3 × 15 per side, legs kept very low (parallel to floor)

Exercise 6: Ab Wheel Rollout

From knees, extend forward on an ab wheel (or a folded towel on a smooth floor). Only go as far as your lower back stays neutral. Best for upper abs and deep core — the hardest exercise in this list.

  • Level 1: Small range — 3 × 6
  • Level 2: Medium range — 3 × 8
  • Level 3: Full extension — 3 × 10

Weekly Program

Train abs 3 times per week with at least one rest day between sessions. Each session includes one exercise from each category: stability, flexion, rotation, anti-extension.

Monday (15 min): Dead Bug (L2) 3×8 → Leg Raise (L2) 3×10 → Bicycle Crunch 3×12 → Hollow Body Hold 3×25 sec

Wednesday (15 min): Ab Wheel 3×8 → Plank Shoulder Tap 3×12 → Dead Bug (L2) 3×8 → Bicycle Crunch 3×12

Friday (15 min): Hollow Body Hold 3×30 sec → Leg Raise 3×10 → Ab Wheel 3×8 → Side Plank 3×25 sec per side

When to Move to the Next Level

Progress when you can complete all sets with: full range of motion, controlled tempo, exhale on the effort, no lower back lifting from the floor, and energy remaining at the end of the last set. Typically every 2–3 weeks per exercise. Don’t rush — the current level is still building muscle even when it feels manageable.

The One Mistake That Kills Progress

Training abs daily. Your core is a muscle group like any other — it needs 48 hours to recover. Three quality sessions per week outperforms seven mediocre daily sessions. If you’re doing ab work every day and not seeing progress, that’s likely the reason.

Injury Prevention for Home Workouts: 8 Exercises That Keep You Training Consistently

Create an image of a person in a cozy home setting performing exercises designed to prevent injuries. They are doing stretches, bodyweight exercises, and b

One preventable injury can sideline you for 4–12 weeks and undo months of progress. Home training has specific injury risks: skipped warm-ups, hard floors without mats, furniture that isn’t designed for exercise loads, and rapid progression without proper supervision. These 8 exercises address the most common vulnerability areas — lower back, knees, shoulders, and hips.

Add them at the end of any workout (10 minutes), or run them as a standalone daily routine.

Exercise 1: Bird Dog — Lumbar Stability

On all fours, extend opposite arm and leg while keeping your back flat and hips level. Hold 2 seconds. Trains the multifidus and erector spinae — the muscles that stabilize each vertebral segment. Weak here means your lower back absorbs forces it shouldn’t in squats, hinges, and carries.

Dose: 3 × 8 per side before every workout

Exercise 2: Glute Bridge — Lower Back + Knee Protection

Lie on your back, drive hips upward, hold 2 seconds at top. Weak glutes force the lower back to compensate during hip extension — a primary cause of home workout back injuries. Also reduces knee valgus (inward collapse) during squats by improving hip control.

Dose: 3 × 15 daily. Progress to single-leg when easy.

Exercise 3: Clamshell — Knee Stability

Lie on your side, knees bent at 90°. Keeping feet together, rotate the top knee upward. Lower controlled. Targets gluteus medius — the hip abductor that prevents knees from caving inward in squats, lunges, and landing from jumps. Knee cave is the most common cause of knee injuries in home training.

Dose: 3 × 15 per side. Add a resistance band above knees to increase challenge.

Exercise 4: Wall Slide — Shoulder Stability

Stand with back against a wall, arms at 90° (goalpost position) pressed to the wall. Slide arms upward maintaining wall contact throughout. Activates the lower trapezius and serratus anterior — chronically underactive in people who do push-heavy programs without balancing pull work. Weakness here leads to shoulder impingement.

Dose: 3 × 10 before upper body sessions

Exercise 5: Band Face Pull (or Prone Y-Raise) — Rear Shoulder Health

Anchor a resistance band at face height. Pull toward your face, separating hands and rotating palms up at the end. Targets rear deltoids and external rotators — muscles that counterbalance pushing exercises and prevent impingement. No band: substitute prone Y-raise (lie face down, raise straight arms overhead in a Y).

Dose: 3 × 15

Exercise 6: Dead Bug — Deep Core Stability

On your back, arms up, knees at 90°. Lower opposite arm and leg while pressing lower back flat. Trains the transverse abdominis to stabilize the spine before limb movement. Without this stability, every exercise places additional shear stress on the lumbar spine.

Dose: 3 × 8 per side

Exercise 7: Hip Flexor Stretch — Lower Back and Hip Health

Low lunge position, tuck hips under (posterior tilt), push hips forward until you feel the stretch in the front of the kneeling hip. Hold 30–45 seconds. Tight hip flexors from prolonged sitting create anterior pelvic tilt that compresses the lumbar spine and inhibits glute function — making every leg exercise less effective and more risky.

Dose: 30–45 sec per side after every workout

Exercise 8: Ankle Circles + Calf Stretch — Ankle Mobility

10 ankle circles each direction, followed by standing calf stretch (toes raised against wall, heel flat, hold 30 sec). Stiff ankles limit squat depth and cause compensations — heel rise, forward torso lean — that increase knee and lower back stress in every lower-body exercise.

Dose: Before any lower-body session

The 10-Minute Prehab Sequence

Run these before your workout to address all major vulnerability areas:

  1. Ankle circles + calf stretch — 2 min
  2. Hip flexor stretch — 1.5 min
  3. Glute bridge — 2 min
  4. Clamshell — 1.5 min
  5. Bird dog — 2 min
  6. Wall slide — 1 min

10 minutes before every session. The people who skip this routine are the ones who get hurt. The people who do it consistently train for years without significant setbacks.

How to Start Building Leg Muscle at Home: A Beginner’s Complete Guide

A vibrant and motivating scene of a person working out in a cozy home gym, using various equipment like resistance bands, dumbbells, and a stability ball.

Building leg muscle at home as a beginner is straightforward if you understand two things: what actually drives muscle growth (progressive overload — not how many exercises you do), and what to expect in the first four weeks (strength gains before visible muscle). This guide gives you the essential exercises, correct approach, and a simple program for your first month.

What to Expect in Weeks 1–4

The strength you gain in the first 2–4 weeks of training is mostly neural. Your nervous system gets better at recruiting the muscle fibers you already have — which is why beginners often feel noticeably stronger after two weeks without much visible change. This is normal. Visible muscle growth (hypertrophy) begins after 4–6 weeks of consistent training. Don’t judge the program by month-one appearance.

The Four Exercises Every Beginner Needs

You don’t need 20 exercises. These four movement patterns cover all the major leg muscles and drive significant progress for 6–12 months.

1. Squat — Quads, Glutes, Hamstrings

Feet shoulder-width, chest up. Sit back and down until thighs are parallel to the floor (or as deep as mobility allows). Drive through heels to return. Keep knees tracking over toes — don’t let them cave inward.

Target: 3 × 15 with full range and controlled form before adding difficulty

Next step: Pause squat (2–3 sec hold at the bottom)

2. Reverse Lunge — Quads, Hamstrings, Glutes, Balance

Step backward into a lunge, lower rear knee toward the floor. Return. The reverse lunge is better than forward lunges for beginners — less knee stress, easier to balance. Alternate legs each rep.

Target: 3 × 10 per leg

Next step: Walking lunge

3. Glute Bridge — Glutes, Hamstrings

Lie on your back, feet flat, drive hips upward to form a straight line from knees to shoulders. Hold 2 seconds at the top. The most important posterior chain exercise for beginners — it teaches your glutes to activate during hip extension, which they often don’t in people who sit for long periods.

Target: 3 × 15

Next step: Single-leg glute bridge

4. Calf Raise — Gastrocnemius, Soleus

Rise onto toes as high as possible, hold 1 second, lower fully (below level if on a step). Calves respond best to high volume and full range of motion — don’t shortchange the range.

Target: 3 × 20

Next step: Single-leg calf raise

Your First 4-Week Program

Train legs twice per week with at least two days between sessions. The full workout takes 25–30 minutes.

Workout (run twice per week):

  • Bodyweight squat — 3 × 15 (rest 60 sec)
  • Reverse lunge — 3 × 10 per leg (rest 60 sec)
  • Glute bridge — 3 × 15 (rest 60 sec)
  • Step-up on sturdy chair — 3 × 10 per leg (rest 60 sec)
  • Standing calf raise — 3 × 20 (rest 45 sec)

Weeks 1–2: Slow, controlled reps — 2 seconds down, 1 second pause, 2 seconds up for squats and lunges. Form before anything else.

Weeks 3–4: Add a 4th set to each exercise. By the end of week 4, you should be noticeably stronger than week 1.

Three Beginner Mistakes to Avoid

Mistake 1: Doing Too Many Exercises

Beginners often search for the “best” leg exercises and end up doing 10 different things in one session. This leads to form breakdown from fatigue and makes progress impossible to track. Four exercises done consistently beats 12 exercises done haphazardly every time.

Mistake 2: Training Legs on Consecutive Days

Training legs daily doesn’t produce faster results — it prevents recovery and slows progress. Two days minimum between leg sessions. Muscle is built during rest, not training.

Mistake 3: Stopping When You’re Sore

DOMS (delayed onset muscle soreness) 24–48 hours after training is normal — especially in the first few weeks. It means your muscles experienced new stress, which is what you want. Wait until soreness fades, then train again. It decreases significantly after the first 2–3 weeks. Stopping because of soreness is the most common reason beginners quit before seeing results.

After 4 Weeks: What Comes Next

  • Add a third leg session per week
  • Progress to harder variations: pause squat, single-leg glute bridge, walking lunge
  • Add resistance bands or a loaded backpack to the exercises

The foundation you build in the first four weeks matters more than it looks like it does. The controlled reps, the movement patterns learned, the neural adaptations — these are what make the harder work that follows both effective and safe.