Dorm Room Workout: A Complete Bodyweight Routine for Small Spaces

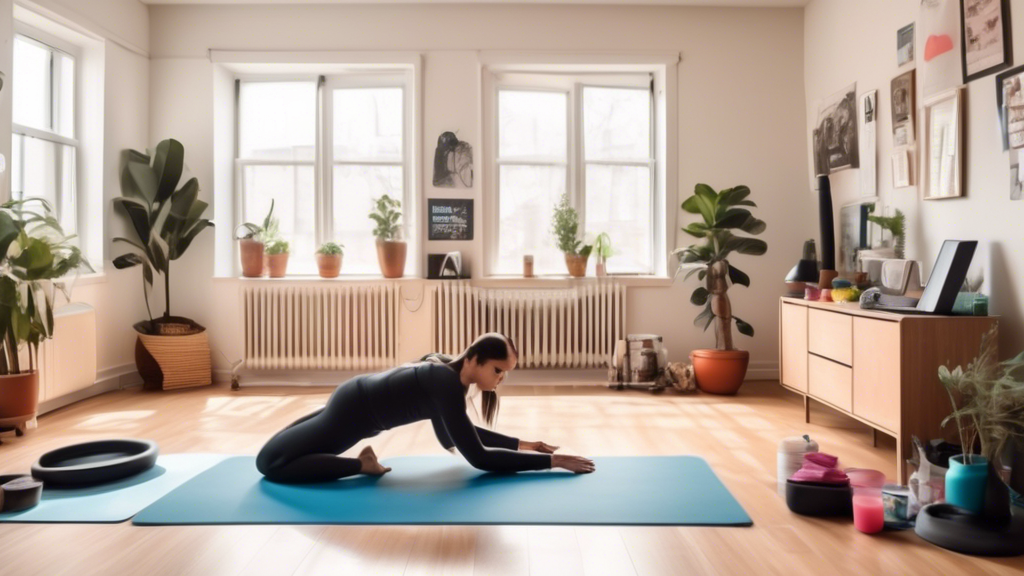
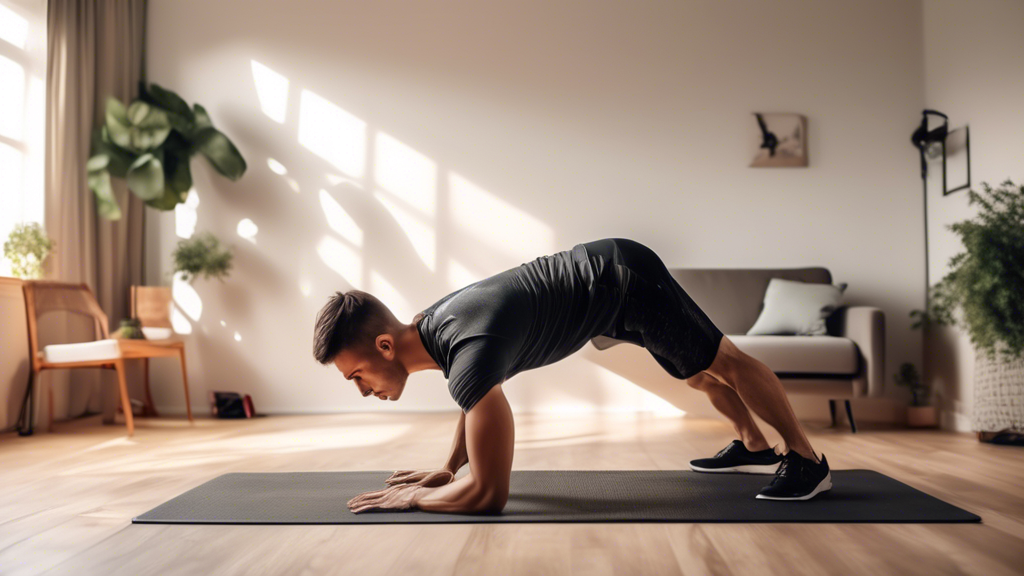
A college student performing bodyweight exercises in a cozy, small dorm room. The room has a bed, a desk with a laptop, bookshelves, and posters on the wal

Dorm rooms present specific workout constraints: minimal floor space (often 8×10 feet with a bed and desk occupying most of it), noise concerns for the rooms adjacent and below, no equipment, and a schedule that alternates between intensely busy and completely free. This routine works within all of those.

The Dorm Room Constraints

  • Space: Clear a 4×5 foot area between your bed and desk — that’s enough
  • Noise: Avoid jumping between 10pm and 8am. Use the low-impact circuit then; use the full circuit during daytime hours
  • Roommate: Either coordinate schedules or use the low-impact version which is quiet enough not to disturb anyone

The Full Dorm Workout (25 Minutes, Daytime)

Warm-up (3 min): March in place → arm circles → hip circles → 8 slow bodyweight squats

Circuit — 3 rounds, 35 sec work / 15 sec rest:

  • Squat jump (land softly) — or fast squat if noise is a concern
  • Push-up
  • Reverse lunge
  • Mountain climbers
  • Glute bridge
  • Plank shoulder tap

Cool-down (2 min): Hip flexor stretch + hamstring stretch

The Low-Impact Version (Evening/Early Morning)

Zero jumping. Quieter than walking to class.

3 rounds, 40 sec work / 20 sec rest:

  • Slow squat (3 sec down, 1 sec hold)
  • Push-up (or knee push-up)
  • Bulgarian split squat (one foot on chair, if you have a chair)
  • Dead bug
  • Tricep dip (on desk chair or bed edge)
  • Side plank

The 10-Minute Desk Break Circuit

For study days when you need to move but don’t want to change clothes. Takes 10 minutes from your chair to done and back:

  • Bodyweight squat × 15
  • Push-up × 10
  • Plank × 30 sec
  • Glute bridge × 15
  • Reverse lunge × 8 per leg

One round. Repeat twice for a 20-minute session. This preserves study momentum better than a full workout.

Using Dorm Furniture

  • Desk chair: Tricep dips, Bulgarian split squat rear leg elevation
  • Bed edge: Hip thrust (shoulders on edge), incline push-up, tricep dip
  • Bed itself: Decline push-up (feet on bed), mountain climbers
  • Wall: Wall sit, wall push-up (beginner), pike push-up

Fitting Workouts Into a Student Schedule

The biggest obstacle isn’t motivation on any given day — it’s that busy class weeks followed by social weekends break the habit completely. Maintaining a minimum: even 10 minutes 3× per week preserves fitness through exam seasons. The 10-minute desk break circuit is specifically designed for this — it removes the “I don’t have time” barrier entirely.
Space-Saving Home Workout: A Complete Full-Body Routine in a 6×6 Foot Area

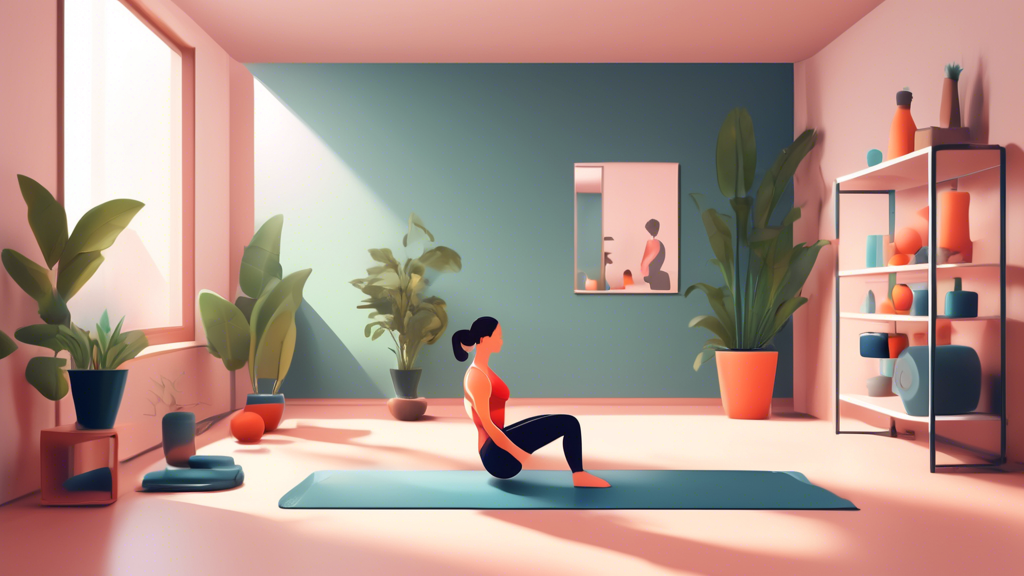
A minimalist home gym setup in a small apartment, featuring a person performing bodyweight exercises such as push-ups, squats, and planks. The room has sim

Every exercise below has been selected because it fits within a 6×6 foot square — roughly the size of a yoga mat with a foot of clearance on each side. No lateral lunges that require width, no broad jumps that need length. Just effective movements in a genuinely compact footprint.

How to Set Up

Clear a 6×6 foot area completely. Check the floor surface — a yoga mat or non-slip rug prevents sliding. If you’re in an apartment, check what’s below you before adding any jumping. That’s all the setup required.

The Full-Body Circuit (25 Minutes)

Four rounds. 35 seconds work, 15 seconds rest between exercises, 90 seconds rest between rounds.

Lower Body

Bodyweight squat — All movement is vertical. Fits in a 2×2 foot footprint.

Reverse lunge — Step backward (not sideways), requiring roughly 4 feet of length. Fits comfortably in 6 feet.

Glute bridge — Lying movement. Needs ~6 feet length × 2 feet width. Exactly within the space.

Upper Body

Push-up — Requires a 4×2 foot space. Easily within limits.

Tricep dip (if you have a chair at the edge of the space)

Pike push-up — Inverted V position, fits in 4×4 feet.

Core

Dead bug — Lying on back, small limb movements. 6×2 feet maximum.

Plank + shoulder taps — 4×2 feet.

Mountain climbers — Plank position, feet alternate forward. 4×2 feet.

Complete 25-Minute Session

Warm-up (3 min): Standing — arm circles, hip circles, slow squats, calf raises

4 rounds of this circuit (35 sec on / 15 sec rest):

  1. Squat
  2. Push-up
  3. Reverse lunge (alternating)
  4. Dead bug
  5. Pike push-up
  6. Glute bridge
  7. Mountain climbers
  8. Plank shoulder tap

Rest 90 sec between rounds.

Cool-down (2 min): Hip flexor stretch, hamstring stretch, cat-cow

No-Jump Modification

Every exercise above is already low-impact — none involve jumping. For apartment buildings with thin floors, you can run this entire session without concern about noise. The only modification needed for maximum quiet: squat even more slowly (4 sec descent) to prevent foot-landing noise.

Progressing Without More Space

You can make these exercises progressively harder without expanding the footprint:

  • Slow the tempo (3–4 seconds per rep)
  • Add pauses at the hardest point
  • Progress to single-leg versions (single-leg bridge, pistol squat prep)
  • Add a resistance band above the knees for squats and glute bridges

The 6×6 foot constraint is not a ceiling on results — it’s just a physical parameter. Progressive overload applied within that space drives continuous improvement.

Bodyweight Circuit Workouts for Small Spaces: 3 Complete Routines Under 25 Minutes

A person performing a bodyweight circuit workout in a small, cozy living room. The scene includes various exercises such as push-ups, squats, and lunges, w

Circuit training is particularly well-suited to small spaces — you stay in one spot and rotate between exercises rather than moving across the room. These three circuits are designed for limited areas and serve different training goals: fat loss, strength, and endurance. All fit in a 5×5 foot space.

How Circuits Work

Complete each exercise back-to-back with minimal rest. Rest only between full rounds. This format keeps heart rate elevated while also providing muscular resistance — you get cardiovascular and strength benefits in the same session.

Circuit 1: Fat Loss (20 Minutes)

Higher rep ranges, shorter rest, more dynamic movement. Designed to maximize calorie burn.

4 rounds, 30 sec work / 10 sec transition, 75 sec between rounds:

  • Squat jump (or fast squat for low-impact)
  • Push-up
  • Mountain climbers
  • Reverse lunge (alternating)
  • Burpee (or inchworm for low-impact)
  • Plank

Approximate calorie burn: 150–200 calories for a 160-lb person over 20 minutes.

Circuit 2: Strength (25 Minutes)

Lower reps, controlled tempo, harder variations. Builds muscle while keeping rest periods manageable.

3 rounds, reps as listed, 30 sec rest between exercises, 90 sec between rounds:

  • Pause squat (3 sec hold at bottom) × 8
  • Diamond push-up × 8
  • Single-leg glute bridge × 10 per leg
  • Pike push-up × 8
  • Dead bug × 8 per side
  • Tricep dip × 10
  • Hollow body hold × 25 sec

Circuit 3: Endurance (20 Minutes)

Sustained moderate effort. Designed to build muscular endurance and cardiovascular capacity simultaneously.

2 rounds, 45 sec work / 15 sec rest, 2 min between rounds:

  • Bodyweight squat
  • Standard push-up
  • Glute bridge
  • Mountain climbers
  • Reverse lunge
  • Plank shoulder tap
  • Calf raise
  • Bird dog (alternating)

Which Circuit to Choose

Circuit Primary Goal Best Used
Fat Loss Calorie burn, cardiovascular fitness 2–3×/week, not on consecutive days
Strength Muscle building, functional strength 2–3×/week, 48 hrs between sessions
Endurance Stamina, active recovery 3–4×/week, including recovery days

Combining Circuits

For best results, alternate between Fat Loss and Strength circuits across the week. Use the Endurance circuit on days when energy is lower or as an active recovery session between harder workouts. A simple weekly structure: Strength Monday, Fat Loss Wednesday, Endurance Friday, rest or walk on other days.

Effective Bodyweight Training at Home: The 4 Principles That Make It Work Long-Term

A cozy living room transformed into a mini-gym, with a person in athletic wear performing various bodyweight exercises like push-ups, squats, and planks. T

Bodyweight training works. People build significant muscle, cardiovascular fitness, and strength with it consistently. But plenty of people also spend years doing the same routine and plateauing after a few months. The difference isn’t the exercises — it’s whether the training follows the principles that drive adaptation. Here are the four that matter most.

Principle 1: Progressive Overload

Your body adapts to a given training stimulus within 4–6 weeks and then stops responding. This is true whether you train with barbells or bodyweight. Without progressive overload — consistently making the work harder — you maintain current fitness but don’t build on it.

In bodyweight training, progressive overload means:

  • Harder variations: Push-up → diamond push-up → archer push-up → one-arm push-up
  • Slower tempo: A 4-second descent on a squat creates significantly more time under tension than a 1-second drop
  • Increased volume: 3 sets → 4 sets → 5 sets over time
  • Reduced rest: 90 sec rest → 60 sec → 45 sec between sets
  • Single-limb work: Two-leg squat → single-leg squat roughly doubles the load on each leg

Track your workouts. Write down what you did — exercises, sets, reps. If you’re not doing more this week than 4 weeks ago in some measurable way, you’re maintaining, not progressing.

Principle 2: Specificity — Train What You Want to Improve

Your body adapts specifically to the demands placed on it. If you want upper body strength, your routine needs upper body resistance work. If you want cardiovascular fitness, you need sessions that elevate your heart rate for sustained periods. If you want flexibility, you need dedicated stretching under load.

The mistake in many home programs is doing “general fitness” without prioritizing specific goals. A 30-minute circuit that does everything moderately produces moderate results in everything. A program that prioritizes 3 strength days per week with 2 conditioning days produces better strength and adequate conditioning.

Decide what you most want to improve, and structure most of your training around it.

Principle 3: Recovery Is Part of Training

Muscle is built during rest, not during training. Training creates the stimulus; sleep and nutrition provide the raw materials for adaptation. Without adequate recovery, consistent training leads to accumulated fatigue that degrades performance and increases injury risk.

Practical minimums:

  • 48 hours between sessions targeting the same muscle groups
  • 7–9 hours of sleep — muscle protein synthesis is dramatically higher during sleep
  • 0.7–1g protein per pound of bodyweight daily
  • One complete rest day per week minimum

Principle 4: Consistency Over Optimization

The best program is the one you actually follow for months. A “suboptimal” program done consistently for 6 months produces better results than a perfectly designed program done for 3 weeks before falling off.

This means:

  • Choose a schedule you can actually maintain, not an ideal one
  • Lower the threshold for a successful session — 15 minutes counts; 10 minutes counts
  • When you miss sessions, return without guilt or self-imposed punishment routines (“extra workouts” to make up for misses usually just create injury)
  • Measure success over months, not weeks

Applying the Principles: A Simple Starting Framework

3 days per week:

  • Session A: Upper body push + pull (push-up variation + table/towel row)
  • Session B: Lower body (squat + lunge + hip hinge)
  • Session C: Full body (combine elements of A and B)

Each week: increase difficulty in at least one exercise in each session by one of the methods in Principle 1. Track it. Maintain protein intake. Sleep. Repeat for 3 months before deciding whether the program is working.

That’s effective bodyweight training. No advanced programming required.

Small-Space Bodyweight Workout Routine: 3 Programs for Beginners to Advanced

Create an image of a person performing a bodyweight workout in a small, tidy living room. The room has minimal furniture to save space, with a sofa against

You need about 6 feet by 2 feet — the size of a yoga mat. That’s the only space requirement for the three programs below. No jumping in the beginner or intermediate versions, which means they work in apartments without disturbing neighbors downstairs.

Before You Start

Every exercise in these programs passes one test: you can do it without stepping off your mat. Arms and legs stay within that footprint. Some exercises use a wall — position your mat a step away from one.

Pick the level closest to your current ability. If you’re unsure, start with beginner and see how three rounds feel. If it’s manageable within the first two weeks, move to intermediate.

Beginner Program — 3 Days Per Week

Rest at least one day between sessions. Three rounds per workout, 60 seconds rest between rounds.

Warm-Up (5 Minutes)

  • March in place: 60 seconds
  • Arm circles forward and backward: 30 seconds each direction
  • Slow bodyweight squats: 10 reps
  • Hip circles: 10 per side

Main Circuit — 3 Rounds

  1. Wall push-up — 12 reps. Hands on wall, shoulder-width apart. Lower your chest toward the wall, press back. Easier than a floor push-up but still effective for building the pattern.
  2. Bodyweight squat — 15 reps. Feet shoulder-width, toes slightly out. Sit back as if into a chair, stand up through your heels.
  3. Forearm plank hold — 20 seconds. Body in a straight line from head to heels. Don’t let your hips sag or pike up.
  4. Glute bridge — 15 reps. Lie on your back, knees bent, push hips up, squeeze at the top, lower slowly.
  5. Standing side leg lift — 12 reps per side. Hold a wall for balance. Lift one leg out to the side, keeping it straight. Lower with control.

Cool-Down (5 Minutes)

  • Child’s pose: 30 seconds
  • Seated hamstring stretch: 30 seconds per side
  • Lying spinal twist: 30 seconds per side

Intermediate Program — 3 to 4 Days Per Week

Four rounds per session, 45 seconds rest between rounds. The reverse lunge replaces the forward lunge here — it requires less forward floor space.

Warm-Up (5 Minutes)

  • Low-impact step-touch (step side to side instead of jumping): 60 seconds
  • Leg swings front to back: 10 per side
  • Hip hinge (good mornings): 10 reps
  • Inchworm: 5 reps

Main Circuit — 4 Rounds

  1. Push-up — 12 reps. Body straight, lower until chest nearly touches floor.
  2. Reverse lunge — 10 reps per side. Step backward instead of forward. Both knees reach 90 degrees at the bottom.
  3. Plank to downward dog — 10 reps. From a high plank, push hips up into an inverted V, then return. Controls the shoulder girdle through a full range.
  4. Glute bridge with march — 12 reps. Hold the top of your bridge, lift one foot an inch off the floor, alternate feet. Harder than it looks.
  5. Side plank — 20 seconds per side. Stack your feet or stagger them. Keep your hips from dropping.
  6. Squat hold calf raise — 15 reps. Stay in the bottom of a squat, raise and lower your heels. Works calves and quad endurance simultaneously.

Finisher — 1 Round, No Rest

  • Mountain climbers (slow, controlled): 30 seconds
  • Plank hold: 30 seconds

Advanced Program — 4 to 5 Days Per Week

Five rounds, 30 seconds rest between rounds. This program includes strength moves that require genuine upper body and single-leg strength. If any move is too hard, substitute the version in parentheses.

Warm-Up (7 Minutes)

  • High knees in place: 30 seconds
  • Lateral squat walk (3 steps each side): 10 reps
  • Push-up to T-rotation: 5 per side
  • Jump rope or mimic the motion: 60 seconds

Main Circuit — 5 Rounds

  1. Diamond push-up — 12 reps. Hands form a triangle under chest. Emphasizes triceps and inner chest.
  2. Single-leg squat (or assisted pistol squat) — 6 reps per side. Hold a door frame if needed. Stand on one leg, lower as far as control allows.
  3. Plank shoulder tap — 20 taps total. From a high plank, tap each shoulder without rotating your hips. Harder the slower you go.
  4. Jump squat (or squat pulse for apartment use) — 15 reps. Land softly on the balls of your feet if jumping.
  5. Pike push-up — 10 reps. From a downward dog position, lower your head toward the floor between your hands. Builds overhead pressing strength.
  6. Single-leg glute bridge — 12 reps per side. One leg extended, drive through the planted heel.

Finisher — 2 Rounds

  • Burpees (step out and in for quiet option): 45 seconds
  • Rest: 15 seconds
  • Hollow body hold: 30 seconds

How to Progress

Add reps or rounds before adding new exercises. Once you complete the full program with clean form and minimal rest, move to the next level. For the advanced program, add external resistance — a resistance band, filled backpack, or ankle weights — instead of increasing volume further.

Flooring Notes

A standard yoga mat (3/16 inch) works for most exercises. On hard floors, a 3/8-inch foam mat provides better knee cushioning. If you’re concerned about impact noise traveling to neighbors below, a high-density rubber mat absorbs impact better than foam — horse stall matting runs about $2 per square foot and outperforms consumer foam mats for noise reduction.

No-Equipment Workout for Small Rooms: 12 Exercises in a 4×4 Foot Space

A cozy, minimalist room with a person performing a bodyweight exercise like yoga or push-ups on a mat, surrounded by simple, space-saving furniture and ser

A yoga mat is 6 by 2 feet. The exercises below fit in that space or smaller. They’re designed for hotel rooms, dorm rooms, studio apartments, or any situation where the available floor space is genuinely limited and rearranging furniture isn’t an option.

These aren’t the exercises with the highest calorie burn per minute — that would be burpees and jumping jacks. These are the most effective exercises relative to the floor space they occupy.

6 Standing Exercises (No Extra Floor Space Required)

1. Wall Push-Up

Targets: Chest, shoulders, triceps
Stand an arm’s length from a wall. Place hands shoulder-width apart. Lower your chest toward the wall, press back. Good starting exercise or warm-up for harder push-up variations.
3 sets of 15 to 20 reps. Progress to incline push-up (hands on chair), then floor push-up.

2. Bodyweight Squat

Targets: Quads, glutes, hamstrings
Feet shoulder-width, toes slightly out. Sit back and down, knees tracking over toes. Stand through your heels.
3 sets of 15 to 20 reps. Progress to pause squat (3 seconds at bottom), then single-leg squat.

3. Standing Hip Hinge

Targets: Hamstrings, glutes, lower back
Stand hip-width. Push your hips back while keeping your back flat, as if trying to touch the wall behind you with your tailbone. Return to standing by driving hips forward.
3 sets of 12 reps. Progress to single-leg hinge.

4. Calf Raise

Targets: Calves, ankle stability
Stand near a wall for balance. Rise onto your toes slowly, lower slowly. The slow lowering phase is where most of the work happens.
3 sets of 20 reps. Progress to single-leg calf raise.

5. Standing Oblique Crunch

Targets: Obliques, lateral core
Stand feet hip-width. Raise one knee while lowering the same-side elbow toward it. Alternate sides with control.
3 sets of 15 per side. Progress by adding a small weight — a full water bottle works.

6. High Knee March

Targets: Hip flexors, cardiovascular conditioning (low impact)
Lift each knee to hip height, alternating. March in place at a pace that raises your heart rate. This is the quietest cardio option available.
3 sets of 60 seconds.

6 Floor Exercises (Fit Within a Yoga Mat)

7. Push-Up

Targets: Chest, triceps, shoulders, core
Body straight, hands slightly wider than shoulder-width. Lower until chest nearly touches floor, press back up.
3 sets of 8 to 12 reps. Progress to close-grip, then explosive push-up.

8. Plank

Targets: Core, shoulders, stability
Forearms or hands. Body straight from head to heels. Don’t let hips sag or pike.
3 sets of 20 to 45 seconds. Progress to plank shoulder tap, plank with leg lift.

9. Glute Bridge

Targets: Glutes, hamstrings, lower back
On your back, knees bent, feet flat. Drive hips up, squeeze at top, lower slowly.
3 sets of 15 reps. Progress to single-leg glute bridge.

10. Superman Hold

Targets: Lower back, glutes, rear shoulders
Lie face down. Lift arms, chest, and legs simultaneously. Hold 3 seconds.
3 sets of 10 reps. Progress to alternating arm and opposite leg.

11. Lying Leg Raise

Targets: Lower abs, hip flexors
On your back, legs straight. Lower them toward (but not touching) the floor, raise back up. Press your lower back into the mat throughout.
3 sets of 12 reps. Progress to flutter kick, then scissor kick.

12. Side-Lying Hip Abduction

Targets: Outer glutes (gluteus medius), hip stability
Lie on your side, legs stacked. Lift the top leg to about 45 degrees, lower with control. Don’t let it drop.
3 sets of 15 per side. Progress by adding ankle weight or a resistance band above the knee.

Building a 20-Minute Circuit

Choose 6 to 8 exercises and do them as a circuit — one set of each exercise in sequence, then rest 60 seconds, repeat 3 times.

Example circuit for 20 minutes:

  • Squat: 15 reps
  • Push-up: 10 reps
  • Glute bridge: 15 reps
  • Plank: 30 seconds
  • High knee march: 45 seconds
  • Superman hold: 10 reps
  • Lying leg raise: 12 reps

Repeat 3 times with 60 seconds rest between rounds.

When Space Is Even More Limited

If your available strip of floor is narrower than a yoga mat — a 3-foot corridor beside a bed, for example — limit yourself to the 6 standing exercises. Wall push-ups, squats, hip hinges, calf raises, standing oblique crunches, and high knee marches all work in that space without requiring you to move anything.