Pilates Core Workout: 6 Key Exercises and What They’re Actually Training

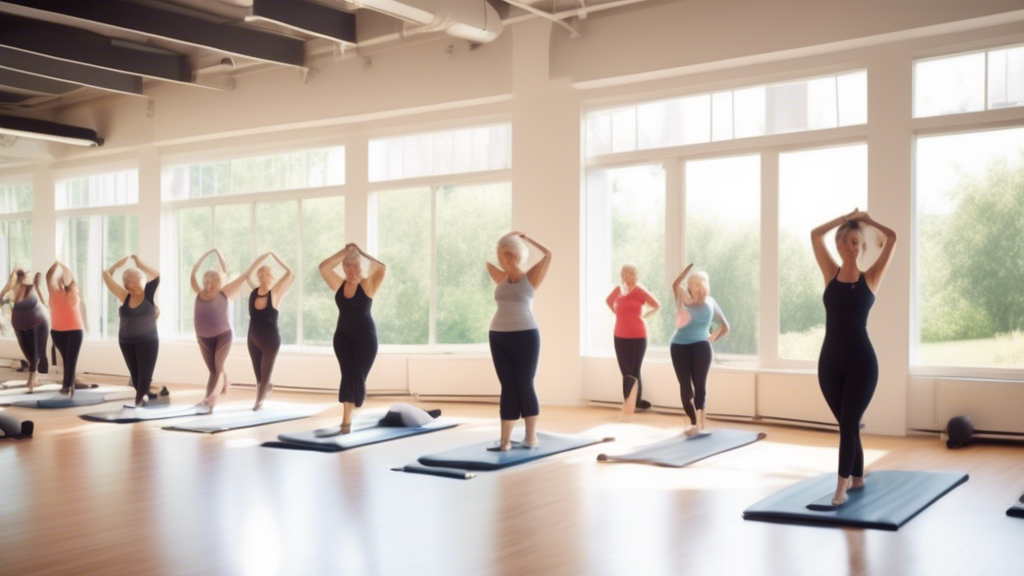
A brightly lit fitness studio with large windows revealing a serene outdoor setting. The room is filled with students of various ages and body types, each

Pilates core training works differently from standard ab exercises. Rather than isolating specific muscles through flexion (like crunches), Pilates prioritizes deep stabilization, control under load, and coordination between breath and movement. Understanding what each exercise is actually training helps you do it correctly and explains why the results transfer to everything else you do physically.

The Core in Pilates: Deeper Than “Abs”

Pilates targets the “powerhouse” — what modern anatomy calls the deep core system: the transverse abdominis (deepest ab layer), pelvic floor, diaphragm, and multifidus (deep spinal stabilizers). These muscles work together to create intra-abdominal pressure that protects the spine. Strengthening them improves posture, reduces back pain, and makes every movement more efficient.

Exercise 1: The Hundred

What it trains: Core endurance and breath coordination

Lie on your back, curl head and shoulders off the mat, extend legs at 45° (or keep knees bent for beginners). Arms by your sides, pump them up and down in small pulses — 5 pumps inhale, 5 pumps exhale. Complete 10 breath cycles = 100 pumps.

The sustained hold demands constant deep core engagement. The breathing pattern coordinates the diaphragm and pelvic floor — the “top and bottom” of the core cylinder.

Exercise 2: The Roll-Up

What it trains: Spinal articulation and sequential core activation

Lie flat with arms overhead. Slowly curl up vertebra by vertebra, reaching forward over your legs, then reverse back down with the same control. Do not use momentum. Each vertebra should peel off and return to the mat sequentially.

This reveals and addresses spinal mobility restrictions — segments that “clunk” rather than roll are areas of stiffness or weakness. 3 × 5 reps.

Exercise 3: Single-Leg Stretch

What it trains: Anti-rotation stability and hip flexor strength

Lie on your back, curl up, pull one knee to chest while the other leg extends. Alternate legs in a coordinated rhythm while maintaining a still, curled torso. Your core stabilizes the pelvis as the legs create rotational forces that want to pull it off-center.

3 × 10 alternating reps.

Exercise 4: Plank (Pilates Version)

What it trains: Whole-core anti-extension with neutral spine

The Pilates plank differs from a standard plank in emphasis: neutral spine (no tucked pelvis), ribcage drawn down (not flared), and active shoulder stabilization. Hold for 20–30 sec, 3 sets. Your focus is on the quality of engagement, not the duration.

Exercise 5: Leg Circles

What it trains: Pelvis stabilization during limb movement

Lie on your back with one leg extended to the ceiling. Circle the leg in small, controlled circles — the pelvis must stay completely still while the leg moves. This isolates the hip socket movement from the pelvis and trains the deep hip stabilizers. 5 circles each direction per leg, 2 sets.

Exercise 6: Criss-Cross

What it trains: Obliques with rotational control

Like a bicycle crunch but with full shoulder rotation and a 1-second pause at the top of each rotation. Bring one elbow toward the opposite knee while extending the other leg. The key is rotating from your thoracic spine, not just swinging your elbow. 3 × 8 per side.

A Beginner Pilates Core Session (30 Minutes)

  • Breathing practice (diaphragmatic) — 2 min
  • The Hundred — 3 rounds (aim for 50–100 pumps)
  • Roll-Up — 3 × 5
  • Single-Leg Stretch — 3 × 10
  • Pilates Plank — 3 × 20 sec
  • Leg Circles — 2 × 5 per direction, per leg
  • Criss-Cross — 3 × 8 per side

Practice 3× per week. The learning curve is in the quality of movement — these exercises become more effective as your body awareness improves.

How to Strengthen Your Leg Muscles at Home: A 6-Week Progressive Plan

A bright and inviting home gym setting featuring a person performing various leg exercises. The person is using resistance bands, doing squats, lunges, and

Six weeks of structured home training is enough time to produce noticeable improvements in leg strength — measured both by how the exercises feel and by objective metrics like max reps and how long you can hold static positions. This plan gives you exactly that: a week-by-week progression with specific targets.

Before You Start: Baseline Tests

Record these numbers before Week 1. You’ll retest at Week 3 and Week 6.

  • Bodyweight squat — max reps with good form
  • Wall sit — max time
  • Single-leg calf raise — max reps per leg
  • Glute bridge hold — max time

Weeks 1–2: Build the Pattern

Three sessions per week. Focus on form and full range of motion — not intensity.

Workout (3× per week):

  • Bodyweight squat — 3 × 15
  • Reverse lunge — 3 × 10 per leg
  • Glute bridge — 3 × 15
  • Wall sit — 3 × 30 sec
  • Standing calf raise — 3 × 20

Rest 60 sec between sets. Controlled tempo: 2 sec down, 1 sec pause, 2 sec up.

Weeks 3–4: Add Difficulty

Midpoint test after Week 3 before increasing difficulty. Then introduce harder variations.

Workout (3× per week):

  • Pause squat (3 sec hold at bottom) — 3 × 10
  • Walking lunge — 3 × 10 per leg
  • Single-leg glute bridge — 3 × 12 per leg
  • Wall sit — 3 × 45 sec
  • Single-leg calf raise — 3 × 15 per leg

Rest 75 sec between sets.

Weeks 5–6: Maximum Challenge

Introduce Bulgarian split squat and Nordic hamstring curl. These are the most demanding bodyweight leg exercises available.

Session A (2 of 3 sessions each week):

  • Bulgarian split squat — 3 × 8 per leg
  • Single-leg RDL (bodyweight) — 3 × 8 per leg
  • Hip thrust (shoulders on couch) — 3 × 12
  • Jump squat — 3 × 8

Session B (1 of 3 sessions each week):

  • Nordic hamstring curl negative — 3 × 5
  • Pause squat — 3 × 8
  • Single-leg calf raise + 3 sec tempo — 3 × 12 per leg
  • Wall sit — 3 × 60 sec

Retest at Week 6

Repeat your baseline tests. Typical results after 6 weeks of consistent training:

  • Squat max reps: +30–50%
  • Wall sit: +40–80% duration
  • Calf raise: +5–10 reps per leg
  • Glute bridge hold: +30–60 sec

After Week 6

Restart the program at Week 1 using harder starting variations — Bulgarian split squat instead of bodyweight squat, single-leg variations everywhere possible. Apply the same 6-week progression to the more demanding exercises. This is how you continue building beyond the beginner phase without needing gym equipment.

Beginner Bodyweight Workout for Small Spaces: 5 Exercises, 20 Minutes, No Equipment

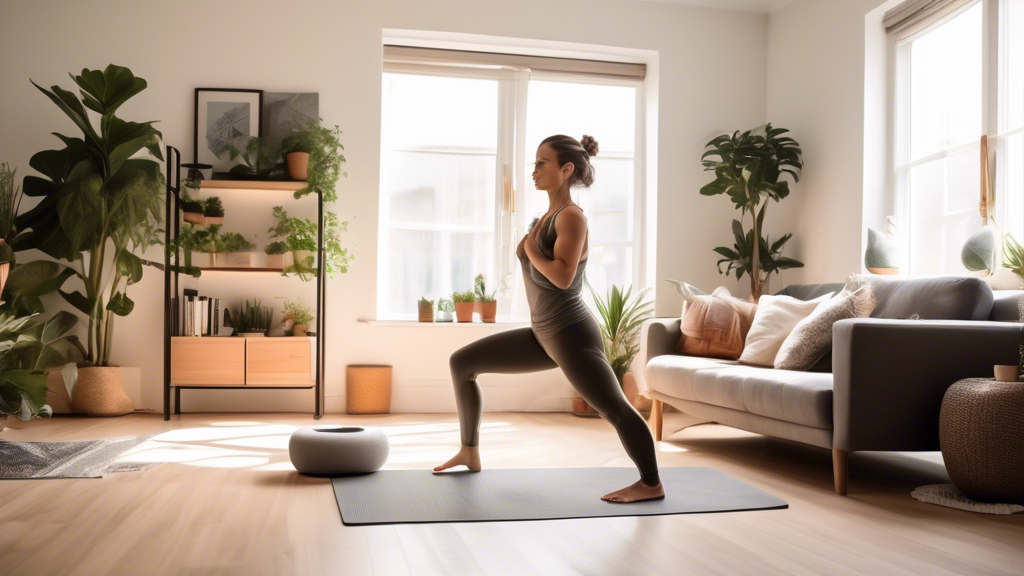
A cozy, modern living room with a person performing bodyweight exercises like squats, lunges, and push-ups. The space is small but well-organized, with a y

You don’t need much space to start working out — a 4×6 foot area and 20 minutes is enough for a complete beginner session. This routine covers all major muscle groups using only bodyweight movements that fit within that footprint. If you’re new to exercise or returning after a long break, start here.

Before You Start

Three things to check:

  • Clear the area of anything you can step on or bump into
  • Use a yoga mat or towel if the floor is hard or slippery
  • Have water nearby — you’ll need it

The 5-Exercise Circuit

These five exercises cover your legs, push muscles, posterior chain, core, and pulling muscles. They require nothing beyond your bodyweight and a 4×6 foot space.

Exercise 1: Bodyweight Squat

Feet shoulder-width, chest up. Lower until thighs are parallel to the floor (or as deep as comfortable). Drive through heels to return. This is the foundational lower body movement.

Beginner: 3 × 10 reps

If squatting to parallel is uncomfortable: Squat to a chair (sit lightly, stand back up) until mobility improves.

Exercise 2: Knee Push-Up

From a kneeling plank position, lower your chest toward the floor and press back up. Keep your body in a straight line from knees to head — no raised hips, no sagging core.

Beginner: 3 × 8 reps

Progress to: Full push-up when you can complete 3 × 10 knee push-ups with perfect form.

Exercise 3: Glute Bridge

Lie on your back, feet flat and hip-width, knees bent. Drive hips upward, hold 2 seconds at the top, lower. Trains your glutes, hamstrings, and lower back stabilizers.

Beginner: 3 × 12 reps

Exercise 4: Standing Calf Raise

Hold a wall or chair for balance. Rise onto toes as high as possible, hold 1 second, lower fully. Full range matters more than speed.

Beginner: 3 × 15 reps

Exercise 5: Dead Bug

Lie on your back, arms pointing to ceiling, knees bent at 90°. Slowly lower one arm overhead and the opposite leg toward the floor while pressing your lower back flat. Return and switch sides. Trains deep core stability.

Beginner: 3 × 6 per side

The 20-Minute Session Plan

  • Warm-up (3 min): March in place → arm circles → hip circles → 5 slow squats
  • Circuit (15 min): Complete all 5 exercises back-to-back. Rest 20 sec between exercises, 75 sec between rounds. Do 3 rounds.
  • Cool-down (2 min): Standing quad stretch → seated hamstring stretch → deep breathing

Common Beginner Mistakes

  • Going too fast. Slow, controlled reps build more strength and are safer than rushing. If you’re bouncing through squats, slow down.
  • Skipping the cool-down. 2 minutes of stretching significantly reduces next-day soreness, especially in the first few weeks.
  • Stopping when sore. Mild soreness 24–48 hours after your first sessions is normal. Train through it (at lower intensity if needed) rather than waiting until you feel 100%.

Frequency and Progress

Start with 3 sessions per week with at least one day between each. After 2 weeks, progress by: adding 1–2 reps per exercise, or reducing rest between exercises to 15 sec, or moving to harder variations (full push-up, single-leg glute bridge). After 4–6 weeks of this routine, you’ll be ready for a more demanding beginner program.

How to Tone Your Arms at Home: What It Means, What Works, and a Simple Weekly Plan

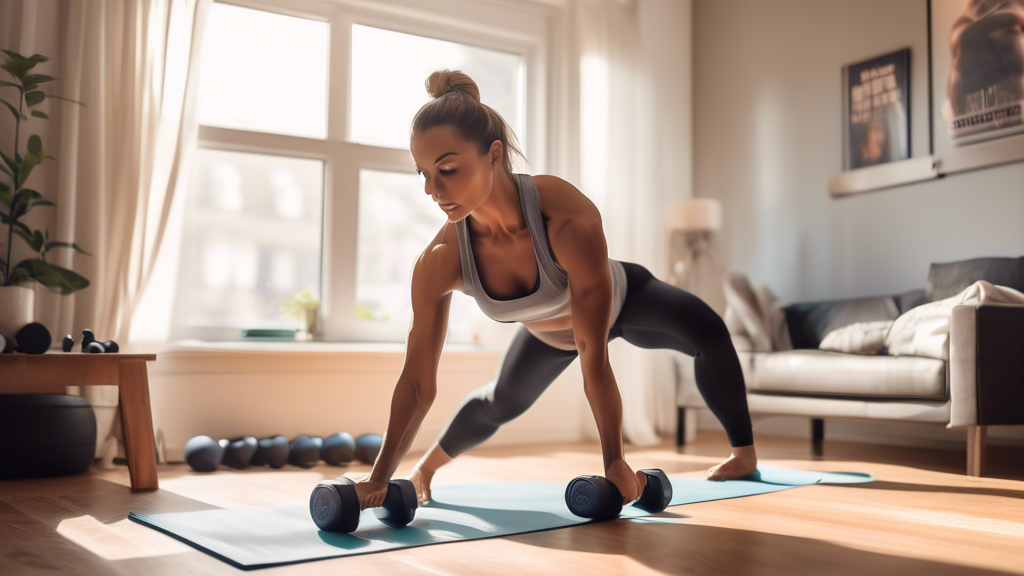
A fit person working out in a cozy living room with a yoga mat, dumbbells, and resistance bands. The individual is performing various exercises like bicep

“Toned” arms means two specific things happening together: muscle development that creates shape and definition, and low enough body fat to make that definition visible. Exercise achieves the first. Consistent nutrition achieves the second. Most arm-toning advice covers only one side of this equation. Here’s both.

What “Toning” Actually Is

Muscle doesn’t have a “toned” mode. It either grows from resistance training or it atrophies from disuse. The “toned” appearance is what muscle looks like when body fat is low enough to see the muscle’s shape clearly. You can’t selectively “firm” a muscle — you build it, and you reduce the fat layer over it.

This means arm toning requires two parallel processes: consistent arm training (to build and maintain muscle) and a moderate calorie deficit with high protein (to reduce body fat over the arms and elsewhere).

The Training Side: Best Arm Exercises at Home

Push Side (Triceps + Shoulders)

Tricep dip — 3 × 10–12: Hands on a sturdy chair, lower until elbows at 90°. The triceps are two-thirds of your upper arm — don’t skip them.

Diamond push-up — 3 × 8: Hands close under chest. Best bodyweight tricep exercise.

Pike push-up — 3 × 8: Hips raised in inverted V, lower head toward floor. Develops shoulder shape that makes arms look more defined.

Pull Side (Biceps + Back)

Table row — 3 × 10: Under a sturdy table, pull chest to the surface. Works biceps and upper back simultaneously.

Towel row — 3 × 10: Towel around door handle, lean back and row. Bicep and rear deltoid work.

Sample Weekly Arm Routine

Monday: Diamond push-up 3×8 → Table row 3×10 → Tricep dip 3×10 → Pike push-up 3×8

Wednesday: Close-grip push-up 3×10 → Towel row 3×10 → Plank shoulder tap 3×12 per side

Friday: Repeat Monday with +1 rep per set on each exercise

Rest at least one day between sessions. Arm muscles recover in 48 hours.

The Nutrition Side: Revealing the Definition

Training builds the muscle. Here’s what reduces the fat layer over it:

  • Protein: 0.7–1g per pound of bodyweight daily. High protein preserves muscle while you lose fat.
  • Calorie deficit: 300–400 calories below your daily maintenance. Enough to lose ~0.5–0.75 lb per week without excessive muscle loss.
  • Consistency: This takes months, not weeks. 12–16 weeks of consistent training + diet is a realistic timeline for visible arm definition changes.

What Doesn’t Work

Spot reduction: You cannot target fat loss to your arms by doing arm exercises. Fat is lost from all over the body simultaneously, in a genetically determined pattern. The exercises build the muscle; the overall calorie deficit removes the fat — everywhere.

Very high reps with no resistance: 100 arm circles daily won’t build muscle. The load needs to be challenging enough that the last few reps of each set are difficult.

Timeline to Expect

Strength improvements: 2–3 weeks. Visible muscle definition emerging: 6–8 weeks of consistent training. Significant visible change: 12–16 weeks with training and diet combined. These timelines are the same whether you train at home or in a gym — the variable is consistency, not the equipment.

Pilates Core Training: From Foundation to Intermediate Exercises

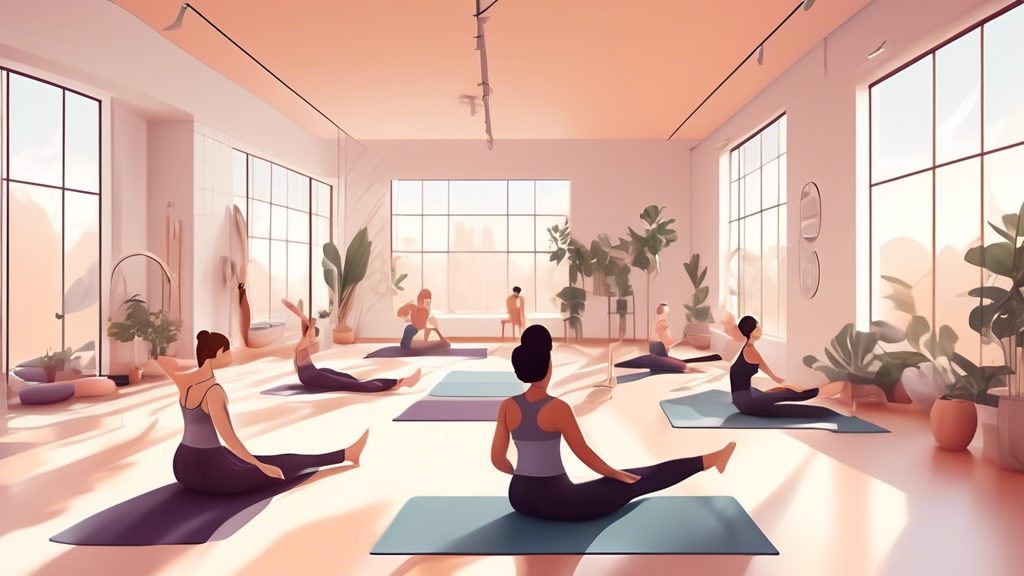
A modern Pilates studio with a serene, minimalist design. A diverse group of people in athletic wear are engaging in a variety of core-strengthening exerci

Pilates core training builds strength progressively — foundational exercises establish the body awareness and deep core activation that more advanced work requires. Skipping the foundation and jumping to harder movements is the most common mistake beginners make, and it produces worse results than building the sequence correctly.

The Principle: Control Before Load

Pilates prioritizes controlled movement with the deep core engaged before adding difficulty. This means learning to activate the transverse abdominis (the deep stabilizing layer), coordinate breathing with movement, and maintain a neutral spine before moving to exercises that challenge these capacities under greater load.

Foundation Level (Weeks 1–3)

Master these before progressing. They look easy; they are not when done correctly.

Imprinting

Lie on your back with knees bent, feet flat. Find neutral spine — the natural curve of your lower back. Breathe in to expand your ribcage, exhale fully and draw your navel gently toward your spine. This engagement of the transverse abdominis is what Pilates calls “centering.” Practice until it becomes automatic before adding any exercise on top of it. 5 min daily.

Leg Slides

From the imprint position, exhale and slide one heel away from your body until the leg is almost straight. Return on the inhale. Your pelvis must not move at all. This is harder than it sounds. 2 × 10 per leg.

Pelvic Curl

From neutral spine, exhale and slowly peel your spine off the mat starting from the tailbone, vertebra by vertebra, until you’re in a bridge position. Inhale at top, exhale to lower the same way. The sequential articulation teaches each spinal segment to move independently. 3 × 8.

The Hundred (Modified)

Head and shoulders curled up, knees bent and lifted to 90°. Pump arms and breathe: 5 short inhales, 5 short exhales. Start with 5 breath cycles (50 pumps) and build to 10 (100 pumps). 2–3 sets.

Intermediate Level (Weeks 4–8)

Begin these when foundation exercises feel controlled and automatic.

Single-Leg Stretch

Head and shoulders curled up. Pull one knee to chest while the other leg extends. Alternate, maintaining still hips and stable torso. 3 × 10 alternating reps.

Double-Leg Stretch

Head and shoulders up, both knees pulled to chest. Extend arms overhead and legs simultaneously (to 45°), then circle arms back to hug knees. The challenge is maintaining the curl and not letting your lower back arch at full extension. 3 × 8.

Spine Stretch Forward

Seated with legs extended. Inhale to lengthen the spine, exhale to round forward one vertebra at a time, reaching toward your feet. Inhale, exhale to roll back to upright. Improves spinal mobility and deep core activation in a non-supine position. 3 × 6.

Criss-Cross

Bicycle-like motion with full thoracic rotation. Bring one elbow toward the opposite knee while extending the other leg. Pause 1 second at the top of each rotation. Rotate from the ribcage, not just the elbow. 3 × 8 per side.

Common Mistakes at Both Levels

  • Gripping with the hip flexors instead of using the core. If your lower back arches or your legs shake, you’ve moved beyond your core’s current capacity. Raise your leg angle or bend your knees.
  • Holding your breath. The breathing IS the exercise in Pilates. Exhale on the effort, inhale on the recovery.
  • Moving through range of motion without control. A small range done with complete control is more effective than a large range done sloppily.

The Traveler’s Bodyweight Workout: A 20-Minute Hotel Room Session

A fit traveler in a sunny park doing bodyweight squats with a suitcase nearby, with city landmarks in the background.

Hotel rooms impose specific constraints: small floor space (typically 6×8 feet of clear area), hard floors that transmit sound to the room below, no equipment, and sometimes guests on each side who don’t want to hear jumping. This routine works within all those limits.

The Hotel Room Rules

  • No jumping exercises — impact travels through floors and walls
  • Movements must fit in 6×8 feet or less
  • Nothing bolted to the floor (no pull-up bars) — use the bed or chair for support exercises
  • Low noise ceiling (fellow travelers can hear you)

The 20-Minute Hotel Workout

Two rounds of this circuit. Rest 15 sec between exercises, 90 sec between rounds.

Round A: Lower Body

Slow squat — 12 reps (3 sec down, 2 sec hold, 2 sec up): No jumping, but the controlled tempo creates significant quad and glute demand. Louder than you’d think at normal speed; the slow version is quiet.

Romanian deadlift (bodyweight) — 10 per leg: Single-leg hinge, reach hands toward the floor as the back leg extends. Near-silent. Excellent hamstring and glute work.

Hip thrust on the bed — 15 reps: Shoulders on the edge of the bed, feet flat on the floor, drive hips up. The soft surface actually helps here — less floor contact pressure, quieter movement.

Calf raise (slow) — 20 reps: Stand at the edge of the bed for balance. 2 sec up, 2 sec down. Full range.

Round B: Upper Body + Core

Push-up — 10 reps: Standard. If the floor is carpeted, it’s comfortable without a mat.

Tricep dip on bed — 10 reps: Hands on bed edge, legs extended. Quiet, effective.

Pike push-up — 8 reps: Inverted V position, lower head toward floor. Trains shoulders — useful when you can’t do overhead presses.

Dead bug — 8 per side: Completely silent. On the floor next to the bed. Great for lower back care after travel sitting.

Plank — 30 sec: Hold or add shoulder taps.

The Travel Recovery Circuit (10 Minutes)

After long flights or drives, your hip flexors, thoracic spine, and hamstrings are typically compressed and tight. Run this instead of or before the workout:

  • Hip flexor stretch (low lunge) — 45 sec per side
  • Thoracic rotation (seated, hands behind head, rotate each direction) — 10 per side
  • Hamstring stretch (seated on bed edge, straighten one leg) — 30 sec per side
  • Cat-cow — 10 reps
  • Ankle circles — 10 each direction per ankle

Making It Count on Short Trips

Maintaining fitness during travel is far easier than rebuilding it afterward. Even one 20-minute session every two days during a work trip preserves most of your strength and cardiovascular capacity. The goal while traveling is maintenance, not progress — and this routine handles that well.