How to Build Six-Pack Abs at Home: The Training Plan and the Diet Reality

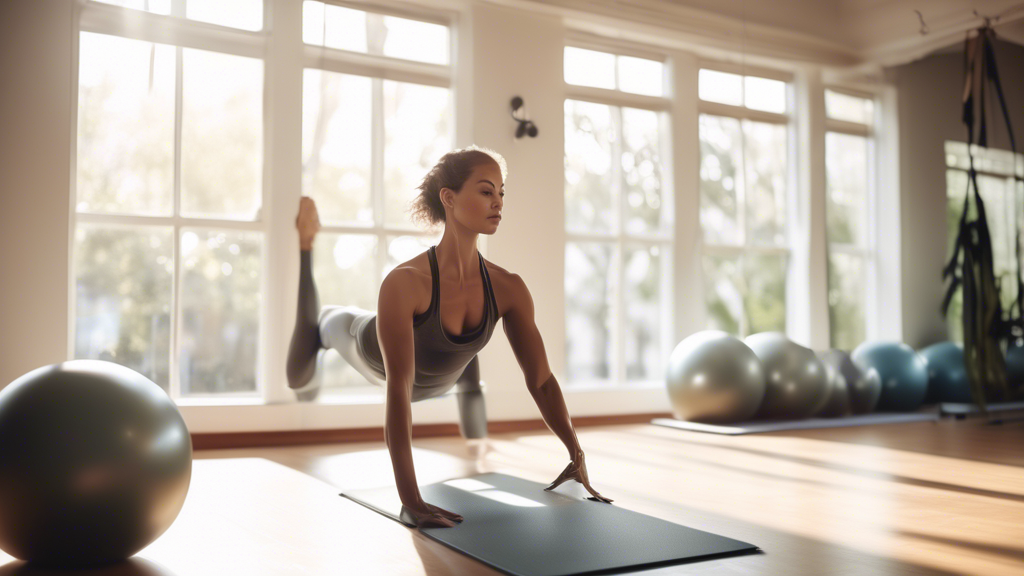
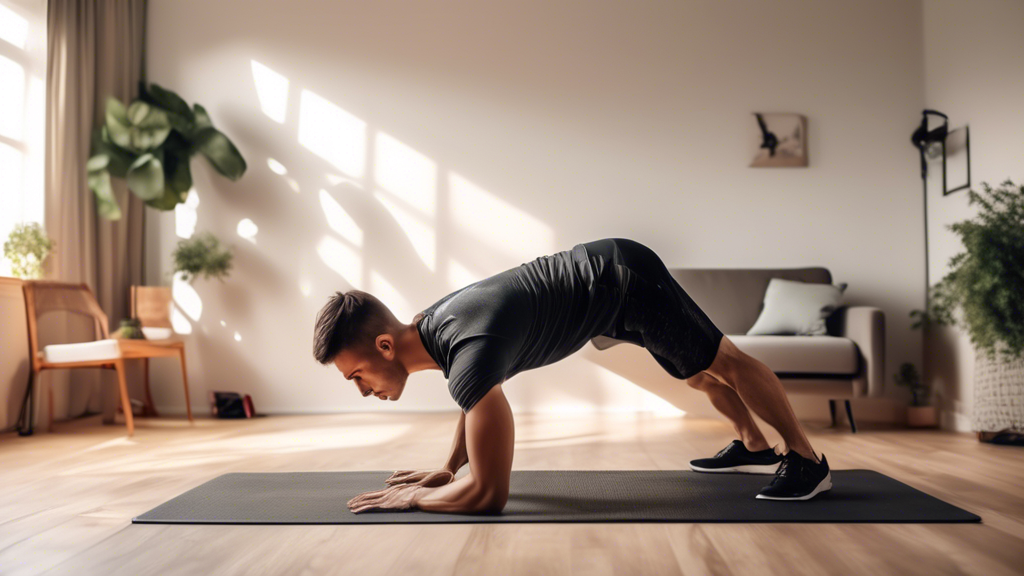
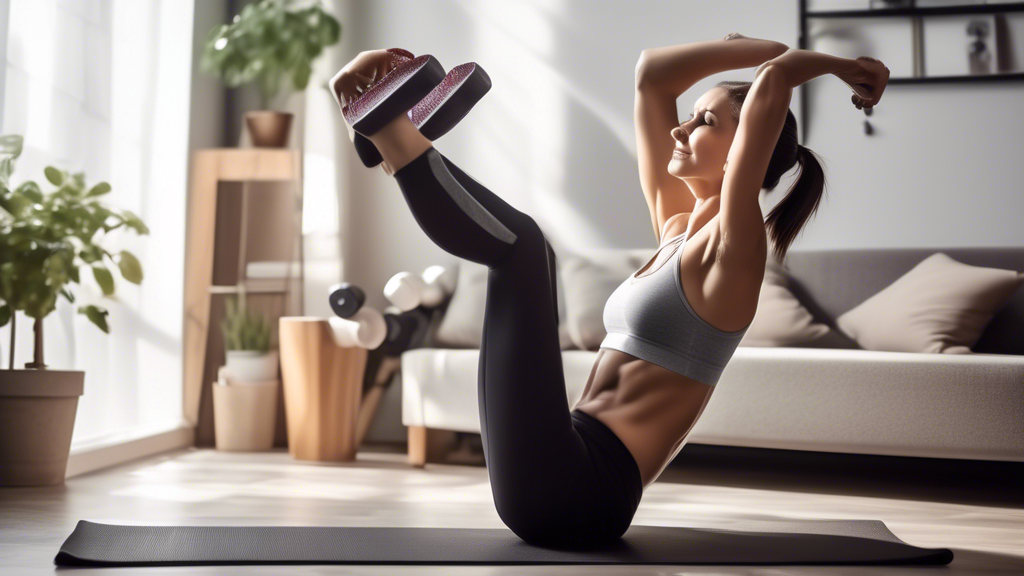
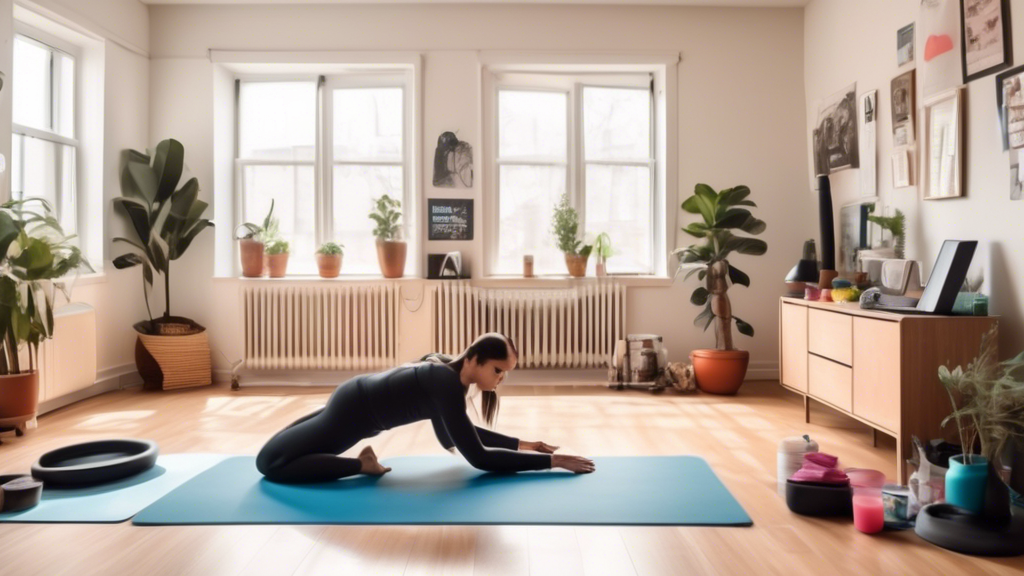
A highly motivated individual performing home workouts, focusing on abdominal exercises like planks, sit-ups, and leg raises, in a well-organized living ro

Six-pack abs require two parallel tracks working together: a training program that develops thick, defined abdominal muscle, and a nutrition approach that reduces body fat enough to reveal it. This guide gives you both — the specific training plan and the honest diet math.

The Diet Math (Why This Comes First)

Your abs are already there. The issue is the fat layer covering them. For most people:

  • Men need to reach roughly 10–14% body fat for abs to be visible
  • Women need to reach roughly 16–20% body fat

The average adult male is around 18–24%. That’s 4–14% of body fat to lose — a process that takes 3–6+ months even with consistent effort. The training program below is worth starting now (it builds the muscle that will show when fat drops), but don’t expect visible abs in 4 weeks if you’re not already near those thresholds.

The Nutrition Approach

Step 1: Calculate your maintenance calories (use a TDEE calculator — Google “TDEE calculator”).
Step 2: Eat 300–500 calories below that daily.
Step 3: Hit 0.7–1g of protein per pound of bodyweight. This preserves muscle while fat is lost.
Step 4: Do this consistently for months, not days.

The Ab Training Program

Three sessions per week. Each 15 minutes. Progress week by week.

Months 1–2: Building the Foundation

Every session:

  • Dead bug — 3 × 8 per side
  • Hollow body hold — 3 × 20–25 sec
  • Plank — 3 × 30 sec
  • Slow bicycle crunch — 3 × 10 per side

Months 3–4: Increasing Difficulty

Every session:

  • Ab wheel rollout — 3 × 6–8
  • Hanging leg raise (or lying straight-leg raise) — 3 × 10
  • Hollow body hold — 3 × 30 sec
  • Side plank hip dip — 3 × 10 per side
  • Dead bug with 3-sec hold — 3 × 6 per side

Why Full-Body Training Matters for Abs

Squats, push-ups, pull-ups, and compound movements create more calorie burn and metabolic demand than ab exercises alone. Including 2–3 full-body sessions per week alongside the dedicated ab training accelerates fat loss and builds muscle that complements the visible abs. Don’t train only your abs — the full-body work is what makes the abs worth training.

Tracking Progress the Right Way

Instead of checking the mirror daily (which shows no change because fat loss is slow), track:

  • Max plank time (week over week)
  • Max hollow body hold
  • How many ab wheel rollouts before form breaks down
  • Waist measurement monthly

These metrics show real progress even when the mirror doesn’t yet. After 3–4 months of consistent training and diet, the mirror will start to reflect what the numbers have been showing all along.
Bodyweight Circuit Workouts for Small Spaces: 3 Complete Routines Under 25 Minutes

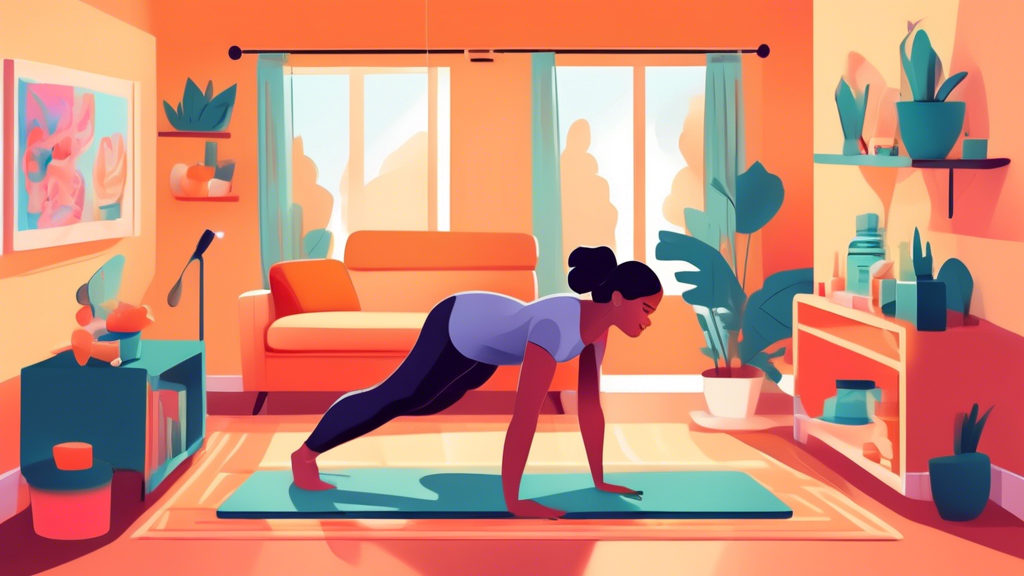
A person performing a bodyweight circuit workout in a small, cozy living room. The scene includes various exercises such as push-ups, squats, and lunges, w

Circuit training is particularly well-suited to small spaces — you stay in one spot and rotate between exercises rather than moving across the room. These three circuits are designed for limited areas and serve different training goals: fat loss, strength, and endurance. All fit in a 5×5 foot space.

How Circuits Work

Complete each exercise back-to-back with minimal rest. Rest only between full rounds. This format keeps heart rate elevated while also providing muscular resistance — you get cardiovascular and strength benefits in the same session.

Circuit 1: Fat Loss (20 Minutes)

Higher rep ranges, shorter rest, more dynamic movement. Designed to maximize calorie burn.

4 rounds, 30 sec work / 10 sec transition, 75 sec between rounds:

  • Squat jump (or fast squat for low-impact)
  • Push-up
  • Mountain climbers
  • Reverse lunge (alternating)
  • Burpee (or inchworm for low-impact)
  • Plank

Approximate calorie burn: 150–200 calories for a 160-lb person over 20 minutes.

Circuit 2: Strength (25 Minutes)

Lower reps, controlled tempo, harder variations. Builds muscle while keeping rest periods manageable.

3 rounds, reps as listed, 30 sec rest between exercises, 90 sec between rounds:

  • Pause squat (3 sec hold at bottom) × 8
  • Diamond push-up × 8
  • Single-leg glute bridge × 10 per leg
  • Pike push-up × 8
  • Dead bug × 8 per side
  • Tricep dip × 10
  • Hollow body hold × 25 sec

Circuit 3: Endurance (20 Minutes)

Sustained moderate effort. Designed to build muscular endurance and cardiovascular capacity simultaneously.

2 rounds, 45 sec work / 15 sec rest, 2 min between rounds:

  • Bodyweight squat
  • Standard push-up
  • Glute bridge
  • Mountain climbers
  • Reverse lunge
  • Plank shoulder tap
  • Calf raise
  • Bird dog (alternating)

Which Circuit to Choose

Circuit Primary Goal Best Used
Fat Loss Calorie burn, cardiovascular fitness 2–3×/week, not on consecutive days
Strength Muscle building, functional strength 2–3×/week, 48 hrs between sessions
Endurance Stamina, active recovery 3–4×/week, including recovery days

Combining Circuits

For best results, alternate between Fat Loss and Strength circuits across the week. Use the Endurance circuit on days when energy is lower or as an active recovery session between harder workouts. A simple weekly structure: Strength Monday, Fat Loss Wednesday, Endurance Friday, rest or walk on other days.

Effective Bodyweight Training at Home: The 4 Principles That Make It Work Long-Term

A cozy living room transformed into a mini-gym, with a person in athletic wear performing various bodyweight exercises like push-ups, squats, and planks. T

Bodyweight training works. People build significant muscle, cardiovascular fitness, and strength with it consistently. But plenty of people also spend years doing the same routine and plateauing after a few months. The difference isn’t the exercises — it’s whether the training follows the principles that drive adaptation. Here are the four that matter most.

Principle 1: Progressive Overload

Your body adapts to a given training stimulus within 4–6 weeks and then stops responding. This is true whether you train with barbells or bodyweight. Without progressive overload — consistently making the work harder — you maintain current fitness but don’t build on it.

In bodyweight training, progressive overload means:

  • Harder variations: Push-up → diamond push-up → archer push-up → one-arm push-up
  • Slower tempo: A 4-second descent on a squat creates significantly more time under tension than a 1-second drop
  • Increased volume: 3 sets → 4 sets → 5 sets over time
  • Reduced rest: 90 sec rest → 60 sec → 45 sec between sets
  • Single-limb work: Two-leg squat → single-leg squat roughly doubles the load on each leg

Track your workouts. Write down what you did — exercises, sets, reps. If you’re not doing more this week than 4 weeks ago in some measurable way, you’re maintaining, not progressing.

Principle 2: Specificity — Train What You Want to Improve

Your body adapts specifically to the demands placed on it. If you want upper body strength, your routine needs upper body resistance work. If you want cardiovascular fitness, you need sessions that elevate your heart rate for sustained periods. If you want flexibility, you need dedicated stretching under load.

The mistake in many home programs is doing “general fitness” without prioritizing specific goals. A 30-minute circuit that does everything moderately produces moderate results in everything. A program that prioritizes 3 strength days per week with 2 conditioning days produces better strength and adequate conditioning.

Decide what you most want to improve, and structure most of your training around it.

Principle 3: Recovery Is Part of Training

Muscle is built during rest, not during training. Training creates the stimulus; sleep and nutrition provide the raw materials for adaptation. Without adequate recovery, consistent training leads to accumulated fatigue that degrades performance and increases injury risk.

Practical minimums:

  • 48 hours between sessions targeting the same muscle groups
  • 7–9 hours of sleep — muscle protein synthesis is dramatically higher during sleep
  • 0.7–1g protein per pound of bodyweight daily
  • One complete rest day per week minimum

Principle 4: Consistency Over Optimization

The best program is the one you actually follow for months. A “suboptimal” program done consistently for 6 months produces better results than a perfectly designed program done for 3 weeks before falling off.

This means:

  • Choose a schedule you can actually maintain, not an ideal one
  • Lower the threshold for a successful session — 15 minutes counts; 10 minutes counts
  • When you miss sessions, return without guilt or self-imposed punishment routines (“extra workouts” to make up for misses usually just create injury)
  • Measure success over months, not weeks

Applying the Principles: A Simple Starting Framework

3 days per week:

  • Session A: Upper body push + pull (push-up variation + table/towel row)
  • Session B: Lower body (squat + lunge + hip hinge)
  • Session C: Full body (combine elements of A and B)

Each week: increase difficulty in at least one exercise in each session by one of the methods in Principle 1. Track it. Maintain protein intake. Sleep. Repeat for 3 months before deciding whether the program is working.

That’s effective bodyweight training. No advanced programming required.

Pilates Core Routine for Beginners: 5 Exercises With Step-by-Step Instructions

A serene fitness studio setting with soft natural light filtering through large windows. A person in form-fitting athletic wear is performing a Pilates rou

If you’re new to Pilates, the most important thing to know is that the quality of each movement matters more than how many exercises you do. A beginner doing three exercises with full control and correct breathing gets more benefit than someone rushing through ten moves without the fundamentals. This routine gives you five foundational exercises with detailed instructions.

The Fundamentals Before You Start

Finding Neutral Spine

Lie on your back with knees bent. There should be a small space under your lower back — that’s neutral spine. Not pressing flat to the floor (posterior tilt), not arching dramatically (anterior tilt). This is the starting position for most Pilates exercises and the position your spine should maintain throughout.

The Pilates Breath

Breathe in through your nose, expanding your ribcage sideways. Breathe out through your mouth, drawing your navel gently in toward your spine. On the exhale, your deep core activates automatically. Practice this 5 times before starting the exercises.

Exercise 1: Imprinting

Purpose: Teaches pelvic control and activates the deep core

Lie on your back in neutral spine. On the exhale, press your lower back gently into the mat (posterior tilt), then on the inhale return to neutral. Do this 10 times slowly. This activates the transverse abdominis and pelvic floor — the foundation of everything else. Spend 3 minutes here before moving on.

Exercise 2: Pelvic Curl

Purpose: Spinal articulation, glute activation, core sequencing

From neutral spine, exhale and begin to curl your tailbone off the mat, then each vertebra progressively until you’re in a bridge with only your shoulders and head on the mat. Inhale at the top. Exhale to lower vertebra by vertebra back to neutral — tailbone last. Every vertebra should peel off and return separately. 3 × 6 reps.

If any segment of your spine “clumps” instead of rolling, that area needs more mobility work — do the exercise anyway, slowly.

Exercise 3: Leg Slides

Purpose: Core stability with limb movement — the core’s primary real-world function

From neutral spine with both knees bent, exhale and slowly slide one heel away from you along the mat until the leg is nearly straight. Inhale, then exhale to return. Your pelvis must not move at all throughout. This looks trivially easy; with perfect pelvic stability, it is genuinely challenging. 2 × 10 per leg.

Exercise 4: The Hundred (Beginner Version)

Purpose: Core endurance, breath coordination

Lie on your back, knees bent, feet flat. Exhale and curl your head and shoulders off the mat (like a crunch, but hold the position). Arms long by your sides. Pump your arms in small controlled beats — 5 short inhales for 5 pumps, 5 short exhales for 5 pumps. Aim for 50 pumps (5 full breath cycles) to start, building to 100 over weeks. Lower your head if your neck tires.

Exercise 5: Single-Leg Stretch

Purpose: Oblique anti-rotation, coordination, hip flexor endurance

Stay curled up from the Hundred. Pull your right knee toward your chest with both hands while extending your left leg to 45°. Switch legs in a controlled rhythm — left knee in, right leg out. Your torso stays completely still. 3 × 8 alternating reps.

If 45° is too demanding, extend the leg to 60° or higher until core strength builds.

The Complete Beginner Session (20 Minutes)

  1. Breathing practice — 3 min
  2. Imprinting — 10 reps, slow
  3. Pelvic Curl — 3 × 6
  4. Leg Slides — 2 × 10 per leg
  5. Hundred (beginner) — 2 sets of 50 pumps
  6. Single-Leg Stretch — 3 × 8
  7. Spine Stretch Forward (seated) — 3 × 5

Practice 3 times per week. After 3–4 weeks, the control and breath coordination will feel natural, and you’ll be ready to add the Roll-Up, Leg Circles, and Double-Leg Stretch from the intermediate repertoire.

Small-Space Bodyweight Workout Routine: 3 Programs for Beginners to Advanced

Create an image of a person performing a bodyweight workout in a small, tidy living room. The room has minimal furniture to save space, with a sofa against

You need about 6 feet by 2 feet — the size of a yoga mat. That’s the only space requirement for the three programs below. No jumping in the beginner or intermediate versions, which means they work in apartments without disturbing neighbors downstairs.

Before You Start

Every exercise in these programs passes one test: you can do it without stepping off your mat. Arms and legs stay within that footprint. Some exercises use a wall — position your mat a step away from one.

Pick the level closest to your current ability. If you’re unsure, start with beginner and see how three rounds feel. If it’s manageable within the first two weeks, move to intermediate.

Beginner Program — 3 Days Per Week

Rest at least one day between sessions. Three rounds per workout, 60 seconds rest between rounds.

Warm-Up (5 Minutes)

  • March in place: 60 seconds
  • Arm circles forward and backward: 30 seconds each direction
  • Slow bodyweight squats: 10 reps
  • Hip circles: 10 per side

Main Circuit — 3 Rounds

  1. Wall push-up — 12 reps. Hands on wall, shoulder-width apart. Lower your chest toward the wall, press back. Easier than a floor push-up but still effective for building the pattern.
  2. Bodyweight squat — 15 reps. Feet shoulder-width, toes slightly out. Sit back as if into a chair, stand up through your heels.
  3. Forearm plank hold — 20 seconds. Body in a straight line from head to heels. Don’t let your hips sag or pike up.
  4. Glute bridge — 15 reps. Lie on your back, knees bent, push hips up, squeeze at the top, lower slowly.
  5. Standing side leg lift — 12 reps per side. Hold a wall for balance. Lift one leg out to the side, keeping it straight. Lower with control.

Cool-Down (5 Minutes)

  • Child’s pose: 30 seconds
  • Seated hamstring stretch: 30 seconds per side
  • Lying spinal twist: 30 seconds per side

Intermediate Program — 3 to 4 Days Per Week

Four rounds per session, 45 seconds rest between rounds. The reverse lunge replaces the forward lunge here — it requires less forward floor space.

Warm-Up (5 Minutes)

  • Low-impact step-touch (step side to side instead of jumping): 60 seconds
  • Leg swings front to back: 10 per side
  • Hip hinge (good mornings): 10 reps
  • Inchworm: 5 reps

Main Circuit — 4 Rounds

  1. Push-up — 12 reps. Body straight, lower until chest nearly touches floor.
  2. Reverse lunge — 10 reps per side. Step backward instead of forward. Both knees reach 90 degrees at the bottom.
  3. Plank to downward dog — 10 reps. From a high plank, push hips up into an inverted V, then return. Controls the shoulder girdle through a full range.
  4. Glute bridge with march — 12 reps. Hold the top of your bridge, lift one foot an inch off the floor, alternate feet. Harder than it looks.
  5. Side plank — 20 seconds per side. Stack your feet or stagger them. Keep your hips from dropping.
  6. Squat hold calf raise — 15 reps. Stay in the bottom of a squat, raise and lower your heels. Works calves and quad endurance simultaneously.

Finisher — 1 Round, No Rest

  • Mountain climbers (slow, controlled): 30 seconds
  • Plank hold: 30 seconds

Advanced Program — 4 to 5 Days Per Week

Five rounds, 30 seconds rest between rounds. This program includes strength moves that require genuine upper body and single-leg strength. If any move is too hard, substitute the version in parentheses.

Warm-Up (7 Minutes)

  • High knees in place: 30 seconds
  • Lateral squat walk (3 steps each side): 10 reps
  • Push-up to T-rotation: 5 per side
  • Jump rope or mimic the motion: 60 seconds

Main Circuit — 5 Rounds

  1. Diamond push-up — 12 reps. Hands form a triangle under chest. Emphasizes triceps and inner chest.
  2. Single-leg squat (or assisted pistol squat) — 6 reps per side. Hold a door frame if needed. Stand on one leg, lower as far as control allows.
  3. Plank shoulder tap — 20 taps total. From a high plank, tap each shoulder without rotating your hips. Harder the slower you go.
  4. Jump squat (or squat pulse for apartment use) — 15 reps. Land softly on the balls of your feet if jumping.
  5. Pike push-up — 10 reps. From a downward dog position, lower your head toward the floor between your hands. Builds overhead pressing strength.
  6. Single-leg glute bridge — 12 reps per side. One leg extended, drive through the planted heel.

Finisher — 2 Rounds

  • Burpees (step out and in for quiet option): 45 seconds
  • Rest: 15 seconds
  • Hollow body hold: 30 seconds

How to Progress

Add reps or rounds before adding new exercises. Once you complete the full program with clean form and minimal rest, move to the next level. For the advanced program, add external resistance — a resistance band, filled backpack, or ankle weights — instead of increasing volume further.

Flooring Notes

A standard yoga mat (3/16 inch) works for most exercises. On hard floors, a 3/8-inch foam mat provides better knee cushioning. If you’re concerned about impact noise traveling to neighbors below, a high-density rubber mat absorbs impact better than foam — horse stall matting runs about $2 per square foot and outperforms consumer foam mats for noise reduction.

Upper Body Toning for Women at Home: A 4-Week Progressive Plan

A fit, confident woman working out in her living room, performing exercises like push-ups, dumbbell curls, or tricep dips. The room is cozy and well-lit, w

“Toning” describes two things happening at once: building muscle in specific areas and reducing the fat that covers it. You can’t spot-reduce fat, but you can build muscle in targeted areas. This program focuses on the latter — progressively building upper body strength over four weeks using bodyweight and minimal equipment.

The structure increases difficulty each week so your muscles continue adapting rather than plateauing. Week one should feel manageable, week two challenging, week three hard, and week four genuinely difficult.

Muscles This Program Targets

  • Chest (pectorals): Push-up variations
  • Shoulders (deltoids): Pike push-ups, overhead pressing movements
  • Triceps: Close-grip push-ups, tricep dips
  • Upper back (rhomboids, rear deltoids): Table rows, Superman holds
  • Biceps: Resistance band curls, table rows (secondary)

Equipment

This program requires nothing to start. Optional additions that improve results:

  • A sturdy chair or low table (for tricep dips and inverted rows)
  • A resistance band ($10 to $15) for added load on rows and curls in later weeks
  • A filled backpack for weeks 3 to 4 if you want weighted push-ups

Week 1 — Foundation (3 Days, Rest a Day Between Sessions)

3 rounds. Rest 60 seconds between rounds.

  1. Incline push-up (hands on chair): 10 reps
  2. Tricep dip (using chair): 10 reps. Hands on seat edge, bend elbows to lower, press up.
  3. Superman hold: 30 seconds. Lie face down, lift arms and legs simultaneously, hold.
  4. Slow arm circle: 15 forward, 15 backward. Use deliberate control — no momentum.
  5. Table row: 10 reps. Lie under a sturdy table, grip the edge, pull your chest toward it. Keep your body in a straight line.

Week 2 — Load Increase (3 Days)

3 rounds, 45 seconds rest between rounds.

  1. Standard push-up: 10 reps, or as many as possible with good form
  2. Tricep dip with 3-second lower: 8 reps. Slowing the eccentric (lowering) phase makes this significantly harder.
  3. Wide-grip push-up: 8 reps. Hands wider than shoulder-width, more chest emphasis.
  4. Pike push-up: 8 reps. Hips high, lower forehead toward floor, press back up. Targets shoulders.
  5. Table row: 12 reps, with a 2-second pause at the top.

Week 3 — Volume (4 Days)

4 rounds, 30 seconds rest between rounds.

  1. Close-grip push-up: 10 reps. Hands under shoulders, elbows track close to your sides. Harder on triceps.
  2. Decline push-up (feet on chair): 8 reps. Elevating feet shifts emphasis to upper chest and shoulders.
  3. Tricep dip with leg extension: 10 reps. Extend one leg as you dip for added instability.
  4. Pike push-up: 10 reps.
  5. Improvised row: 8 reps per side. Grip a filled gallon jug or water bottle and row it to your hip while braced over a chair.

Week 4 — Intensity (4 Days)

4 rounds, 20 seconds rest between rounds.

  1. Push-up to side plank: 8 per side. Do a push-up, then rotate to a side plank. Alternate sides.
  2. Explosive push-up (or fast incline push-up): 8 reps. Push with enough force that your hands leave the surface briefly.
  3. Tricep dip: 15 reps at a controlled pace.
  4. Pike push-up with pause: 8 reps. Hold 2 seconds at the bottom before pressing up.
  5. Single-arm table row: 10 per side.

Why Progression Matters More Than Volume

Doing the same workout every session produces results for 4 to 6 weeks, then stops — muscles adapt. Adding difficulty through slower tempo, more reps, reduced rest, or harder variations is what drives continued change. After completing this four-week program, don’t stop: week five should be a harder version of week four, continuing the progression.

Nutrition for Muscle Building

Exercise creates the stimulus for muscle change. Protein provides the raw material. Aim for 0.7 to 1 gram of protein per pound of bodyweight daily. Without adequate protein, training produces stimulus but not enough material to build from. Good high-protein sources that work in a home routine: Greek yogurt (17g per cup), eggs (6g each), cottage cheese (25g per cup), canned tuna (20g per 3 oz).