Balance Exercises for Seniors: 8 Moves That Measurably Reduce Fall Risk

An elderly couple laughs playfully as they try balancing on one leg in a sunny park, helped by a friendly physical therapist.

Falls are the leading cause of injury-related death in adults over 65 in the United States. One in four seniors falls each year, and the risk compounds: a fall often reduces activity and confidence, which reduces strength and balance further, which increases the next fall’s likelihood. The good news is that balance is trainable at any age. Consistent practice of the exercises below produces measurable improvement in most older adults within 4 to 8 weeks.

If you have a diagnosed balance disorder (vestibular condition, neurological issue), or have already had multiple falls, work with a physical therapist to develop a supervised balance program before training independently.

Why Balance Declines With Age

Balance depends on three systems working together: vision, the vestibular system (inner ear), and proprioception (muscle and joint sensors that report body position). All three systems decline with age. Additionally, the gluteus medius — the hip muscle responsible for lateral stability during walking — weakens significantly in older adults, contributing to the characteristic shuffling, narrow-based gait that precedes falls.

The 8 Exercises — Progressively Ordered

Start with a chair or wall nearby. The goal over time is to reduce your dependence on external support. Have a spotter present for the first few sessions.

1. Weight Shifting Side to Side

Stand behind a chair, hands resting lightly on the back. Slowly shift your weight from your right foot to your left. When your right foot is fully unloaded, hold for 2 seconds, then shift back. Repeat 10 times per side. This trains the most basic balance skill — controlled lateral weight transfer — which is exactly what fails during most walking-related falls.
Progress by: Reducing grip on chair from full hand to fingertips to hovering.

2. Single-Leg Stance

Hold the back of a chair. Stand on one leg. Hold 10 to 30 seconds. Switch. Aim for 3 sets per leg. This is the gold-standard balance assessment for older adults — if you can hold single-leg stance for 10 seconds without support, your fall risk is significantly lower than someone who cannot.
Progress by: Reducing hand support, then closing eyes (a substantial difficulty increase — always do this near a wall).

3. Heel-to-Toe Walk

Walk in a straight line, placing each foot directly in front of the other so heel touches the toe of the back foot with each step. Use a wall alongside for support. Walk 20 steps, return. This challenges the balance required for natural walking more directly than standing balance exercises.
Progress by: Walking without a wall alongside.

4. Clock Reach

Stand on one leg, hold a chair if needed. Imagine a clock face on the floor around you. Reach your free foot to 12 o’clock, return to center. Then 3 o’clock, return. Then 6 o’clock, return. Repeat for all clock positions. This trains balance during controlled limb movement — the condition when most falls occur — rather than just static standing.
Progress by: Reaching further, reducing chair support.

5. Standing Hip Abduction

Hold a chair. Lift one leg out to the side, keeping it straight and controlled. Lower slowly. 12 reps per side. This directly strengthens the gluteus medius — the key muscle for lateral hip stability during walking. Many balance exercise programs neglect this muscle, which is why they’re less effective than expected.
Progress by: Adding ankle weight or resistance band above the knee.

6. Heel Raises

Hold a chair. Rise onto the balls of your feet slowly, lower slowly. 15 to 20 reps. Calf and ankle strength are primary determinants of balance recovery — when you begin to stumble, the first line of defense is the ankle pushing back to center. Weak ankles can’t make this correction quickly enough.
Progress by: Single-leg heel raise.

7. Tandem Stance

Place one foot directly in front of the other, heel touching toe, as if standing on a balance beam. Hold 30 seconds, then switch which foot is forward. Harder than single-leg stance for most people because of the narrow base of support in the lateral direction.
Progress by: Closing eyes, reducing wall proximity.

8. Step-Ups

Use a bottom stair or a 4 to 6-inch platform. Step up and down, leading with the same foot for 10 reps, then switch the leading foot. Single-leg pressing strength and the balance required to control a step are both trained here. Falls on stairs are disproportionately dangerous — this exercise prepares you for exactly that movement.
Progress by: Increasing platform height, reducing hand support.

How Often to Practice

Daily practice produces the best results for balance training. Even 10 minutes per day — 3 exercises, 2 to 3 sets each — produces measurable improvement within 4 weeks in most older adults. Balance training is unlike strength training: it doesn’t require recovery days, and daily repetition accelerates the nervous system adaptations that drive improvement.
Low-Impact Cardio for Seniors: 5 Options, Intensity Guidelines, and a 4-Week Starter Plan

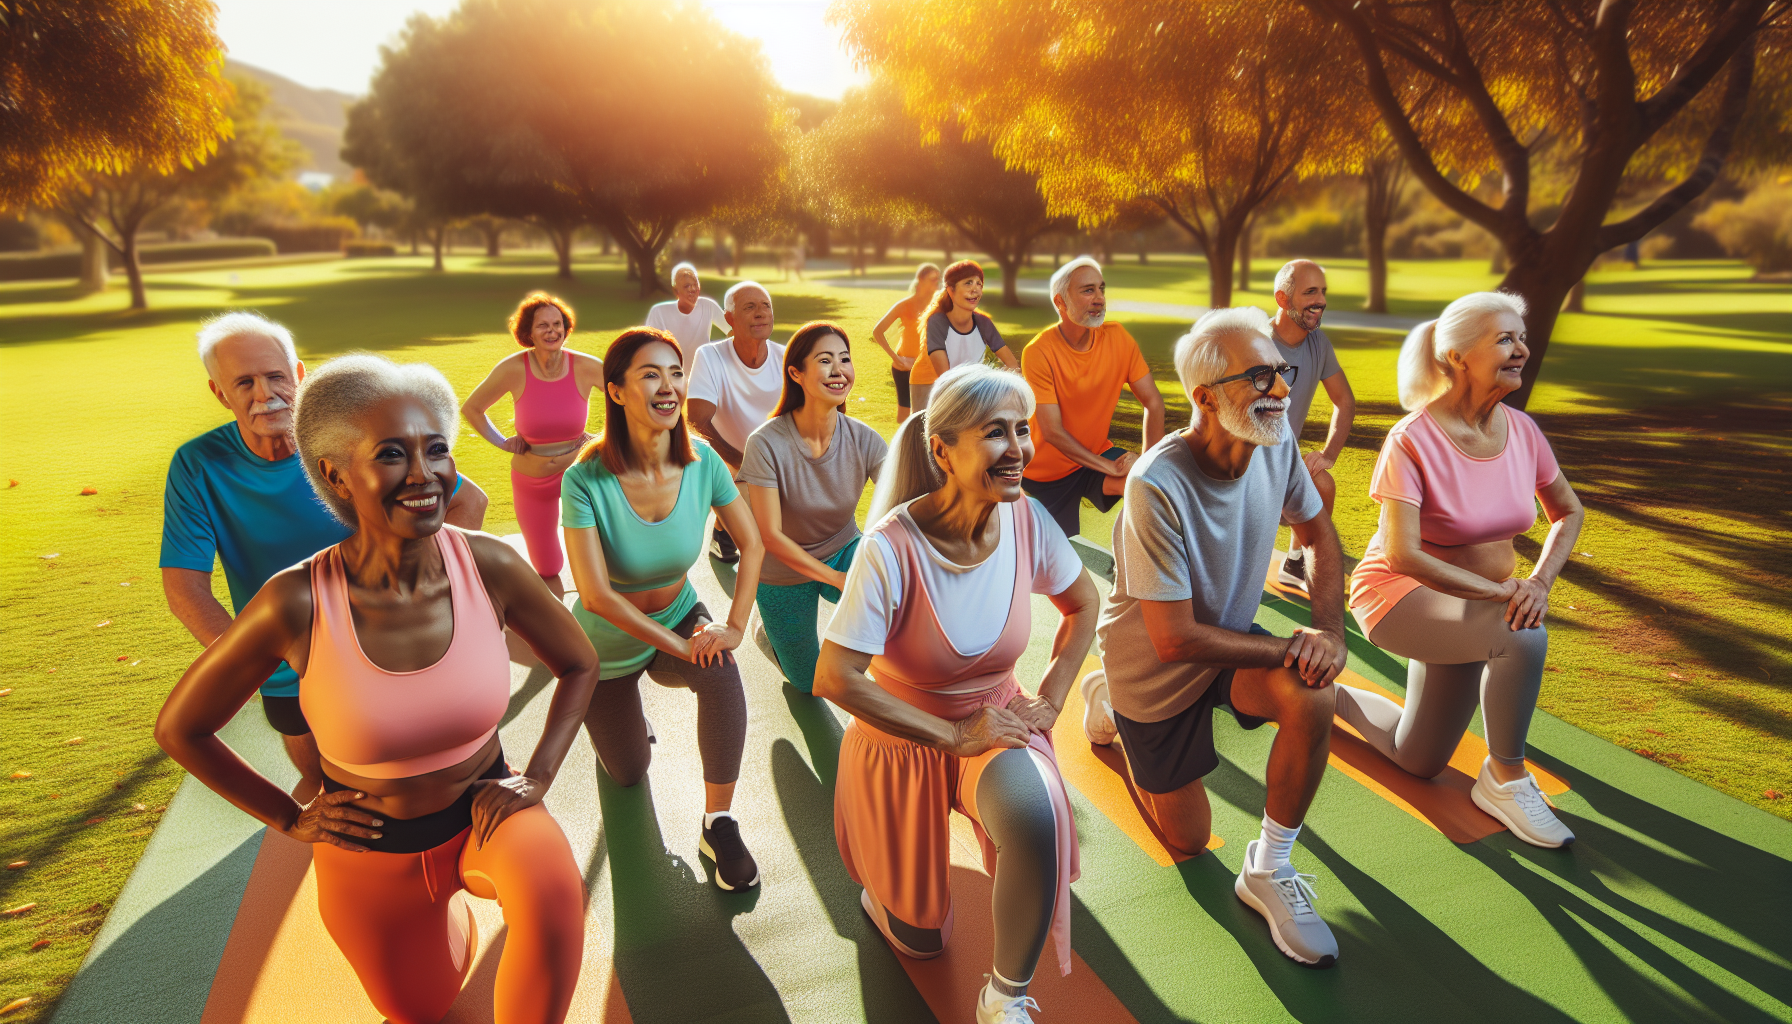
A diverse group of happy seniors wearing workout clothes doing low impact cardio exercises in a sunny park.

Cardiovascular exercise is one of the most powerful tools for healthy aging — it strengthens the heart, improves balance, reduces blood pressure, supports cognitive function, and maintains independence. For seniors, low-impact options are preferred because high-impact activities like running create unnecessary joint stress without additional cardiovascular benefit.

Get clearance from your doctor before starting a new cardio program if you have cardiovascular disease, uncontrolled hypertension, or have been sedentary for more than a year.

Why Cardio Matters More After 60

VO2 max — the body’s maximum oxygen uptake capacity — declines approximately 1% per year after 30, accelerating after 60 without regular training. This decline directly affects energy levels, endurance, and the ability to perform daily tasks: climbing stairs, keeping pace on a walk, carrying groceries without stopping to rest. Regular cardio slows this decline and in active seniors partially reverses it. Cardiovascular exercise also reduces type 2 diabetes risk, lowers LDL cholesterol, and is associated with slower cognitive decline.

How to Gauge Intensity

The simplest method: the talk test. At moderate intensity (the target for most sessions), you can speak in full sentences but not sing. At vigorous intensity, you can manage only a few words before needing to breathe. Target mostly moderate intensity with occasional vigorous effort as fitness improves.

Heart rate zones: roughly 50 to 70% of your maximum heart rate for moderate effort. Estimated max heart rate = 220 minus your age. For a 70-year-old, moderate effort = 75 to 105 bpm.

The 5 Best Low-Impact Options

1. Brisk Walking

The most accessible option requiring no equipment beyond supportive shoes. “Brisk” means a pace where you breathe noticeably harder than at rest — typically 3.0 to 4.0 mph. Walking on varied terrain (gentle hills, uneven paths) increases cardiovascular demand and balance training simultaneously. Flat, consistent surfaces are appropriate if balance is a concern.

2. Chair Cardio

A seated cardio option for those with significant balance concerns or lower limb limitations. Seated arm circles, seated marching (lifting knees vigorously), seated punches, and seated side bends performed at continuous tempo for 20 to 30 minutes produce meaningful cardiovascular stimulus. Chair cardio is legitimate training, not just a compromise — studies show it measurably improves VO2 max and reduces blood pressure in older adults.

3. Swimming and Water Aerobics

Water buoyancy reduces bodyweight to roughly 10% of normal, eliminating almost all joint impact. Water resistance provides both cardiovascular and strength stimulus simultaneously. The main barrier is access to a pool — community pools, YMCAs, and senior centers typically offer water aerobics classes. For those with severe arthritis or joint pain, water exercise is often the only option that’s immediately comfortable.

4. Stationary Cycling

Zero impact, easily adjustable intensity, and appropriate for people with knee, hip, or back conditions that make walking painful. An upright bike or recumbent bike both work. Recumbent bikes provide back support and are easier to mount and dismount for people with hip or balance limitations. A basic recumbent bike suitable for home use starts at $200 to $300 new.

5. Gentle Dance or Dance Cardio

Dance provides cardiovascular stimulus, coordination training, and meaningful cognitive engagement (learning sequences and patterns) in one activity. Low-impact dance styles — line dancing, social dancing, seated dance programs — are appropriate for most older adults. The social element is a significant benefit for long-term adherence.

A 4-Week Starter Plan

Week 1 — Building the Habit (15 minutes, 3 days)

Choose any option above. Moderate intensity throughout. Rest at least one day between sessions. The goal this week is showing up three times, not fitness performance.

Week 2 — Adding Duration (20 minutes, 3 days)

Same intensity. Five additional minutes per session. If any session produces excessive fatigue or soreness, stay at 15 minutes.

Week 3 — Adding a Session (20 minutes, 4 days)

Add a fourth weekly session. This week tests recovery capacity. If you feel run-down by day 4, drop back to 3 sessions and build more gradually.

Week 4 — Building Toward 150 Minutes Per Week (25 minutes, 4 days)

100 minutes of moderate cardio per week. The research-backed target for health benefit in older adults is 150 minutes per week of moderate-intensity activity. This week gets you to two-thirds of that goal. Continue building 5 minutes per session each subsequent week until you reach 150 total weekly minutes.

Safety Notes

Stop and rest if you experience: chest pain or tightness, significant shortness of breath (unable to speak at all), dizziness, or unusual fatigue. These are not normal exercise sensations and warrant medical evaluation before continuing.

Chair Yoga for Seniors: 10 Poses to Improve Flexibility and Reduce Stiffness

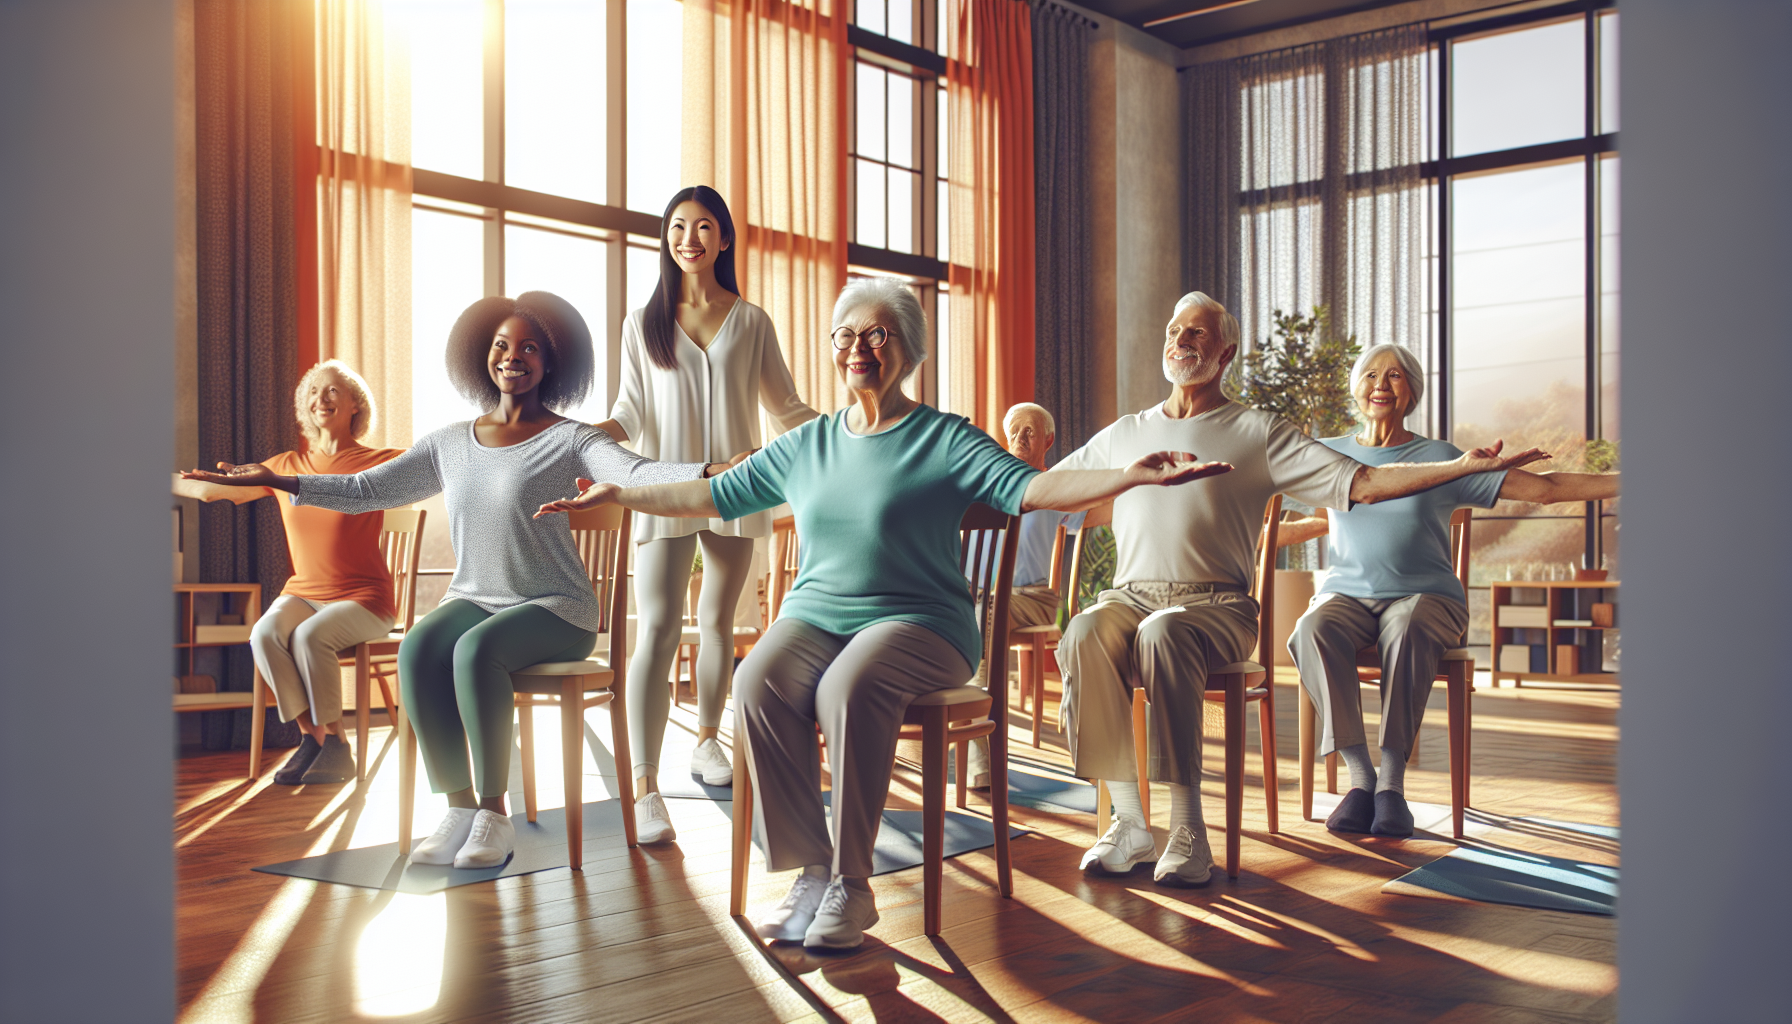
A diverse group of smiling seniors practicing chair yoga poses in a bright and airy room with a yoga instructor guiding them.

Chair yoga modifies traditional yoga poses so they can be performed while seated in a standard chair or with a chair for balance support. It’s appropriate for seniors with limited mobility, joint pain, or balance concerns that make floor-based or standing yoga difficult. It provides the flexibility, breathing, and mindfulness benefits of yoga without requiring floor transitions.

Unlike the chair exercises article on this site (which focuses on strength), this practice focuses on flexibility, range of motion, stress reduction, and mind-body awareness.

What You Need

A sturdy chair without wheels. Armless chairs or chairs with wide armrests both work. Sit on the front half of the seat so your back isn’t resting against the chair back during most poses — this allows freer spinal movement. Wear loose, comfortable clothing.

The 10 Poses

Hold each pose for 3 to 5 slow breaths unless a specific time is noted. Breathe in through the nose, out through the nose or mouth. Never hold your breath.

1. Seated Mountain Pose (Tadasana)

The foundation. Sit tall at the edge of your chair. Feet flat on the floor, hip-width apart. Spine tall, crown of head lifting toward the ceiling. Shoulders relaxed, away from ears. Hands resting on thighs. Hold for 5 breaths, focusing on your posture. This is the alignment reference point for all other poses.

2. Seated Cat-Cow

Hands on knees. Inhale and gently arch your back, lifting chest and tailbone (cow). Exhale and round your spine, drawing navel toward spine (cat). Repeat 8 to 10 cycles slowly. Lubricates the spine and warms up the core muscles. One of the best morning poses for people with lower back stiffness.

3. Seated Forward Fold

From mountain pose, inhale to sit tall. Exhale and slowly hinge forward from the hips, letting your hands slide down your shins or reach toward your feet. Let the head hang. Hold 5 breaths. Inhale to return upright. Stretches the hamstrings and lower back — areas that tighten significantly from prolonged sitting.

4. Seated Side Bend

Inhale and raise your right arm overhead. Exhale and bend to the left, reaching your right arm to the left as your left hand slides down the chair leg for support. Hold 5 breaths, return, switch sides. Stretches the lateral trunk muscles and the intercostal muscles between the ribs — important for breathing capacity.

5. Seated Spinal Twist

Sit tall. Inhale. Exhale and rotate your upper body to the right. Place your left hand on your right knee and your right hand on the chair back or armrest for support. Hold 5 breaths. Inhale to return to center. Switch sides. Maintains spinal rotation that decreases with age and reduces stiffness in the mid and upper back.

6. Seated Eagle Arms

Extend both arms forward at shoulder height. Cross the right arm under the left at the elbow. If possible, wrap the forearms and bring palms together (or backs of hands together). Lift elbows to shoulder height. Hold 5 breaths. Switch crossing. Opens the upper back and stretches the rear shoulder muscles — important for people with rounded shoulders from desk work or prolonged sitting.

7. Seated Pigeon

Cross your right ankle over your left knee, forming a figure-4. If this is too intense, simply rest the right ankle on the left knee. Sit tall or hinge slightly forward. Hold 5 to 8 breaths. Switch sides. Stretches the outer hip and glutes — areas where tension accumulates during prolonged sitting and contributes to lower back pain.

8. Seated Warrior I Arms

Sit tall. Inhale and raise both arms overhead, palms facing each other. Draw shoulders down away from ears. Hold 5 breaths. This improves shoulder mobility and reinforces upright posture alignment. Progress by adding a slight back bend (lifting the chest and gazing upward) if the neck is comfortable.

9. Neck Rolls

Sit tall, shoulders relaxed. Slowly drop your right ear toward your right shoulder. Roll your chin slowly toward your chest, then toward the left shoulder, and back to center. Complete 3 slow rolls each direction. Releases the neck and upper trapezius — primary tension accumulation sites for most adults.

10. Seated Savasana (Seated Rest)

Rest your back against the chair back. Let your arms fall to your sides, hands resting on your thighs, palms up. Close your eyes. Release all effort from your muscles. Breathe slowly for 3 to 5 minutes. The closing rest is important — it allows the nervous system to integrate the preceding poses. Don’t skip it to save time.

Complete Practice Session

Move through all 10 poses in sequence for a 20 to 25-minute session. Practice 3 to 5 times per week for the best results. Daily practice produces the most consistent flexibility improvement — even 15 minutes daily is more effective than one long session per week.

Exercise for Seniors With Arthritis: What the Evidence Shows and a Beginner Routine

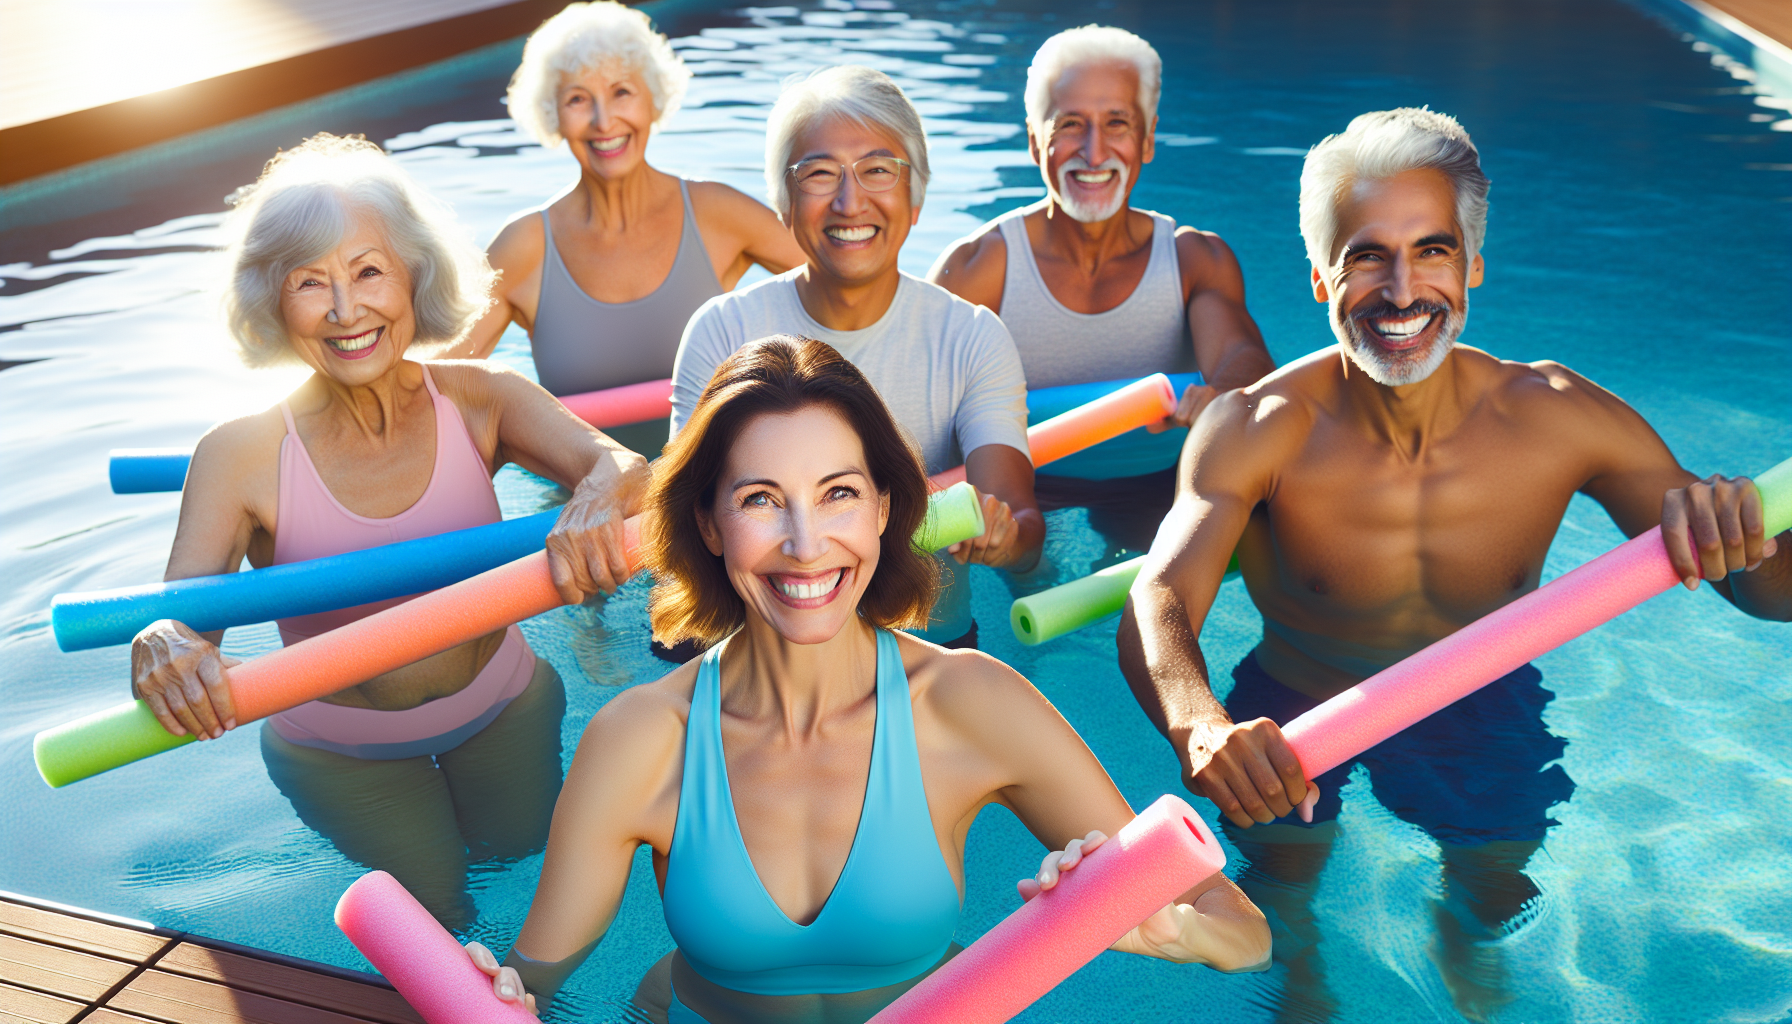
A diverse group of smiling seniors with arthritis doing gentle water aerobics in a sunny pool, with colorful pool noodles and a supportive instructor.

Many seniors with arthritis avoid exercise because movement causes pain. This is understandable but counterproductive: inactivity allows joint-supporting muscles to weaken, which increases joint stress, which worsens pain. Exercise — the right kind, at the right intensity — reduces arthritis pain, improves range of motion, and slows disease progression. This is well established in the research.

This guide covers osteoarthritis (the most common type) and general joint pain management. Rheumatoid arthritis and other inflammatory conditions require coordination with your rheumatologist, as exercise recommendations differ during flares.

What Exercise Does for Arthritic Joints

Strong muscles reduce the load on joints — the knee joint experiences approximately 3 times bodyweight during walking; strong quadriceps distribute and absorb some of that force, reducing cartilage stress. Synovial fluid (joint lubricating fluid) circulates through movement — the joint is like a sponge, and movement is what distributes lubrication. Range of motion exercises prevent the capsule tightening that increases stiffness and reduces function over time.

What to Avoid

  • High-impact activities (running, jumping, step aerobics) during flares or with advanced joint damage
  • Pushing through sharp pain — distinguish between the discomfort of moving a stiff joint (acceptable) and pain that indicates stress injury (stop)
  • Exercises that load an acutely inflamed joint — during flare periods, gentle range-of-motion only

The Best Exercise Types for Arthritis

Strength training: The most important. Building muscle around affected joints reduces pain and functional limitation more than any other intervention. Even modest strength gains produce significant symptom improvement.

Water exercise: Buoyancy removes most joint load, allowing movement that’s painful on land. Ideal for people with severe joint involvement.

Tai chi: Shown in multiple randomized trials to reduce knee arthritis pain comparably to physical therapy. The slow, controlled weight shifts are particularly effective.

Walking: Appropriate for most arthritis patients. Start with shorter distances and build gradually. Supportive footwear matters significantly.

Cycling: Low joint impact, good range-of-motion stimulus for knees and hips. Recumbent bikes are easier for people with hip restrictions.

A Beginner Routine for Arthritic Joints

Start with 2 days per week. Add a third day after 2 to 3 weeks if tolerated. If any exercise produces pain lasting more than 2 hours after the session, reduce the intensity or range of motion for that exercise at the next session.

Complete 2 rounds of each exercise.

Seated leg extension — 10 reps per side
Sit in a chair. Straighten one leg slowly, hold 2 seconds, lower. Works the quadriceps through a controlled range. Reduces knee stress compared to squats while building the same muscle group.

Glute bridge — 12 reps
Lie on your back, knees bent, feet flat. Press through heels to lift hips. Lower slowly. Builds glutes and hamstrings without knee compression.

Wall push-up — 12 reps
Hands on wall. Lower chest toward wall, press back. Gentle on shoulder and wrist joints while building upper body strength needed for daily pushing tasks.

Seated resistance band row — 12 reps
Resistance band around door handle at chest height. Pull elbows back, squeeze shoulder blades. Essential for upper back strength and posture.

Standing calf raise — 15 reps (hold chair for balance)
Rise onto ball of foot, lower slowly. Builds ankle strength and joint stability.

Gentle range-of-motion circles — 10 each joint
Ankle circles, wrist circles, shoulder circles. Promotes synovial fluid circulation through the joint. Do these as both warm-up and cool-down.

Practical Notes

Warm up before exercising: A 5-minute walk or warm shower before training loosens the joint capsule and circulates synovial fluid, reducing early-exercise pain significantly.

Ice after, not before: Ice for 15 to 20 minutes after exercise if joints are swollen or inflamed. Heat before exercise to loosen stiffness. Don’t ice before exercise — it reduces muscle activation.

Progress slowly: The “too much, too soon” pattern causes more arthritis exercise failure than any other factor. Add one set, one day, or 5 additional minutes at a time, not all at once.

Water Aerobics for Seniors: Benefits, What to Expect, and How to Get Started

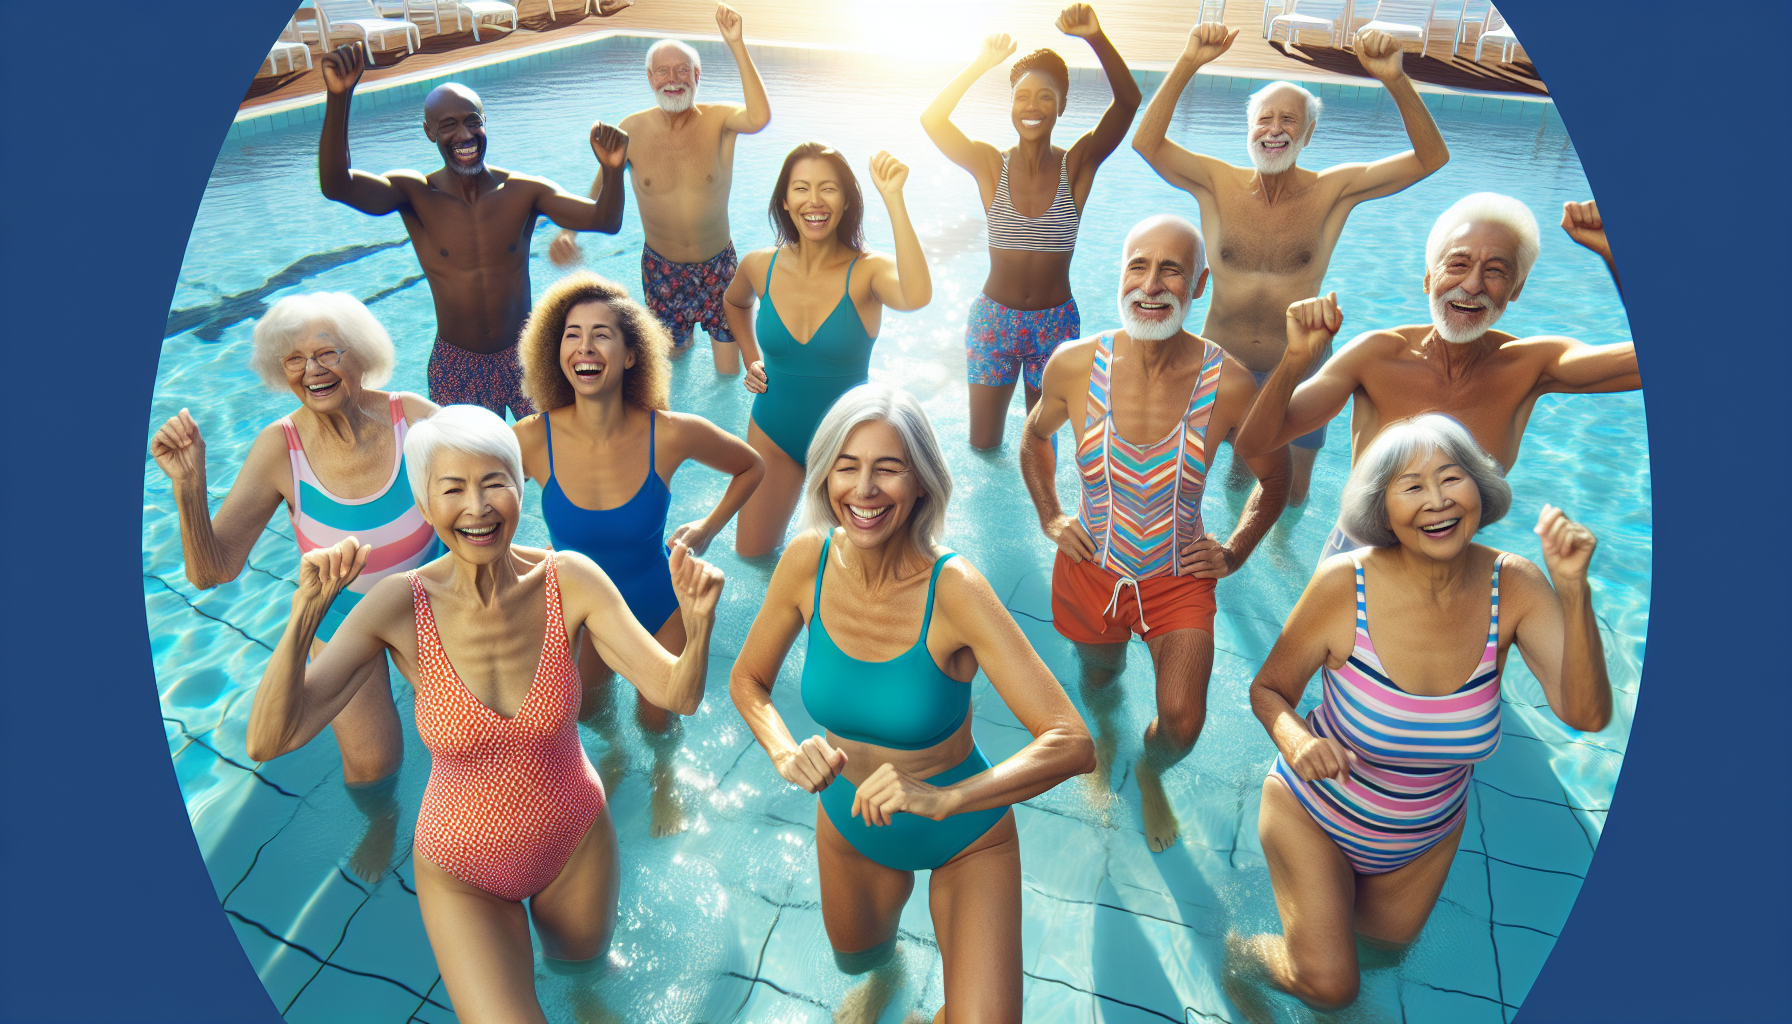
A group of smiling seniors laughing and doing water aerobics in a sunny swimming pool, wearing colorful swimwear.

Water aerobics takes place in a pool, typically in chest-deep water, and involves cardio, strength, and range-of-motion movements against water resistance. For seniors — particularly those with arthritis, joint pain, or mobility limitations — it’s often the most comfortable exercise option available because water buoyancy reduces effective body weight by roughly 90%, eliminating almost all joint impact.

Note: Water aerobics requires access to a pool. Community pools, YMCAs, senior centers, and recreation centers are the most common venues. Class costs typically range from $5 to $15 per session, with membership discounts often available.

What the Research Shows

Studies consistently show that water aerobics produces cardiovascular improvements comparable to land-based exercise at the same intensity while creating significantly less joint stress. For older adults specifically, it reduces osteoarthritis pain, improves balance and gait, maintains bone density (less effectively than weight-bearing exercise, but meaningfully), and provides social engagement that supports mental health and long-term adherence.

Why Water Is Particularly Good for Seniors

Buoyancy eliminates impact: The force that damages aging joints — the landing force of every step — doesn’t exist in water. You can move your legs and arms vigorously without the repetitive impact that wears on knees, hips, and ankles on land.

Water resistance is automatic: Move your arm slowly through water and it provides little resistance. Move it quickly and resistance increases proportionally. This means you automatically exercise at the intensity you’re capable of — the water self-regulates. You can’t accidentally overdo it the way you can with weights.

Fall risk is reduced: In chest-deep water, a stumble doesn’t result in a fall — the water catches you. For seniors who are anxious about falling during exercise, this removes a significant barrier to participation.

Temperature regulation: A cool pool lowers core temperature, allowing people who overheat easily to exercise for longer than they could on land.

Common Water Aerobics Exercises

Cardiovascular Movements

Water walking: Walk forward, backward, and sideways through chest-deep water. More resistance than air walking — it’s a genuine workout at brisk pace. Start here if you’re new to water exercise.

Water jogging: Jog in place or across the pool. The buoyancy makes this dramatically lower-impact than land jogging while the resistance makes it harder cardiovascularly.

Flutter kick: Hold a kickboard (provided at most pools) and kick your legs in alternating short kicks. Targets the hip flexors and quadriceps without upper body load.

Strength Movements

Arm push and pull: Stand in chest-deep water. Push both arms forward through the water, then pull them back. Repeat for 30 to 60 seconds. Water resistance provides the load — move faster for more resistance.

Water leg lifts: Stand near the pool wall, hold the edge. Lift one leg to the side, return. Lift it forward, return. Lift it back, return. Targets all hip muscle groups.

Water wall push-up: Face the pool wall, hands on the edge at shoulder width. Lean in, push back. Equivalent to an incline push-up.

Flexibility and Range-of-Motion

Hip circles: Hold the pool wall, circle one leg slowly at the hip joint. Full range of motion in all directions.

Ankle circles: In the water, rotate each ankle through its full range. Water supports the leg, allowing complete focus on the ankle movement.

What to Expect From Your First Class

Most water aerobics classes are 45 to 60 minutes. Instructors stand at pool deck (they don’t get in), lead the movements, and provide modifications. The class will almost certainly feel social — regular attendees tend to be community-oriented, and the group format is a significant part of what makes water aerobics an activity people sustain for years.

Bring: swimsuit, water shoes (optional but helpful on slippery pool decks), towel, and a water bottle — you still need to hydrate in a pool.

Getting Started

Call your nearest YMCA, community recreation center, or senior center and ask about water aerobics class schedules. Many offer senior-specific sessions at lower-demand times of day. If no classes are available in your area, individual lap swim time and a YouTube water aerobics follow-along session can accomplish the same thing independently — you just need pool access.

Aim for 2 to 3 sessions per week to see meaningful improvement in cardiovascular fitness and joint comfort within 6 to 8 weeks.

Pelvic Floor Exercises at Home: Kegels, Reverse Kegels, and 5 Supporting Moves

A woman smiling serenely while practicing pelvic floor exercises in a calming yoga studio with soft lighting and lush plants.

The pelvic floor is a group of muscles and connective tissue that forms the base of your pelvis. It supports your bladder, bowel, and uterus, keeps you continent, and contributes to core stability. It also takes a beating — from pregnancy, childbirth, high-impact exercise, prolonged sitting, and normal aging.

The good news: pelvic floor muscles respond to training just like any other muscle. You can strengthen them at home with no equipment. This guide covers the most effective exercises, the common technique errors that make Kegels useless, and five full-body movements that support pelvic floor recovery without overloading it.

Health note: If you have pelvic organ prolapse, persistent incontinence, or pelvic pain, work with a pelvic floor physiotherapist before starting. Self-guided exercise is appropriate for general strengthening and mild dysfunction — not for active injury.

Finding Your Pelvic Floor

Before you can train these muscles, you need to locate them. Try this: imagine you’re stopping the flow of urine mid-stream, then release. The muscles you just contracted are your pelvic floor. Don’t actually stop urine mid-stream regularly — it’s a technique cue only, not an exercise.

A different cue that works better for many people: imagine picking up a blueberry with your vaginal opening, then setting it back down. The lift is the contraction; the release is equally important.

Kegels: The Foundation

Kegels are the basic contraction-and-release exercise for the pelvic floor. Most people do them wrong, which is why they don’t work.

Common errors:

  • Holding your breath — breathe normally throughout
  • Squeezing your glutes or inner thighs instead of the pelvic floor
  • Skipping the release — the muscle needs to fully relax between reps to strengthen
  • Doing them only when you remember, not consistently

How to do a Kegel:

  1. Lie on your back, knees bent, feet flat. This removes gravity load while you learn the movement.
  2. Inhale to prepare. On the exhale, gently lift and squeeze the pelvic floor — think “up and in.”
  3. Hold for 3–5 seconds. Keep your breathing normal. Don’t grip your glutes or abs.
  4. Fully release and let the muscles rest for 5–10 seconds.
  5. Repeat 10 times. Do 3 sets, once per day.

Progression: once 3-second holds feel easy, work toward 10-second holds. When 10 seconds is easy in lying, practice seated, then standing.

Reverse Kegels: The Release

If Kegels are about strengthening through contraction, reverse Kegels are about lengthening through release. A hypertonic (too-tight) pelvic floor causes just as many problems as a weak one — including urgency, pelvic pain, and painful intercourse.

How to do a reverse Kegel:

  1. Sit comfortably or lie on your back.
  2. Inhale slowly and imagine your pelvic floor “blooming” downward and outward — like opening a flower.
  3. You’re not bearing down; you’re releasing tension without straining.
  4. Hold the release for 3–5 seconds, then gently return to neutral.
  5. Repeat 8–10 times.

Use reverse Kegels before Kegels if you tend toward tension rather than weakness, or alternate them — one contraction, one release.

5 Supporting Exercises

These exercises load the pelvic floor through functional positions, which builds strength you can actually use during daily activity.

1. Glute Bridge

Lie on your back, knees bent, feet hip-width apart. As you exhale, engage your pelvic floor lightly and press your hips toward the ceiling. Hold 2 seconds at the top, lower with control. The key is the breath timing — don’t hold your breath or bear down on the way up. 3 sets × 12 reps.

2. Bird Dog

Start on all fours. On your exhale, extend your right arm forward and left leg back simultaneously, keeping your spine neutral. The pelvic floor engages reflexively with the core during this movement. Hold 3 seconds, return, repeat on the other side. 3 sets × 8 each side.

3. Clamshell

Lie on your side with hips stacked, knees bent at 45 degrees. Keep your feet together and rotate your top knee upward like a clamshell opening. Don’t let your pelvis roll back. This targets the hip external rotators, which work with the pelvic floor for stability. 2 sets × 15 each side.

4. Standing Hip Hinge

Stand feet hip-width, soft knees. Hinge forward from your hips (not your waist) until your torso is roughly parallel to the floor, then drive through your hips to return upright. Think of the pelvic floor as helping to “close” as you come back to standing. 3 sets × 10 reps.

5. Heel Slides

Lie on your back, knees bent. Exhale and engage your pelvic floor lightly. Slowly slide one heel along the floor until your leg is straight, then slide it back. The challenge is keeping your pelvis still throughout. This builds endurance in the pelvic floor stabilizers. 2 sets × 8 each leg.

How Often to Train

For general strengthening: Kegels once daily (3 sets of 10), supporting exercises 3 times per week. You’ll notice improvements in 4–6 weeks if you’re consistent. For postpartum recovery, give yourself 6 weeks minimum before starting any impact exercise, and clear exercise with your healthcare provider first.

These exercises don’t require a gym, a class, or equipment — just consistent practice. The pelvic floor is a muscle, and muscles respond to training.