How to Build Muscle in an Apartment: A Progressive Plan Without a Gym or Jumping

A person lifting a heavy piece of furniture as gym equipment in a small apartment with a determined expression.

Building muscle in an apartment combines two constraints: no gym equipment and the need to avoid impact that disturbs neighbors. The first is manageable — progressive bodyweight training builds real muscle. The second shapes which exercises you use and how you progress. This plan addresses both.

The Honest Limits and Real Possibilities

Bodyweight training can build substantial upper body and leg muscle, particularly for beginners and intermediate exercisers. At advanced levels, adding external resistance becomes necessary — resistance bands and a pull-up bar are the two highest-value investments (combined cost under $50). Beyond that, muscle development slows without additional load, but most people are nowhere near that limit when they start.

What bodyweight training cannot replicate efficiently: heavy back development (rows without a bar are limited), significant bicep hypertrophy without a pulling surface, and leg size gains at advanced levels without resistance. These are real limitations worth knowing upfront.

The Apartment-Specific Exercise List

Every exercise below is quiet enough for apartment use. No jumping, no heavy landing, no repetitive floor impact.

Upper Body (Push)

  • Push-up variations (standard, close-grip, wide-grip, pike, decline)
  • Tricep dip (using a sturdy chair)
  • Pike push-up (shoulder development)
  • Diamond push-up (tricep emphasis)

Upper Body (Pull)

  • Table row (lie under a sturdy table, pull chest to underside)
  • Pull-up or chin-up (doorframe bar, $20 to $30) — the single most important investment
  • Towel row (loop towel around door handle, lean and pull)

Lower Body

  • Slow squat (3 to 4-second lower — quiet and harder than a standard squat)
  • Reverse lunge (step back, not forward — less floor space and impact)
  • Bulgarian split squat (rear foot on chair)
  • Glute bridge and single-leg glute bridge
  • Wall sit (isometric, completely silent)

Core

  • Plank and side plank
  • Dead bug
  • Hollow body hold
  • Slow mountain climber

The 12-Week Progressive Plan

Phase 1 — Weeks 1 to 4: Foundation (3 Days Per Week)

3 rounds, 60 seconds rest. Focus on form before adding difficulty.

  • Push-up: 10 reps
  • Table row: 10 reps
  • Slow squat: 12 reps
  • Reverse lunge: 10 per side
  • Plank: 30 seconds
  • Glute bridge: 15 reps

Phase 2 — Weeks 5 to 8: Volume and Variation (4 Days Per Week)

4 rounds, 45 seconds rest. Introduce harder variations.

  • Close-grip push-up: 10 reps
  • Pull-up or table row: 8 to 10 reps
  • Bulgarian split squat: 8 per side
  • Reverse lunge with slow lower: 10 per side
  • Plank shoulder tap: 20 total
  • Single-leg glute bridge: 12 per side
  • Pike push-up: 8 reps

Phase 3 — Weeks 9 to 12: Intensity (4 Days Per Week)

5 rounds, 30 seconds rest. Add resistance where possible.

  • Push-up with backpack (10 to 15 lbs): 10 reps
  • Pull-up (add resistance band for assistance or weight for loading): 6 to 8 reps
  • Slow squat with backpack: 12 reps
  • Bulgarian split squat with weights: 10 per side
  • Hollow body hold: 30 seconds
  • Single-leg glute bridge: 15 per side
  • Diamond push-up: 10 reps

Nutrition for Muscle Building

Training provides the stimulus. Protein provides the material. Target 0.7 to 1 gram of protein per pound of bodyweight daily. At a caloric maintenance or slight surplus (200 to 300 calories above what you burn), muscle building is faster than in a deficit. If you’re training hard and not seeing size changes after 8 weeks, insufficient protein or overall calories is usually the reason, not the training program.

The Neighbor Question

The exercises above produce minimal floor impact. The main noise sources in apartment workouts are: jumping (eliminated here), heavy foot strikes during lunges (use slow, controlled steps), and equipment dropping (don’t drop anything). Train during building quiet hours and you’ll have no issues with this program.

Low-Impact Cardio for Seniors: 5 Options, Intensity Guidelines, and a 4-Week Starter Plan

A diverse group of happy seniors wearing workout clothes doing low impact cardio exercises in a sunny park.

Cardiovascular exercise is one of the most powerful tools for healthy aging — it strengthens the heart, improves balance, reduces blood pressure, supports cognitive function, and maintains independence. For seniors, low-impact options are preferred because high-impact activities like running create unnecessary joint stress without additional cardiovascular benefit.

Get clearance from your doctor before starting a new cardio program if you have cardiovascular disease, uncontrolled hypertension, or have been sedentary for more than a year.

Why Cardio Matters More After 60

VO2 max — the body’s maximum oxygen uptake capacity — declines approximately 1% per year after 30, accelerating after 60 without regular training. This decline directly affects energy levels, endurance, and the ability to perform daily tasks: climbing stairs, keeping pace on a walk, carrying groceries without stopping to rest. Regular cardio slows this decline and in active seniors partially reverses it. Cardiovascular exercise also reduces type 2 diabetes risk, lowers LDL cholesterol, and is associated with slower cognitive decline.

How to Gauge Intensity

The simplest method: the talk test. At moderate intensity (the target for most sessions), you can speak in full sentences but not sing. At vigorous intensity, you can manage only a few words before needing to breathe. Target mostly moderate intensity with occasional vigorous effort as fitness improves.

Heart rate zones: roughly 50 to 70% of your maximum heart rate for moderate effort. Estimated max heart rate = 220 minus your age. For a 70-year-old, moderate effort = 75 to 105 bpm.

The 5 Best Low-Impact Options

1. Brisk Walking

The most accessible option requiring no equipment beyond supportive shoes. “Brisk” means a pace where you breathe noticeably harder than at rest — typically 3.0 to 4.0 mph. Walking on varied terrain (gentle hills, uneven paths) increases cardiovascular demand and balance training simultaneously. Flat, consistent surfaces are appropriate if balance is a concern.

2. Chair Cardio

A seated cardio option for those with significant balance concerns or lower limb limitations. Seated arm circles, seated marching (lifting knees vigorously), seated punches, and seated side bends performed at continuous tempo for 20 to 30 minutes produce meaningful cardiovascular stimulus. Chair cardio is legitimate training, not just a compromise — studies show it measurably improves VO2 max and reduces blood pressure in older adults.

3. Swimming and Water Aerobics

Water buoyancy reduces bodyweight to roughly 10% of normal, eliminating almost all joint impact. Water resistance provides both cardiovascular and strength stimulus simultaneously. The main barrier is access to a pool — community pools, YMCAs, and senior centers typically offer water aerobics classes. For those with severe arthritis or joint pain, water exercise is often the only option that’s immediately comfortable.

4. Stationary Cycling

Zero impact, easily adjustable intensity, and appropriate for people with knee, hip, or back conditions that make walking painful. An upright bike or recumbent bike both work. Recumbent bikes provide back support and are easier to mount and dismount for people with hip or balance limitations. A basic recumbent bike suitable for home use starts at $200 to $300 new.

5. Gentle Dance or Dance Cardio

Dance provides cardiovascular stimulus, coordination training, and meaningful cognitive engagement (learning sequences and patterns) in one activity. Low-impact dance styles — line dancing, social dancing, seated dance programs — are appropriate for most older adults. The social element is a significant benefit for long-term adherence.

A 4-Week Starter Plan

Week 1 — Building the Habit (15 minutes, 3 days)

Choose any option above. Moderate intensity throughout. Rest at least one day between sessions. The goal this week is showing up three times, not fitness performance.

Week 2 — Adding Duration (20 minutes, 3 days)

Same intensity. Five additional minutes per session. If any session produces excessive fatigue or soreness, stay at 15 minutes.

Week 3 — Adding a Session (20 minutes, 4 days)

Add a fourth weekly session. This week tests recovery capacity. If you feel run-down by day 4, drop back to 3 sessions and build more gradually.

Week 4 — Building Toward 150 Minutes Per Week (25 minutes, 4 days)

100 minutes of moderate cardio per week. The research-backed target for health benefit in older adults is 150 minutes per week of moderate-intensity activity. This week gets you to two-thirds of that goal. Continue building 5 minutes per session each subsequent week until you reach 150 total weekly minutes.

Safety Notes

Stop and rest if you experience: chest pain or tightness, significant shortness of breath (unable to speak at all), dizziness, or unusual fatigue. These are not normal exercise sensations and warrant medical evaluation before continuing.

Chair Yoga for Seniors: 10 Poses to Improve Flexibility and Reduce Stiffness

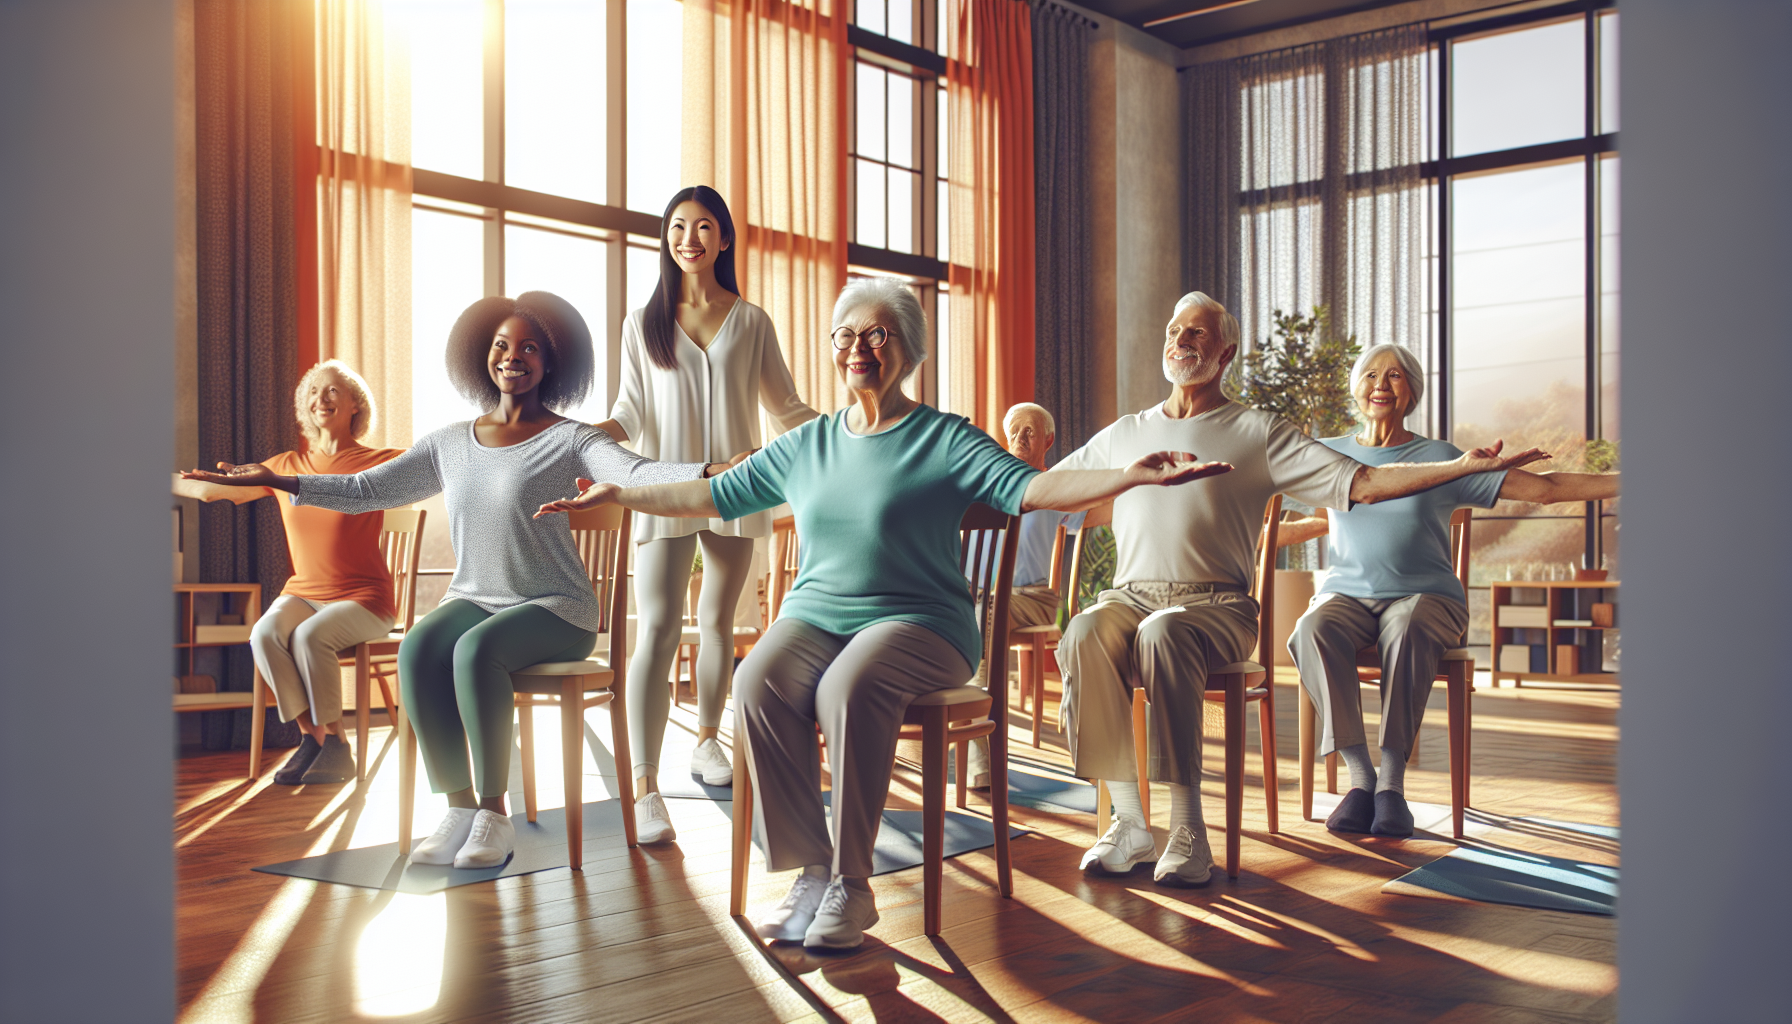
A diverse group of smiling seniors practicing chair yoga poses in a bright and airy room with a yoga instructor guiding them.

Chair yoga modifies traditional yoga poses so they can be performed while seated in a standard chair or with a chair for balance support. It’s appropriate for seniors with limited mobility, joint pain, or balance concerns that make floor-based or standing yoga difficult. It provides the flexibility, breathing, and mindfulness benefits of yoga without requiring floor transitions.

Unlike the chair exercises article on this site (which focuses on strength), this practice focuses on flexibility, range of motion, stress reduction, and mind-body awareness.

What You Need

A sturdy chair without wheels. Armless chairs or chairs with wide armrests both work. Sit on the front half of the seat so your back isn’t resting against the chair back during most poses — this allows freer spinal movement. Wear loose, comfortable clothing.

The 10 Poses

Hold each pose for 3 to 5 slow breaths unless a specific time is noted. Breathe in through the nose, out through the nose or mouth. Never hold your breath.

1. Seated Mountain Pose (Tadasana)

The foundation. Sit tall at the edge of your chair. Feet flat on the floor, hip-width apart. Spine tall, crown of head lifting toward the ceiling. Shoulders relaxed, away from ears. Hands resting on thighs. Hold for 5 breaths, focusing on your posture. This is the alignment reference point for all other poses.

2. Seated Cat-Cow

Hands on knees. Inhale and gently arch your back, lifting chest and tailbone (cow). Exhale and round your spine, drawing navel toward spine (cat). Repeat 8 to 10 cycles slowly. Lubricates the spine and warms up the core muscles. One of the best morning poses for people with lower back stiffness.

3. Seated Forward Fold

From mountain pose, inhale to sit tall. Exhale and slowly hinge forward from the hips, letting your hands slide down your shins or reach toward your feet. Let the head hang. Hold 5 breaths. Inhale to return upright. Stretches the hamstrings and lower back — areas that tighten significantly from prolonged sitting.

4. Seated Side Bend

Inhale and raise your right arm overhead. Exhale and bend to the left, reaching your right arm to the left as your left hand slides down the chair leg for support. Hold 5 breaths, return, switch sides. Stretches the lateral trunk muscles and the intercostal muscles between the ribs — important for breathing capacity.

5. Seated Spinal Twist

Sit tall. Inhale. Exhale and rotate your upper body to the right. Place your left hand on your right knee and your right hand on the chair back or armrest for support. Hold 5 breaths. Inhale to return to center. Switch sides. Maintains spinal rotation that decreases with age and reduces stiffness in the mid and upper back.

6. Seated Eagle Arms

Extend both arms forward at shoulder height. Cross the right arm under the left at the elbow. If possible, wrap the forearms and bring palms together (or backs of hands together). Lift elbows to shoulder height. Hold 5 breaths. Switch crossing. Opens the upper back and stretches the rear shoulder muscles — important for people with rounded shoulders from desk work or prolonged sitting.

7. Seated Pigeon

Cross your right ankle over your left knee, forming a figure-4. If this is too intense, simply rest the right ankle on the left knee. Sit tall or hinge slightly forward. Hold 5 to 8 breaths. Switch sides. Stretches the outer hip and glutes — areas where tension accumulates during prolonged sitting and contributes to lower back pain.

8. Seated Warrior I Arms

Sit tall. Inhale and raise both arms overhead, palms facing each other. Draw shoulders down away from ears. Hold 5 breaths. This improves shoulder mobility and reinforces upright posture alignment. Progress by adding a slight back bend (lifting the chest and gazing upward) if the neck is comfortable.

9. Neck Rolls

Sit tall, shoulders relaxed. Slowly drop your right ear toward your right shoulder. Roll your chin slowly toward your chest, then toward the left shoulder, and back to center. Complete 3 slow rolls each direction. Releases the neck and upper trapezius — primary tension accumulation sites for most adults.

10. Seated Savasana (Seated Rest)

Rest your back against the chair back. Let your arms fall to your sides, hands resting on your thighs, palms up. Close your eyes. Release all effort from your muscles. Breathe slowly for 3 to 5 minutes. The closing rest is important — it allows the nervous system to integrate the preceding poses. Don’t skip it to save time.

Complete Practice Session

Move through all 10 poses in sequence for a 20 to 25-minute session. Practice 3 to 5 times per week for the best results. Daily practice produces the most consistent flexibility improvement — even 15 minutes daily is more effective than one long session per week.

Exercise for Seniors With Arthritis: What the Evidence Shows and a Beginner Routine

A diverse group of smiling seniors with arthritis doing gentle water aerobics in a sunny pool, with colorful pool noodles and a supportive instructor.

Many seniors with arthritis avoid exercise because movement causes pain. This is understandable but counterproductive: inactivity allows joint-supporting muscles to weaken, which increases joint stress, which worsens pain. Exercise — the right kind, at the right intensity — reduces arthritis pain, improves range of motion, and slows disease progression. This is well established in the research.

This guide covers osteoarthritis (the most common type) and general joint pain management. Rheumatoid arthritis and other inflammatory conditions require coordination with your rheumatologist, as exercise recommendations differ during flares.

What Exercise Does for Arthritic Joints

Strong muscles reduce the load on joints — the knee joint experiences approximately 3 times bodyweight during walking; strong quadriceps distribute and absorb some of that force, reducing cartilage stress. Synovial fluid (joint lubricating fluid) circulates through movement — the joint is like a sponge, and movement is what distributes lubrication. Range of motion exercises prevent the capsule tightening that increases stiffness and reduces function over time.

What to Avoid

  • High-impact activities (running, jumping, step aerobics) during flares or with advanced joint damage
  • Pushing through sharp pain — distinguish between the discomfort of moving a stiff joint (acceptable) and pain that indicates stress injury (stop)
  • Exercises that load an acutely inflamed joint — during flare periods, gentle range-of-motion only

The Best Exercise Types for Arthritis

Strength training: The most important. Building muscle around affected joints reduces pain and functional limitation more than any other intervention. Even modest strength gains produce significant symptom improvement.

Water exercise: Buoyancy removes most joint load, allowing movement that’s painful on land. Ideal for people with severe joint involvement.

Tai chi: Shown in multiple randomized trials to reduce knee arthritis pain comparably to physical therapy. The slow, controlled weight shifts are particularly effective.

Walking: Appropriate for most arthritis patients. Start with shorter distances and build gradually. Supportive footwear matters significantly.

Cycling: Low joint impact, good range-of-motion stimulus for knees and hips. Recumbent bikes are easier for people with hip restrictions.

A Beginner Routine for Arthritic Joints

Start with 2 days per week. Add a third day after 2 to 3 weeks if tolerated. If any exercise produces pain lasting more than 2 hours after the session, reduce the intensity or range of motion for that exercise at the next session.

Complete 2 rounds of each exercise.

Seated leg extension — 10 reps per side
Sit in a chair. Straighten one leg slowly, hold 2 seconds, lower. Works the quadriceps through a controlled range. Reduces knee stress compared to squats while building the same muscle group.

Glute bridge — 12 reps
Lie on your back, knees bent, feet flat. Press through heels to lift hips. Lower slowly. Builds glutes and hamstrings without knee compression.

Wall push-up — 12 reps
Hands on wall. Lower chest toward wall, press back. Gentle on shoulder and wrist joints while building upper body strength needed for daily pushing tasks.

Seated resistance band row — 12 reps
Resistance band around door handle at chest height. Pull elbows back, squeeze shoulder blades. Essential for upper back strength and posture.

Standing calf raise — 15 reps (hold chair for balance)
Rise onto ball of foot, lower slowly. Builds ankle strength and joint stability.

Gentle range-of-motion circles — 10 each joint
Ankle circles, wrist circles, shoulder circles. Promotes synovial fluid circulation through the joint. Do these as both warm-up and cool-down.

Practical Notes

Warm up before exercising: A 5-minute walk or warm shower before training loosens the joint capsule and circulates synovial fluid, reducing early-exercise pain significantly.

Ice after, not before: Ice for 15 to 20 minutes after exercise if joints are swollen or inflamed. Heat before exercise to loosen stiffness. Don’t ice before exercise — it reduces muscle activation.

Progress slowly: The “too much, too soon” pattern causes more arthritis exercise failure than any other factor. Add one set, one day, or 5 additional minutes at a time, not all at once.

Minimalist Strength Training: How to Build Real Strength With 3 to 5 Exercises

A silhouette of a muscular person lifting a single kettlebell against a stark white background.

More exercises do not produce better results. Most strength training programs include far more variety than is necessary for progress — and the variety often comes at the cost of intensity and recovery on the exercises that matter most. Minimalist strength training strips this back to the handful of movements that produce the most return per set and builds them progressively over time.

The Case for Minimalism

Strength is movement-specific. Squatting strength comes primarily from squatting. Push strength comes from pushing. The body doesn’t care how many different exercises you use — it responds to the progressive overload applied to a specific movement pattern. Doing 3 variations of a squat each session produces less squat strength than doing one squat variation with maximum intensity and progression.

Fewer exercises also means: lower session time, lower equipment requirements, easier tracking of progress, and better recovery between sessions because fatigue is concentrated rather than spread thin across many movements.

The 5 Movement Patterns That Cover Everything

Push (horizontal): Chest, shoulders, triceps → Push-up or bench press
Push (vertical): Shoulders → Pike push-up, overhead press
Pull (horizontal): Upper back, biceps → Table row, dumbbell row, cable row
Pull (vertical): Lats, biceps → Pull-up, chin-up, lat pulldown
Squat/hinge: Quads, hamstrings, glutes → Squat, deadlift, single-leg squat

A complete strength program needs one exercise per pattern. That’s 5 exercises covering the whole body.

The Minimalist Bodyweight Program

For home training without equipment:

Pattern Exercise Sets x Reps
Horizontal push Push-up (progress through variations) 4 x 8-12
Vertical push Pike push-up 3 x 8
Horizontal pull Table row 4 x 10
Vertical pull Pull-up (doorframe bar) 4 x max reps
Squat/hinge Single-leg squat or Bulgarian split squat 4 x 8 per side

Train 3 days per week, alternating between two sessions:

Session A: Horizontal push + vertical pull + squat
Session B: Vertical push + horizontal pull + hinge

How to Progress

Add reps until you reach the top of the target rep range, then progress to a harder variation or add resistance:

  • Push-up: standard → close-grip → decline → explosive → weighted (backpack)
  • Table row: horizontal → reduce angle (feet elevated) → single-arm
  • Pull-up: negative only → banded assisted → full → weighted
  • Split squat: bodyweight → weighted → rear-foot elevated → single-leg squat

The Minimalist Equipment Setup

If you want to invest in any equipment, in order of impact:

  1. Doorframe pull-up bar ($20 to $30): Solves the vertical pulling problem. This is the single highest-value purchase for home training.
  2. Resistance bands ($15 to $25 for a set): Provides variable resistance for all patterns. Can replace the pull-up bar for rows and add load to bodyweight exercises.
  3. Adjustable dumbbells ($150 to $300): Opens all exercise variations with specific, trackable resistance. Best for people who’ve exhausted bodyweight progressions.

What Minimalism Requires More Of

Fewer exercises demand more from each exercise: more focus during every set, more consistent progression tracking, and more honesty about when you’ve stopped progressing and need to increase the difficulty. A minimalist program only works if you’re genuinely pushing each exercise to its limits. Showing up and going through the motions with 5 exercises produces no better results than doing so with 20.

Stop Waiting for Motivation: How to Build a Home Workout Habit That Runs on Systems

Please provide me with the article title and I will write a DALL-E prompt for it! 😊

Motivation is a feeling. Feelings fluctuate. After a long day, a poor night’s sleep, or a stressful week, motivation disappears. Waiting for it to return produces missed sessions, which produces guilt, which produces avoidance. This cycle is responsible for more abandoned fitness goals than any other single factor.

The people who exercise consistently for years don’t feel motivated every session. They’ve built systems that make workouts happen regardless of how they feel. This guide gives you those systems.

Why Motivation Fails

Motivation is strongest during the planning phase and lowest at execution time — specifically, when you need to begin. The gap between “I’ll work out tomorrow” (easy to agree to) and “I’m starting now when I’m tired and don’t want to” (hard to execute) is where most home workout habits die. No amount of planning or goal-setting bridges this gap by itself. Systems do.

System 1: Eliminate the Decision

Decisions require motivation. Pre-committed systems don’t. Schedule your workouts in advance: specific days, specific times, no flexibility until the habit is established. “I work out Monday, Wednesday, and Friday at 7 AM” is a system. “I’ll work out three times this week when I have time” is a decision — and it will consistently lose to the easier option of not starting.

Treat scheduled sessions like appointments you cannot cancel. If you must miss one, reschedule it to a specific time, not “sometime later.”

System 2: Reduce Startup Cost to Zero

The hardest moment is beginning. Everything that creates friction between deciding to start and actually starting is a barrier that motivation must overcome. Remove the barriers:
Put your workout clothes out the night before. Set up your mat or equipment before you go to bed. Load your workout video or app. Make the first step (putting on shoes, pressing play) require no decisions.

The two-minute rule: commit only to starting. Once you’ve done two minutes, continuing is easier than stopping. The workout will happen.

System 3: Make Missing Uncomfortable

A streak is a motivator. Track your workouts on a visible calendar. The longer the streak, the stronger the psychological resistance to breaking it — this is called the “don’t break the chain” approach. Missing one workout is a setback. Missing two is a new habit. Never miss twice in a row.

System 4: Identity Anchoring

Goals are outcomes. Identity is how you see yourself. “I want to lose 20 pounds” is a goal — it’s external, future-oriented, and fails the moment the scale doesn’t move. “I’m someone who trains three days a week” is an identity — it’s current, internal, and self-reinforcing. Every workout is evidence of that identity. Every missed workout contradicts it.

This is not just semantics. Research on habit formation consistently shows that identity-based motivation is more durable than outcome-based motivation, particularly when results are delayed (as they always are in fitness).

System 5: Design Workouts You Actually Like

Willpower is a finite resource. Grinding through workouts you hate draws from it constantly. Workouts you enjoy — because of the music, the format, the exercises, the time of day — don’t require willpower to initiate. Experiment with different styles until you find something you look forward to, or at minimum don’t dread. There is no single correct type of exercise. The one you’ll actually do consistently is the correct one for you.

System 6: Accountability Structures

External accountability works, and it doesn’t require a personal trainer. Options:
Public commitment: Tell someone specifically what you’ll do and when. Social accountability is a powerful motivator — we work harder to avoid letting others down than to achieve our own goals.
Training partner: Even remote — text someone when you finish each session. The act of reporting creates accountability.
Paid commitment: Pre-pay for a class or a program. Sunk cost motivates follow-through.

What to Do When You Don’t Want to Work Out

On genuinely hard days, use a modified session rather than no session. The minimum effective dose for maintaining the habit is 10 to 15 minutes. 10 minutes of push-ups, squats, and a plank is less fitness value than your full workout and more fitness value than nothing — and it preserves the habit and the streak, which are harder to rebuild than fitness once lost.

The decision isn’t full workout versus no workout. It’s full workout versus minimum session. The latter is always available and always the right choice when you have nothing left for the former.