How to Build Bigger Legs at Home: Progressive Overload Without a Gym

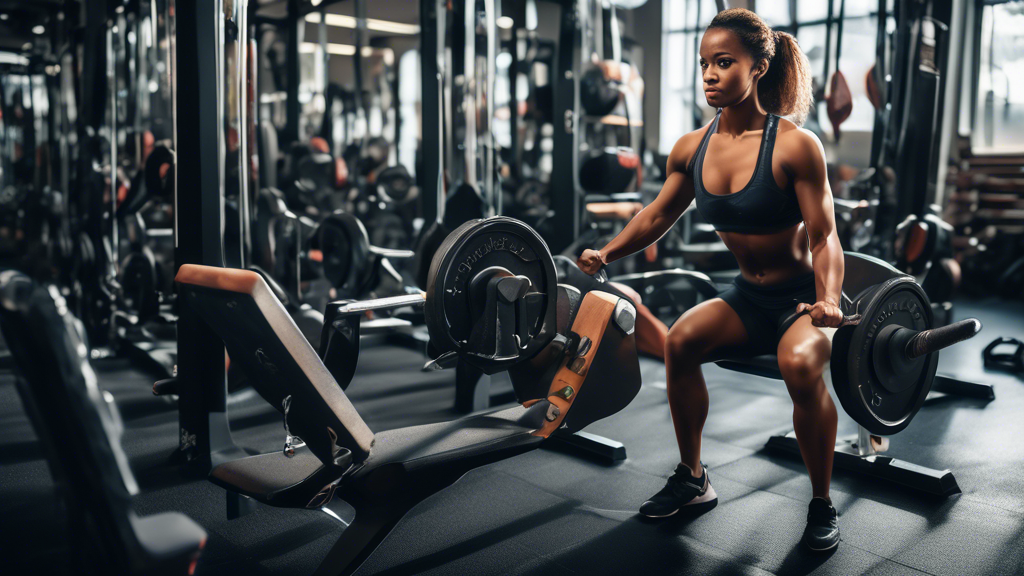
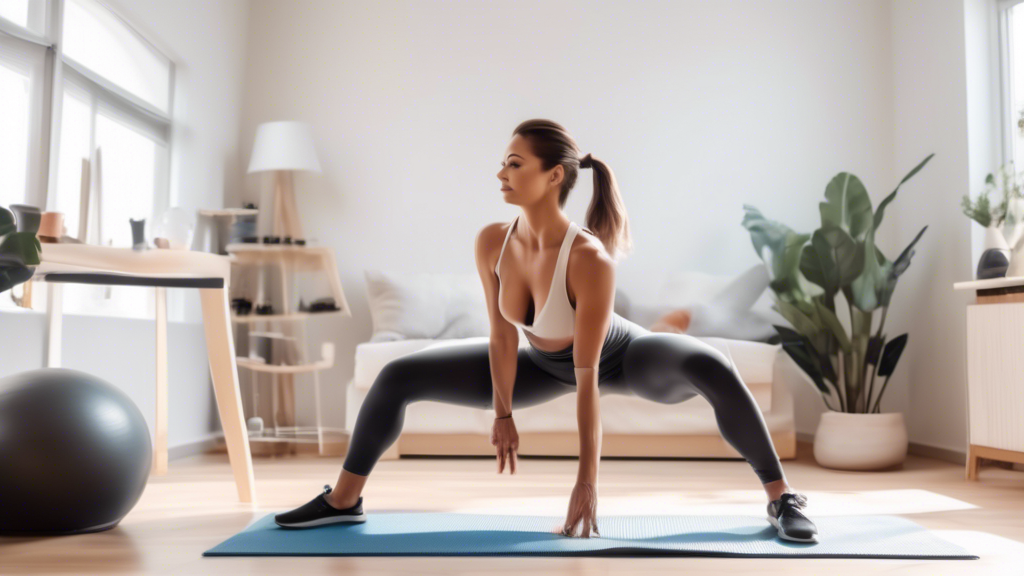
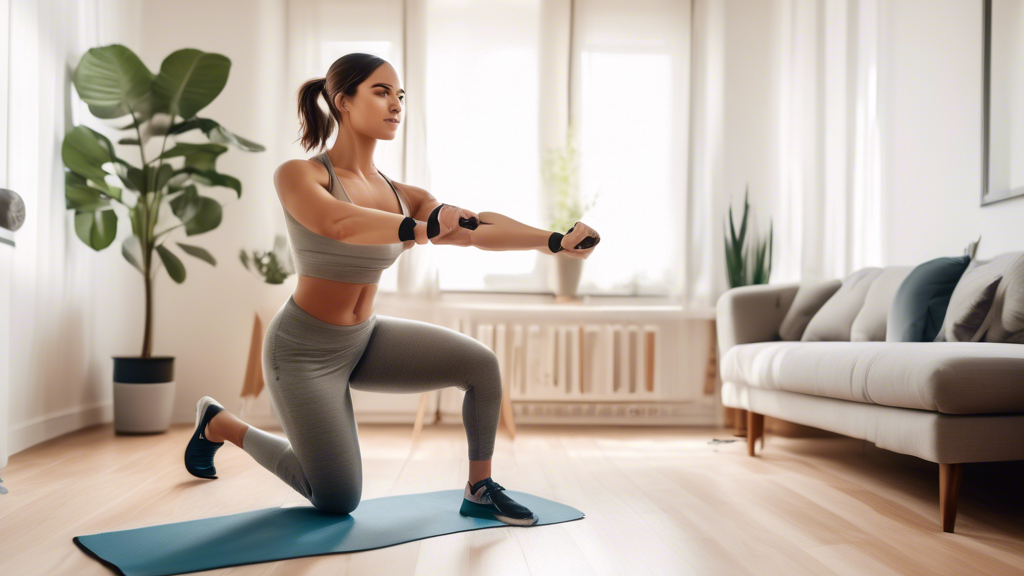
A cozy living room transformed into a home gym with various exercise equipment like resistance bands, dumbbells, and a yoga mat. A person is performing leg

Most home leg workouts fail for one reason: they never get harder. You do the same bodyweight squats every week, and after the first month, your legs stop responding. Building bigger legs at home requires the same principle that drives gym training — progressive overload — applied to the tools you have available.

This guide shows you how to do that, with specific progressions that scale from beginner to challenging without any gym equipment.

Why Progressive Overload Is the Only Thing That Matters

Your muscles grow in response to stress they haven’t experienced before. Once they’ve adapted to a given exercise, that exercise stops producing significant growth. At the gym, you add weight to the bar. At home, you need other strategies:

  • Harder variations — a pistol squat is far more demanding than a bodyweight squat
  • Tempo manipulation — a 4-second descent turns any squat into a different exercise
  • Reduced stability — single-leg work multiplies the load on each leg
  • Resistance bands — add variable resistance to bodyweight exercises
  • Load with household items — a backpack loaded with books weighs 15–25 lbs

The Leg Muscle Groups to Target

Balanced leg development means training all four areas:

  • Quadriceps (front of thigh): knee-dominant exercises — squats, lunges, step-ups
  • Hamstrings (back of thigh): hip-hinge movements — Nordic curls, Romanian deadlifts
  • Glutes (hips and posterior): hip extension — glute bridges, hip thrusts, split squats
  • Calves: calf raises, jump variations

Beginners often train only their quads (squats) and neglect hamstrings and calves. This creates imbalances and increases injury risk.

The 8-Week Progressive Leg Program

This program runs 3 days per week with at least one rest day between sessions. The difficulty scales every two weeks.

Weeks 1–2: Foundation

Learn the movement patterns with perfect form before adding difficulty.

  • Bodyweight squat — 3 × 15
  • Reverse lunge — 3 × 10 per leg
  • Glute bridge — 3 × 15
  • Step-up (use a sturdy chair) — 3 × 10 per leg
  • Standing calf raise — 3 × 20

Weeks 3–4: Add Tempo

Same exercises, but add a 3–4 second lowering phase to every rep. This dramatically increases the time your muscles are under tension.

  • Tempo squat (3 sec down, 1 sec pause, drive up) — 3 × 10
  • Slow reverse lunge (3 sec down) — 3 × 8 per leg
  • Single-leg glute bridge — 3 × 12 per leg
  • Elevated step-up (higher surface) — 3 × 10 per leg
  • Single-leg calf raise — 3 × 15 per leg

Weeks 5–6: Single-Leg Emphasis

Single-leg exercises roughly double the load on each leg and expose any strength imbalances between sides.

  • Bulgarian split squat (rear foot elevated on chair) — 3 × 8 per leg
  • Walking lunge — 3 × 12 per leg
  • Nordic hamstring curl (feet hooked under a sofa) — 3 × 5 (negatives only if needed)
  • Hip thrust (shoulders on couch, bodyweight or backpack) — 3 × 12
  • Single-leg calf raise (add tempo) — 3 × 12 per leg

Weeks 7–8: Maximum Difficulty

Add resistance bands, loaded backpacks, or progress to harder variations.

  • Loaded Bulgarian split squat (backpack or band) — 3 × 8 per leg
  • Pause squat (3 sec hold at bottom) — 3 × 8
  • Nordic hamstring curl (full range) — 3 × 6
  • Hip thrust with resistance band — 3 × 12
  • Jump squat (explosive, for power) — 3 × 8
  • Single-leg calf raise with load — 3 × 12 per leg

The Nordic Hamstring Curl: The Most Underused Home Exercise

The Nordic hamstring curl builds more hamstring strength than any other bodyweight exercise. Hook your feet under a couch or heavy piece of furniture, kneel upright, and slowly lower your torso to the floor using only your hamstrings. It’s extremely hard — most people start with just the lowering phase (eccentric-only) and work up to full reps over several weeks.

Studies show Nordic curls significantly reduce hamstring strain injuries. If you only add one new exercise from this guide, make it this one.

How to Know You’re Progressing

  • The same workout feels noticeably easier than it did 2 weeks ago → increase difficulty
  • You can complete all reps with controlled form → move to the next variation
  • One leg feels stronger than the other → do an extra set on the weaker side
  • You’re sore for more than 72 hours after a session → you’ve gone too hard too fast; scale back

Leg muscle growth at home is absolutely possible — but only if you consistently make the work harder over time. The program above gives you a structured way to do that across 8 weeks.
Leg and Glute Gains at Home: The Training and Nutrition Blueprint

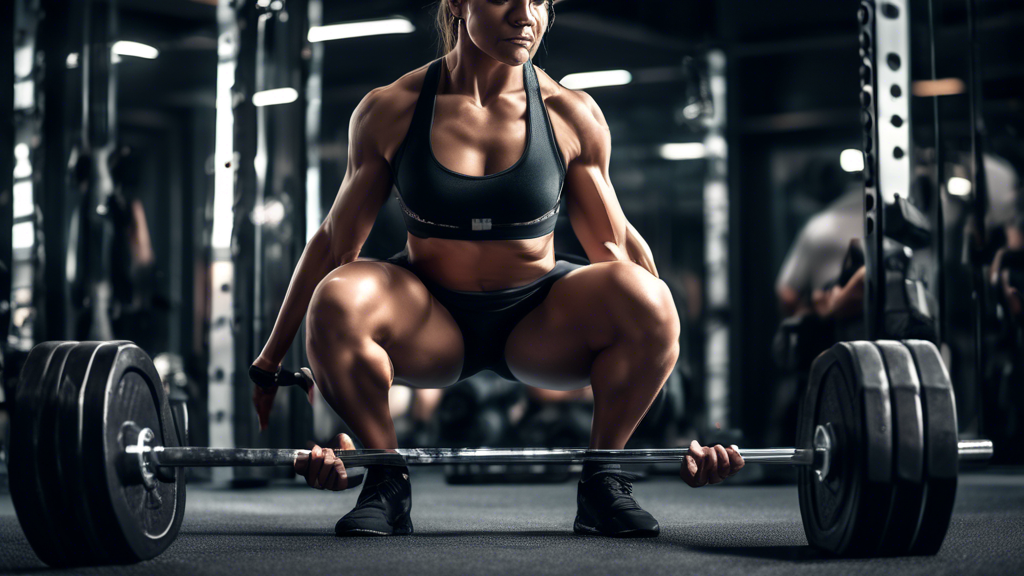
A person performing a barbell squat in a modern gym, with detailed emphasis on the leg and glute muscles. The image captures the effort and concentration o

Building bigger, stronger legs and glutes at home requires two things working together: the right training stimulus and enough nutrition to support recovery and growth. Most home workout guides cover the exercises. This one covers both sides — because you can train perfectly and still see minimal results if your diet isn’t supporting the work.

The Training Side: What Actually Builds Legs and Glutes

The glutes are the largest muscle group in your body. The quadriceps are one of the strongest. Both respond to the same basic stimulus: progressive resistance over time.

The Best Home Exercises for Legs and Glutes

Bulgarian Split Squat — Rear foot elevated on a chair, front foot forward. This is the most effective single-leg exercise you can do at home. It loads the glutes and quads heavily and exposes any strength imbalances. Start with bodyweight, then add a loaded backpack.

Hip Thrust — Shoulders on a couch or bench, drive hips upward with a resistance band across your hips or a loaded backpack. Research consistently shows hip thrusts produce superior glute activation compared to squats. Do them last in your workout when glutes are pre-fatigued.

Romanian Deadlift — Hold dumbbells, water jugs, or a loaded backpack. Hinge at the hips with a slight knee bend, lowering the weight along your legs until you feel a strong hamstring stretch, then drive through your hips to stand. This is the primary hamstring exercise in any home program.

Pause Squat — At the bottom of a squat, hold for 3 seconds before driving up. Eliminating the stretch reflex forces your quads and glutes to generate force from a dead stop — much harder than a regular squat.

Sample Weekly Training Structure

  • Day 1: Bulgarian split squat 3×8 per leg, Romanian deadlift 3×10, calf raises 3×15
  • Day 2: Rest or upper body
  • Day 3: Hip thrust 4×12, pause squat 3×8, Nordic hamstring curl 3×5
  • Day 4: Rest
  • Day 5: Walking lunge 3×12 per leg, single-leg RDL 3×8 per leg, jump squat 3×8
  • Days 6–7: Rest or active recovery

The Nutrition Side: Feeding Muscle Growth

Training creates the signal for muscle growth. Nutrition provides the raw materials. Without sufficient protein and calories, your muscles can’t rebuild between sessions — and they don’t grow.

Protein: The Most Important Variable

The current consensus from sports nutrition research: 0.7–1 gram of protein per pound of bodyweight per day is the effective range for muscle growth. At 150 lbs, that’s 105–150g of protein daily.

What that looks like in practice:

  • 3 eggs at breakfast: 18g protein
  • Greek yogurt (1 cup): 17g protein
  • Chicken breast (6 oz): 53g protein
  • Lentils (1 cup cooked): 18g protein
  • Cottage cheese (1 cup): 25g protein

Spread protein intake across 3–4 meals. Your body can use about 30–40g of protein per meal for muscle protein synthesis — eating more in one sitting doesn’t add extra benefit.

Calorie Target: Maintenance or Slight Surplus

To build muscle efficiently, you need to be eating at or slightly above your maintenance calories — roughly 200–300 extra calories per day. Trying to build significant muscle in a large calorie deficit is mostly futile; you’ll train hard and see little change in muscle size.

If you want to lose fat while maintaining (not building) muscle, a moderate deficit of 300–500 calories below maintenance while keeping protein high is the right approach.

Pre-Workout Nutrition

Eat a meal containing both carbohydrates and protein 1–2 hours before training. Carbohydrates fuel the workout; protein signals muscle protein synthesis.

  • Option 1: 2 eggs + oatmeal
  • Option 2: Greek yogurt + banana
  • Option 3: Rice + chicken (if you have time to cook)

If you train first thing in the morning and can’t eat beforehand, a small amount of protein (20g) immediately pre-workout is better than training completely fasted.

Post-Workout Nutrition

The “anabolic window” is less critical than it’s often made out to be — you don’t need to slam a protein shake within 30 minutes of training. What matters more is that you get adequate protein across the whole day.

That said, eating a meal with 30–40g of protein within 2 hours of training is a simple habit that supports recovery.

The Factor Most People Ignore: Sleep

Muscle is built during sleep, not during training. Training breaks muscle tissue down; sleep is when it rebuilds stronger. Research shows that people sleeping fewer than 6 hours per night see significantly reduced muscle protein synthesis even when training and nutrition are on point.

If you’re training consistently and eating enough protein but not seeing progress, sleep is the first variable to examine — before changing your program or diet.

Putting It Together: A Simple Weekly Checklist

  • 3 leg/glute training sessions per week
  • 0.7–1g protein per pound bodyweight daily
  • Eating at or slightly above maintenance calories
  • 7–9 hours of sleep per night
  • Progressive overload: making exercises harder every 1–2 weeks

Hit all five consistently and your legs and glutes will grow — regardless of whether you have access to a gym.

Build Leg Strength at Home: 6 Exercises That Scale From Beginner to Advanced

A person in comfortable workout clothes exercising in a cozy, well-lit living room, performing lunges, squats, and leg raises. Various pieces of home fitne

Leg strength and leg size are related but not the same thing. Strength is your nervous system’s ability to recruit muscle fibers efficiently under load. Building it at home requires the same approach as a gym: progressive overload applied to the right movement patterns.

The six exercises below cover every major leg muscle group and each has three levels — so you can start where you are and keep progressing without buying equipment.

Exercise 1: Squat Pattern

The squat builds quad strength primarily, with significant glute and hamstring involvement.

  • Level 1: Bodyweight squat — feet shoulder-width, chest up, thighs parallel to floor. 3 × 15.
  • Level 2: Pause squat — hold the bottom position for 3 seconds before driving up. 3 × 10. This removes the stretch reflex and forces your muscles to generate force from a dead stop.
  • Level 3: Bulgarian split squat — rear foot elevated on a chair. 3 × 8 per leg. This is significantly harder than a two-legged squat and approaches the difficulty of a barbell squat.

Exercise 2: Lunge Pattern

Lunges build unilateral leg strength and expose differences between your left and right sides.

  • Level 1: Reverse lunge — step back into the lunge to reduce knee stress. 3 × 10 per leg.
  • Level 2: Walking lunge — continuous forward movement, more coordination and hip flexor demand. 3 × 12 per leg.
  • Level 3: Lateral lunge — step sideways, sitting into one leg while the other stays straight. Trains the adductors and abductors that forward lunges miss. 3 × 8 per leg.

Exercise 3: Hip Hinge (Hamstrings and Glutes)

The hip hinge pattern is the most neglected movement in home leg training. It’s essential for hamstring strength and injury prevention.

  • Level 1: Glute bridge — lie on back, drive hips up, 2-second hold at top. 3 × 15.
  • Level 2: Single-leg Romanian deadlift (bodyweight) — hinge forward on one leg, extending the other behind you for balance. 3 × 8 per leg. Highly effective for hamstring and glute development.
  • Level 3: Nordic hamstring curl — hook feet under a sofa, kneel upright, lower your torso toward the floor using your hamstrings. Start with just the lowering phase (catch yourself with your hands). 3 × 5 negatives. This exercise has the strongest evidence base for hamstring strength development of any bodyweight exercise.

Exercise 4: Single-Leg Push (Glutes)

Hip extension under load is what builds the glutes specifically — not just squats.

  • Level 1: Single-leg glute bridge — lie on back, extend one leg, drive through the planted heel. 3 × 12 per leg.
  • Level 2: Hip thrust (shoulders on couch) — a longer range of motion and heavier loading than the floor bridge. Add a loaded backpack across your hips. 3 × 12.
  • Level 3: Single-leg hip thrust with resistance band — maximum glute isolation. 3 × 10 per leg.

Exercise 5: Calf Raise

Calves are often skipped in home programs. They respond best to high volume and range of motion.

  • Level 1: Standing calf raise — rise onto your toes, hold 1 second, lower fully. 3 × 20.
  • Level 2: Single-leg calf raise — one leg at a time, full range. 3 × 15 per leg.
  • Level 3: Single-leg calf raise with tempo — 3 seconds up, 1 second hold, 3 seconds down. Add load (hold a heavy object) when this feels manageable. 3 × 10 per leg.

Exercise 6: Explosive Work (Power)

Strength and power are different qualities. Power training — fast, explosive movements — develops fast-twitch muscle fibers and improves athletic performance. It also increases calorie burn.

  • Level 1: Jump squat — explosive drive from the bottom of a squat into a jump. Land softly with knees bent. 3 × 8.
  • Level 2: Broad jump — jump forward as far as possible from a standing position, landing in a squat. 3 × 5.
  • Level 3: Single-leg hop — hop on one leg, focusing on soft landing and control. 3 × 6 per leg.

Building a Weekly Program

Train legs 2–3 times per week with at least one full day between sessions. A simple structure:

  • Session A: Squat pattern + Hip hinge + Calf raise
  • Session B: Lunge pattern + Hip extension + Explosive work

Alternate A and B across the week. When an exercise feels easy — when you can complete all sets with energy left over — move to the next level. Don’t stay at a level longer than it’s challenging you.

One Rule for Progression

Before moving to the next level of any exercise, you must be able to complete the current level with: full range of motion, controlled tempo, no compensations (e.g., knee caving, back rounding), and without feeling like you’re at maximum effort. Jumping ahead before you’re ready builds bad movement habits that are hard to correct later.

4-Week Leg and Glute Strength Program You Can Do at Home

A well-equipped gym with a diverse range of exercise equipment, focusing on a person performing various leg and glute strength exercises. The person is usi

Most leg workout content gives you a list of exercises. This is a structured 4-week program — with specific sets, reps, and progressions built in — that you can run at home with no equipment. Each week builds on the last, so by week 4 you’re working at significantly higher intensity than week 1.

Three sessions per week, roughly 30–40 minutes each. Rest at least one day between sessions.

Before You Start: Baseline Test

Before week 1, test your baseline. Complete the following and note your numbers:

  • Bodyweight squat — max reps with good form
  • Reverse lunge — max reps per leg
  • Glute bridge hold — max time
  • Calf raise — max reps

You’ll retest these after week 4 to measure progress.

Week 1: Foundation

Focus on movement quality. These weights and volumes should feel manageable — you’re building the base, not testing your limits.

Session A (Monday):

  • Bodyweight squat — 3 × 15 (rest 60 sec)
  • Reverse lunge — 3 × 10 per leg (rest 60 sec)
  • Glute bridge — 3 × 15, 2-sec hold at top (rest 60 sec)
  • Standing calf raise — 3 × 20 (rest 45 sec)

Session B (Wednesday):

  • Step-up (sturdy chair) — 3 × 10 per leg (rest 60 sec)
  • Single-leg glute bridge — 3 × 10 per leg (rest 60 sec)
  • Wall sit — 3 × 30 seconds (rest 60 sec)
  • Hip hinge (bodyweight) — 3 × 12 (rest 45 sec)

Session C (Friday): Repeat Session A

Week 2: Volume

Same exercises, more sets. Add one set to each exercise this week.

Session A:

  • Bodyweight squat — 4 × 15 (rest 60 sec)
  • Reverse lunge — 4 × 10 per leg (rest 60 sec)
  • Glute bridge — 4 × 15 (rest 60 sec)
  • Single-leg calf raise — 3 × 15 per leg (rest 45 sec)

Session B:

  • Step-up — 4 × 12 per leg (rest 60 sec)
  • Single-leg glute bridge — 4 × 12 per leg (rest 60 sec)
  • Wall sit — 4 × 35 seconds (rest 60 sec)
  • Hip hinge — 4 × 12 (rest 45 sec)

Session C: Repeat Session A

Week 3: Intensity

Fewer reps, harder variations. The goal this week is quality over quantity. Introduce the more demanding exercise variations.

Session A:

  • Pause squat (3-sec hold at bottom) — 3 × 8 (rest 90 sec)
  • Walking lunge — 3 × 10 per leg (rest 90 sec)
  • Hip thrust (shoulders on couch, bodyweight) — 3 × 12 (rest 60 sec)
  • Single-leg calf raise with slow tempo — 3 × 12 per leg (rest 60 sec)

Session B:

  • Bulgarian split squat — 3 × 6 per leg (rest 90 sec). This is hard. Use a chair for your rear foot and go slowly.
  • Single-leg RDL (bodyweight) — 3 × 8 per leg (rest 90 sec)
  • Nordic hamstring curl negative — 3 × 4 (rest 90 sec). Hook feet under sofa, lower slowly, catch yourself with your hands.
  • Jump squat — 3 × 8 (rest 60 sec)

Session C: Repeat Session A

Week 4: Power + Endurance

The final week alternates between heavy/explosive work and high-rep endurance sets. This is the hardest week.

Session A (Power):

  • Bulgarian split squat — 3 × 8 per leg, add resistance (backpack) if available (rest 2 min)
  • Hip thrust — 4 × 12 (rest 90 sec)
  • Jump squat — 3 × 10 (rest 90 sec)
  • Nordic hamstring curl negative — 3 × 5 (rest 2 min)

Session B (Endurance):

  • Bodyweight squat — 1 × max reps (aim to beat your week 1 baseline)
  • Reverse lunge — 1 × max reps per leg
  • Glute bridge — 1 × max time held
  • Calf raise — 1 × max reps

Session C: Repeat Session A

After Week 4: Retest and Reset

After completing the program, retest your week 1 baseline numbers. Most people see significant improvements in squat reps and hold times within 4 weeks of consistent training.

To continue making progress, repeat the program but use harder exercise variations as your “week 1” starting point (e.g., Bulgarian split squats instead of bodyweight squats). Apply the same volume and intensity progression to the harder variations.

Recovery Rules

  • Never train legs on consecutive days — muscle repair requires 48 hours minimum
  • Soreness 24–48 hours after training is normal; soreness that’s still severe at 72 hours means you trained too hard
  • Sleep 7–9 hours — this is when muscle rebuilds
  • Eat enough protein — 0.7–1g per pound of bodyweight daily supports muscle repair

How to Build Stronger Forearms at Home: 8 Exercises, No Gym Required

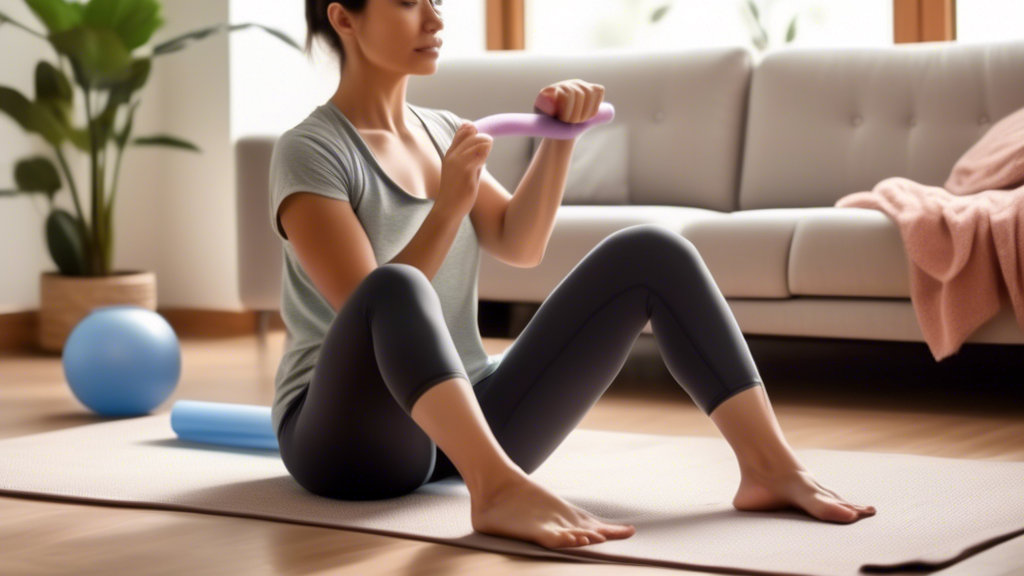
A person performing various forearm exercises in a cozy living room setting, using simple household items like a towel, a water bottle, and a resistance ba

Forearm strength is one of the most practical fitness qualities you can build. It improves your grip in every pulling exercise (pull-ups, rows, deadlifts), helps in daily tasks like carrying groceries, and reduces the risk of elbow injuries like tennis elbow and golfer’s elbow.

The good news: your forearms respond well to simple, consistent work. You don’t need a gym. Here are 8 exercises you can do at home, with progressions and a simple weekly routine.

Understanding Your Forearm Muscles

Your forearm has two main groups:

  • Flexors (palm side): responsible for curling your wrist downward and gripping
  • Extensors (back of hand side): responsible for pulling your wrist upward

Most training naturally hits the flexors. The extensors are almost always undertrained — and this imbalance is the primary cause of lateral elbow pain (tennis elbow). Train both sides equally.

Exercise 1: Wrist Curl — Flexors

Rest your forearm on a table with your wrist hanging off the edge, palm up. Hold a dumbbell, water bottle, or can of food. Curl your wrist upward, pause, lower slowly.

Sets/reps: 3 × 15 per side. Use the heaviest object you can control through the full range.

Exercise 2: Reverse Wrist Curl — Extensors

Same position, but palm facing down. Lift the weight by curling your wrist upward against the resistance. These feel much weaker than regular wrist curls — that’s normal and expected.

Sets/reps: 3 × 15 per side. Use a lighter weight than your wrist curls.

Exercise 3: Dead Hang

Hang from a pull-up bar (or a sturdy doorframe pull-up bar) with straight arms and a relaxed shoulder. Hold as long as possible. This is the single best exercise for grip strength and also decompresses your spine.

Target: Build to 60 seconds. Start with 3 × max time and track your improvement weekly.

No pull-up bar? Use the top edge of a door frame (wear socks, grip only the door frame trim, not the door itself) or purchase a doorframe pull-up bar for around $25–35.

Exercise 4: Towel Hang

Drape a thick towel over a pull-up bar and hang from the towel instead of the bar. Gripping a thick, unstable surface forces your forearms to work far harder than gripping a smooth bar.

Sets/reps: 3 × max time. Even 10–15 seconds is challenging when you first start.

Exercise 5: Farmer’s Carry

Pick up the heaviest objects you have (full water jugs, heavy grocery bags, loaded backpack split into two equal parts) and walk for 30–40 seconds. Keep your shoulders back and core braced. This builds crushing grip strength and forearm endurance.

Sets/reps: 3–4 × 30–40 seconds. Increase load whenever 40 seconds feels easy.

Exercise 6: Towel Wringing

Soak a small towel in water. Hold it with both hands and twist in opposite directions as hard as you can for 20–30 seconds, then reverse the twist. This targets the rotational muscles of the forearm that most exercises miss.

Sets/reps: 3 × 20–30 seconds per direction. Simple and surprisingly effective.

Exercise 7: Finger Extension with Rubber Band

Place a thick rubber band around all five fingers on one hand. Open your hand against the resistance, spreading your fingers as wide as possible. This directly trains the extensors of the fingers and hand — muscles that get zero work from gripping exercises.

Sets/reps: 3 × 20 reps per hand. Use multiple bands stacked together as this becomes easy.

Exercise 8: Plate Pinch (or Book Pinch)

Hold a heavy book (or two thin ones pressed together, smooth sides out) between your thumb and fingers for as long as possible. Pinch grip — where only the fingers and thumb are holding the object, not the full hand — develops the thumb’s intrinsic muscles and builds a strong, complete grip.

Sets/reps: 3 × max time per hand.

The Weekly Forearm Routine

You can train forearms 3 times per week. They’re smaller muscles that recover faster than large muscle groups. Add this at the end of any training session, or as a standalone 15-minute routine.

Day Exercises
Monday Dead hang (3×max) + Wrist curl (3×15) + Reverse wrist curl (3×15)
Wednesday Farmer’s carry (4×35 sec) + Towel hang (3×max) + Finger extension (3×20)
Friday Plate/book pinch (3×max) + Towel wringing (3×30 sec) + Dead hang (3×max)

How Long Until You Notice Results?

Most people notice measurable grip strength improvement within 3–4 weeks of consistent training. Visible forearm muscle development takes longer — 8–12 weeks of consistent work. The limiting factor is usually consistency, not the exercises themselves.

One reliable progress test: track your dead hang time from week to week. A hang time that improves from 20 seconds to 45 seconds over 6 weeks represents real, measurable strength gain — regardless of what the muscles look like in the mirror.

Bodyweight Leg and Glute Workout: 10 Exercises With Progressions

A fit individual performing a leg and glute workout in a minimalist home gym or living room. The person is doing exercises such as squats, lunges, or glute

The biggest mistake in bodyweight leg training is doing the same exercises at the same difficulty indefinitely. Your legs adapt quickly — within 4–6 weeks — and then stop responding. The solution isn’t doing more reps of the same exercises. It’s moving to harder variations.

This guide gives you 10 exercises, each with a beginner and advanced version, so you always have a harder challenge waiting when the current one gets easy.

Why Bodyweight Can Build Real Leg and Glute Strength

A pistol squat (single-leg squat to full depth) requires roughly 1.5–2× your bodyweight of force through your quad. A Bulgarian split squat creates similar loading. The limiting factor in home training isn’t the lack of a barbell — it’s the lack of a plan to make the exercises progressively harder.

Exercise 1: Squat

Beginner: Bodyweight squat — feet shoulder-width, chest up, thighs parallel to floor at the bottom. 3 × 15.

Advanced: Pistol squat — single-leg squat to full depth, extending the non-working leg in front. Use a doorframe for balance until you have the strength to go unsupported. 3 × 5 per leg.

Bridge variation: Pause squat (3-sec hold at bottom) when the basic squat is easy but the pistol isn’t yet accessible. 3 × 10.

Exercise 2: Lunge

Beginner: Reverse lunge — step back to reduce knee stress on the front leg. 3 × 10 per leg.

Advanced: Bulgarian split squat — rear foot elevated on a chair, deep range of motion. 3 × 8 per leg. This is the most effective single-leg exercise in bodyweight training.

Bridge variation: Walking lunge across a room and back. 3 sets.

Exercise 3: Hip Hinge

Beginner: Glute bridge — on your back, drive hips up, 2-second hold. 3 × 15.

Advanced: Nordic hamstring curl — feet hooked under sofa, kneel upright, lower body slowly using hamstrings only, catch with hands. 3 × 5 negatives. No other bodyweight exercise builds hamstring strength comparably.

Bridge variation: Single-leg Romanian deadlift with bodyweight. 3 × 8 per leg.

Exercise 4: Hip Thrust

Beginner: Single-leg glute bridge on the floor. 3 × 12 per leg.

Advanced: Hip thrust with shoulders on a couch — longer range of motion, heavier loading. Add a resistance band across your hips for extra resistance. 3 × 12.

Exercise 5: Step-Up

Beginner: Step-up on a low, sturdy surface (bottom stair, thick book stack). Step with one foot, bring the other up, step back down. 3 × 10 per leg.

Advanced: Elevated step-up (higher surface, like a chair) — a greater range of hip and knee flexion creates far more demand on the quads and glutes. 3 × 8 per leg.

Exercise 6: Lateral Lunge

Beginner: Lateral lunge — step to one side, sit into that leg while the other stays straight. 3 × 8 per leg.

Advanced: Cossack squat — a deeper, more flexible lateral lunge with the heel of the straight leg raised. 3 × 6 per leg. Trains the inner thigh and hip mobility simultaneously.

Exercise 7: Fire Hydrant

Beginner: On all fours, lift one knee out to the side (like a dog at a fire hydrant). 3 × 15 per side.

Advanced: Fire hydrant with leg extension — after lifting the knee out, extend the leg fully behind you. 3 × 12 per side. Adds glute medius and minimus activation to the movement.

Exercise 8: Calf Raise

Beginner: Two-leg standing calf raise — rise onto toes, hold 1 second, lower fully. 3 × 20.

Advanced: Single-leg calf raise — one leg at a time, full range of motion. Add tempo (3 seconds up, 3 seconds down) for extra difficulty. 3 × 15 per leg.

Exercise 9: Glute Kickback

Beginner: On all fours, kick one leg back and up, squeezing the glute at the top. 3 × 15 per leg.

Advanced: Donkey kick with a resistance band around your ankles for added resistance. 3 × 12 per leg.

Exercise 10: Explosive Jump Squat

Beginner: Squat jump — squat down and explode upward into a jump, landing softly with knees bent. 3 × 8.

Advanced: Broad jump — jump forward as far as possible, landing in a controlled squat. 3 × 5. Develops lower body power and fast-twitch muscle fiber recruitment.

Sample Weekly Schedule

You can train legs and glutes 3 times per week. Alternate between these two sessions:

Session A: Squat + Lunge + Hip thrust + Calf raise + Explosive jump

Session B: Hip hinge + Step-up + Lateral lunge + Fire hydrant + Glute kickback

Example week: Session A Monday, Session B Wednesday, Session A Friday. Next week, flip: Session B Monday, Session A Wednesday, Session B Friday.

When to Progress

Move to the advanced version of an exercise when you can complete all prescribed reps with:

  • Full range of motion
  • Controlled tempo (no collapsing down quickly)
  • No compensations (knee caving, torso leaning heavily to one side)
  • Energy remaining at the end of the last set

This might take 2 weeks or 6 weeks for any given exercise. Progress at the rate your body allows, not at a preset calendar schedule.