Bodyweight Leg and Glute Workout: 10 Exercises With Progressions

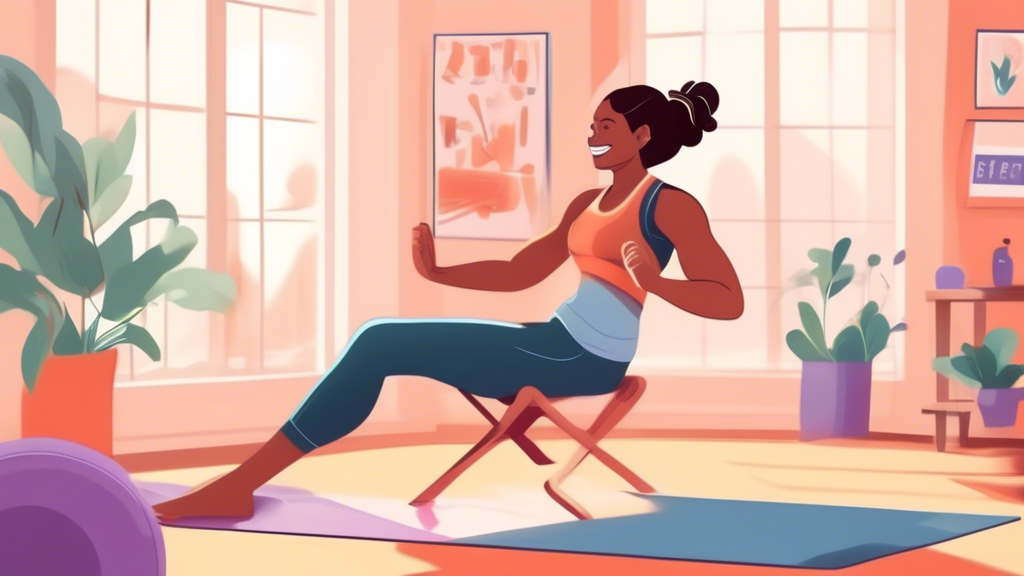
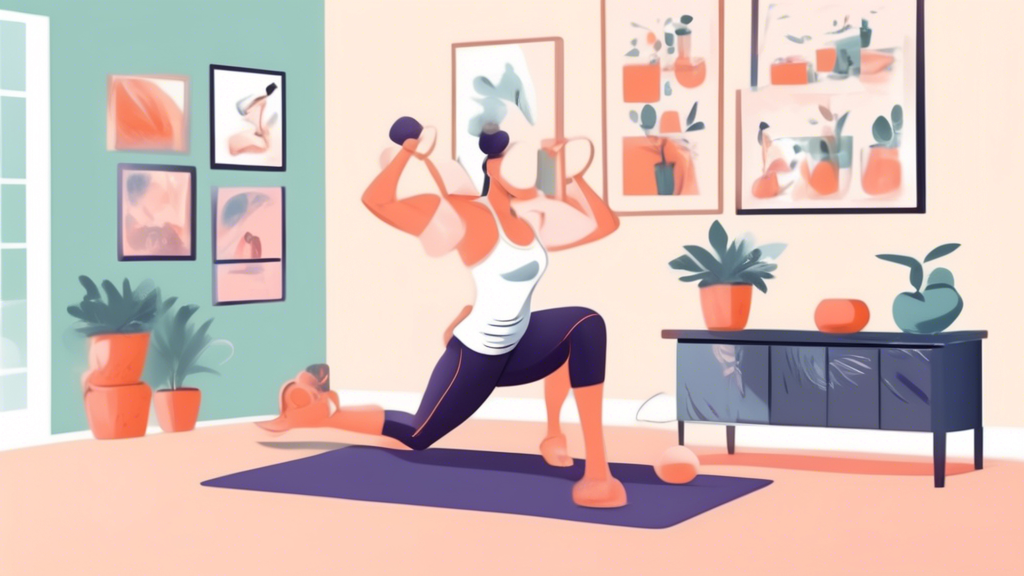
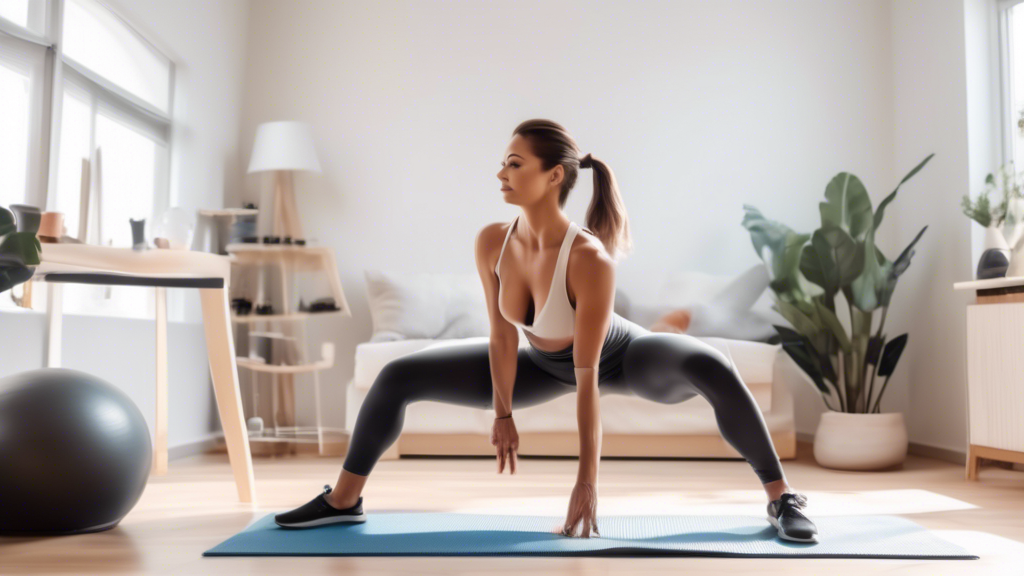
A fit individual performing a leg and glute workout in a minimalist home gym or living room. The person is doing exercises such as squats, lunges, or glute

The biggest mistake in bodyweight leg training is doing the same exercises at the same difficulty indefinitely. Your legs adapt quickly — within 4–6 weeks — and then stop responding. The solution isn’t doing more reps of the same exercises. It’s moving to harder variations.

This guide gives you 10 exercises, each with a beginner and advanced version, so you always have a harder challenge waiting when the current one gets easy.

Why Bodyweight Can Build Real Leg and Glute Strength

A pistol squat (single-leg squat to full depth) requires roughly 1.5–2× your bodyweight of force through your quad. A Bulgarian split squat creates similar loading. The limiting factor in home training isn’t the lack of a barbell — it’s the lack of a plan to make the exercises progressively harder.

Exercise 1: Squat

Beginner: Bodyweight squat — feet shoulder-width, chest up, thighs parallel to floor at the bottom. 3 × 15.

Advanced: Pistol squat — single-leg squat to full depth, extending the non-working leg in front. Use a doorframe for balance until you have the strength to go unsupported. 3 × 5 per leg.

Bridge variation: Pause squat (3-sec hold at bottom) when the basic squat is easy but the pistol isn’t yet accessible. 3 × 10.

Exercise 2: Lunge

Beginner: Reverse lunge — step back to reduce knee stress on the front leg. 3 × 10 per leg.

Advanced: Bulgarian split squat — rear foot elevated on a chair, deep range of motion. 3 × 8 per leg. This is the most effective single-leg exercise in bodyweight training.

Bridge variation: Walking lunge across a room and back. 3 sets.

Exercise 3: Hip Hinge

Beginner: Glute bridge — on your back, drive hips up, 2-second hold. 3 × 15.

Advanced: Nordic hamstring curl — feet hooked under sofa, kneel upright, lower body slowly using hamstrings only, catch with hands. 3 × 5 negatives. No other bodyweight exercise builds hamstring strength comparably.

Bridge variation: Single-leg Romanian deadlift with bodyweight. 3 × 8 per leg.

Exercise 4: Hip Thrust

Beginner: Single-leg glute bridge on the floor. 3 × 12 per leg.

Advanced: Hip thrust with shoulders on a couch — longer range of motion, heavier loading. Add a resistance band across your hips for extra resistance. 3 × 12.

Exercise 5: Step-Up

Beginner: Step-up on a low, sturdy surface (bottom stair, thick book stack). Step with one foot, bring the other up, step back down. 3 × 10 per leg.

Advanced: Elevated step-up (higher surface, like a chair) — a greater range of hip and knee flexion creates far more demand on the quads and glutes. 3 × 8 per leg.

Exercise 6: Lateral Lunge

Beginner: Lateral lunge — step to one side, sit into that leg while the other stays straight. 3 × 8 per leg.

Advanced: Cossack squat — a deeper, more flexible lateral lunge with the heel of the straight leg raised. 3 × 6 per leg. Trains the inner thigh and hip mobility simultaneously.

Exercise 7: Fire Hydrant

Beginner: On all fours, lift one knee out to the side (like a dog at a fire hydrant). 3 × 15 per side.

Advanced: Fire hydrant with leg extension — after lifting the knee out, extend the leg fully behind you. 3 × 12 per side. Adds glute medius and minimus activation to the movement.

Exercise 8: Calf Raise

Beginner: Two-leg standing calf raise — rise onto toes, hold 1 second, lower fully. 3 × 20.

Advanced: Single-leg calf raise — one leg at a time, full range of motion. Add tempo (3 seconds up, 3 seconds down) for extra difficulty. 3 × 15 per leg.

Exercise 9: Glute Kickback

Beginner: On all fours, kick one leg back and up, squeezing the glute at the top. 3 × 15 per leg.

Advanced: Donkey kick with a resistance band around your ankles for added resistance. 3 × 12 per leg.

Exercise 10: Explosive Jump Squat

Beginner: Squat jump — squat down and explode upward into a jump, landing softly with knees bent. 3 × 8.

Advanced: Broad jump — jump forward as far as possible, landing in a controlled squat. 3 × 5. Develops lower body power and fast-twitch muscle fiber recruitment.

Sample Weekly Schedule

You can train legs and glutes 3 times per week. Alternate between these two sessions:

Session A: Squat + Lunge + Hip thrust + Calf raise + Explosive jump

Session B: Hip hinge + Step-up + Lateral lunge + Fire hydrant + Glute kickback

Example week: Session A Monday, Session B Wednesday, Session A Friday. Next week, flip: Session B Monday, Session A Wednesday, Session B Friday.

When to Progress

Move to the advanced version of an exercise when you can complete all prescribed reps with:

  • Full range of motion
  • Controlled tempo (no collapsing down quickly)
  • No compensations (knee caving, torso leaning heavily to one side)
  • Energy remaining at the end of the last set

This might take 2 weeks or 6 weeks for any given exercise. Progress at the rate your body allows, not at a preset calendar schedule.
Dumbbell Leg and Glute Workout: 3 Programs for Beginner, Intermediate, and Advanced

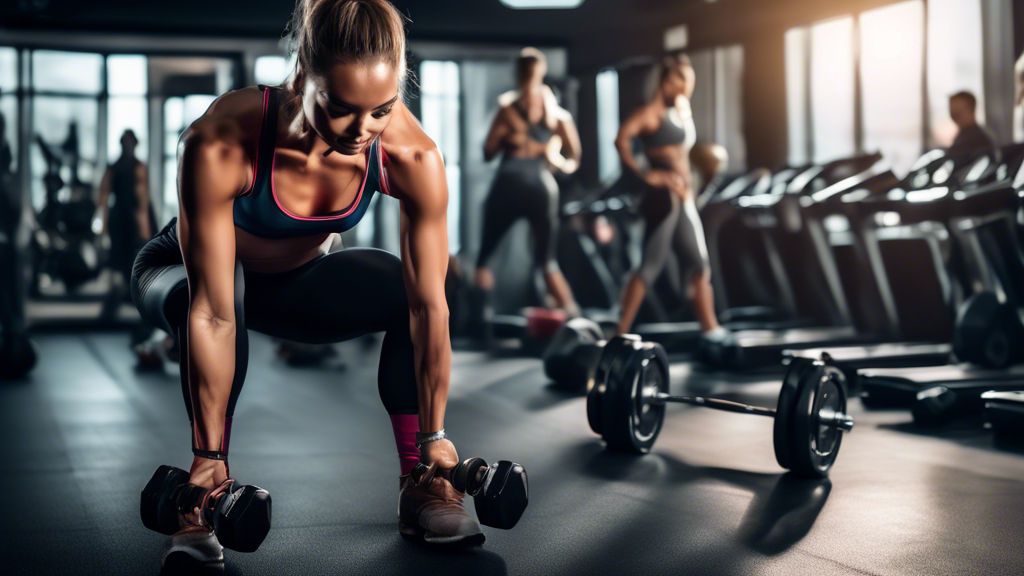
A dynamic gym setting where a fit individual, dressed in workout attire, is performing leg and glute exercises using dumbbells. The person is shown doing l

Dumbbells change home leg training significantly. They let you apply progressive overload — gradually increasing the load — which is the primary driver of muscle growth and strength development. This guide gives you three complete dumbbell programs for different experience levels, with specific exercises, sets, reps, and progression guidelines.

What Dumbbells Add That Bodyweight Can’t

With bodyweight training alone, you’re limited in how much load you can apply to your legs — eventually the exercises become too easy before they’re heavy enough to drive significant muscle growth. Dumbbells solve this. A 30-lb dumbbell goblet squat is a different training stimulus than a bodyweight squat, and you can keep increasing the weight as you get stronger.

You don’t need a full rack. A single pair of adjustable dumbbells (or two fixed pairs in different weights) is enough for all three programs below.

Program 1: Beginner — 3 Days Per Week

For people new to strength training or new to dumbbell work. The goal is learning the movement patterns before adding significant weight.

Recommended starting weight: Light enough that the last 2 reps of each set are challenging but completable with good form. For most beginners, this is 10–20 lbs per dumbbell for lower body exercises.

Full-body session (Monday, Wednesday, Friday):

  • Goblet squat (hold one dumbbell at chest) — 3 × 12 (rest 90 sec)
  • Romanian deadlift (RDL) with dumbbells — 3 × 10 (rest 90 sec)
  • Dumbbell reverse lunge — 3 × 8 per leg (rest 90 sec)
  • Dumbbell glute bridge (dumbbells resting on hips) — 3 × 15 (rest 60 sec)
  • Single-leg calf raise (hold one dumbbell for balance) — 3 × 15 per leg (rest 45 sec)

How to progress: When you can complete all sets with the last 2 reps feeling easy, increase weight by 5 lbs. Do this for each exercise independently.

Program 2: Intermediate — 4 Days Per Week

For people who have been training consistently for 3–6+ months and can handle more volume and harder exercises. This program splits legs across two days for higher total volume.

Day 1 — Quad Focus (Monday):

  • Dumbbell goblet squat — 4 × 8 (heavier than beginner program) (rest 2 min)
  • Dumbbell Bulgarian split squat — 3 × 8 per leg (rest 2 min)
  • Dumbbell step-up — 3 × 10 per leg (rest 90 sec)
  • Dumbbell walking lunge — 3 × 10 per leg (rest 90 sec)

Day 2 — Upper Body (Tuesday)

Day 3 — Posterior Chain Focus (Thursday):

  • Dumbbell Romanian deadlift — 4 × 8 (rest 2 min)
  • Single-leg Romanian deadlift with dumbbell — 3 × 8 per leg (rest 2 min)
  • Dumbbell hip thrust (shoulders on couch) — 4 × 12 (rest 90 sec)
  • Dumbbell sumo squat (wide stance, dumbbell between legs) — 3 × 10 (rest 90 sec)
  • Single-leg calf raise with dumbbell — 3 × 12 per leg (rest 60 sec)

Day 4 — Upper Body (Friday)

How to progress: Increase weight when you can complete all sets at the top of the rep range (e.g., 8 reps for an 6–8 rep exercise) with 1–2 reps left in the tank. Add 5 lbs and drop back to the lower end of the rep range.

Program 3: Advanced — 4–5 Days Per Week

For people who have been training seriously for 1+ year and need heavier loading and more complex movements.

Day 1 — Lower Body A (Monday):

  • Dumbbell Bulgarian split squat — 4 × 6 per leg (heavy, rest 2–3 min)
  • Dumbbell Romanian deadlift — 4 × 6 (heavy, rest 2–3 min)
  • Dumbbell hip thrust — 4 × 10 (rest 90 sec)
  • Nordic hamstring curl — 3 × 5 (rest 2 min)
  • Single-leg calf raise with dumbbell + slow tempo — 4 × 10 per leg (rest 60 sec)

Day 3 — Lower Body B (Wednesday or Thursday):

  • Dumbbell goblet squat with 3-sec pause at bottom — 4 × 6 (rest 2 min)
  • Dumbbell single-leg RDL — 3 × 8 per leg (rest 2 min)
  • Dumbbell lateral lunge — 3 × 8 per leg (rest 90 sec)
  • Dumbbell step-up (elevated surface) — 3 × 8 per leg (rest 90 sec)
  • Jump squat (bodyweight, for power) — 3 × 6 (rest 90 sec)

The Key Exercises Explained

Romanian Deadlift (RDL)

Stand holding dumbbells in front of your thighs. Keeping your back straight and a slight knee bend, hinge forward at the hips, lowering the weights along your legs until you feel a strong hamstring stretch. Drive your hips forward to return upright. Never round your lower back. This is the most important posterior chain exercise in any dumbbell program.

Dumbbell Bulgarian Split Squat

Rear foot elevated on a chair, hold dumbbells at your sides. Lower your rear knee toward the floor, keeping your front shin vertical. Drive through the front heel to return up. The most challenging single-leg dumbbell exercise and the most effective for quad and glute development.

Dumbbell Hip Thrust

Sit with your upper back against a couch, feet flat, place dumbbells across your hips. Drive your hips up until your body is parallel to the floor, squeeze glutes at top, lower with control. The primary exercise for glute isolation with load.

How to Know When to Increase Weight

A simple rule: if you can complete all prescribed reps on all sets and could have done 3+ more reps on the last set, the weight is too light. Add 5 lbs (or the smallest increment available) next session. If you can’t complete the prescribed reps with good form, the weight is too heavy. Drop 5 lbs.

Consistent progressive loading — adding weight over weeks and months — is the only thing that drives long-term leg and glute development. The specific exercises matter less than the consistent application of this principle.

Leg and Glute Blast: A Complete 45-Minute Home Workout

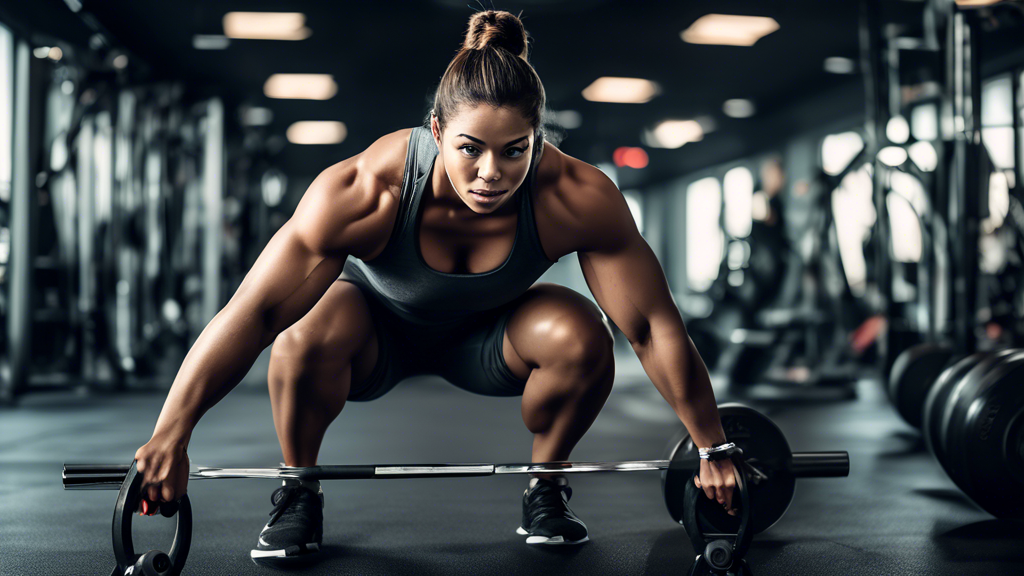
Create an image of a person in a gym setting performing various exercises that target the legs and glutes. Include activities such as squats, lunges, and d

This is a complete 45-minute leg and glute workout you can do at home. It’s structured as a genuine session — warm-up, working supersets, and cool-down — with specific rest periods so you know exactly what to do at every stage.

Equipment needed: none. Optional: resistance band, loaded backpack, sturdy chair.

The Workout at a Glance

  • Warm-up: 5 minutes
  • Main workout: 5 supersets, ~35 minutes
  • Cool-down: 5 minutes

Warm-Up (5 Minutes)

Don’t skip this. Cold muscles tear more easily, and a proper warm-up improves output in the working sets.

  • Leg swings (forward/back) — 10 reps per leg
  • Lateral leg swings — 10 reps per leg
  • Hip circles — 10 per direction
  • Bodyweight squat (slow) — 10 reps
  • Glute bridge — 15 reps
  • Lateral squat — 10 reps per side

Main Workout: 5 Supersets

A superset means completing both exercises back-to-back with no rest between them. Rest 60–90 seconds after each superset. Complete 3 rounds of each superset before moving to the next.

Superset 1: Quads + Calves

A) Bulgarian split squat — 10 reps per leg
Rear foot on a chair. 3-second controlled descent, drive through the front heel to return. If this is too hard, use a reverse lunge instead.

B) Single-leg calf raise — 15 reps per leg
Full range — heel drops as low as possible, rise fully onto toe. Hold 1 second at the top.

Rest 75 sec. 3 rounds.

Superset 2: Hamstrings + Glutes

A) Nordic hamstring curl negative — 5 reps
Feet hooked under a sofa, kneel upright, lower body slowly to floor using hamstrings only. Catch yourself with your hands. Substitute: single-leg glute bridge 15 per leg if this is too advanced.

B) Hip thrust — 12 reps
Shoulders on couch, resistance band across hips or loaded backpack. Drive hips to parallel, squeeze hard at top for 1 second.

Rest 75 sec. 3 rounds.

Superset 3: Quads + Posterior Chain

A) Pause squat — 8 reps
Hold the bottom position for 3 seconds before driving up. Removes the stretch reflex — much harder than a regular squat.

B) Single-leg Romanian deadlift (bodyweight) — 8 reps per leg
Hinge forward on one leg, other leg extends behind for counterbalance. Feel the hamstring stretch at the bottom, drive through the hip to stand.

Rest 75 sec. 3 rounds.

Superset 4: Glutes + Adductors

A) Lateral lunge — 8 reps per side
Step wide, sit into that leg while the other stays straight. Push through the working heel to return. Hits the inner thigh and glute medius simultaneously.

B) Fire hydrant with extension — 12 reps per side
On all fours, lift knee out to side, then extend the leg fully behind you before returning. Targets glute medius — the muscle that gives glutes their width.

Rest 60 sec. 3 rounds.

Superset 5: Power + Finisher

A) Jump squat — 10 reps
Explosive drive from squat bottom. Land softly with knees bent. Low-impact option: fast bodyweight squat.

B) Glute bridge hold — max time
Drive hips up, squeeze hard, hold as long as possible. Your glutes should be fully fatigued by this point.

Rest 90 sec. 3 rounds.

Cool-Down (5 Minutes)

  • Figure-four stretch (lying piriformis) — 30 sec per side
  • Supine hamstring stretch — 30 sec per leg
  • Hip flexor stretch (low lunge) — 30 sec per side
  • Child’s pose — 60 sec
  • Cat-cow — 10 reps

Modifications

Exercise Easier Harder
Bulgarian split squat Reverse lunge Add loaded backpack
Nordic curl negative Single-leg glute bridge Full Nordic curl
Hip thrust Glute bridge on floor Single-leg hip thrust + band
Pause squat Regular squat Pistol squat
Jump squat Fast bodyweight squat Broad jump

Frequency

This is high-volume — give yourself 48–72 hours before training legs again. Twice weekly (e.g., Monday and Thursday) provides enough stimulus for growth with time for full recovery. After 4 weeks, progress by increasing reps by 1–2 per set, reducing rest by 10–15 seconds, or moving to harder variations.

4-Week Toned Arms Program: Bodyweight Only, No Equipment Needed

A fit person performing various arm exercises without weights, such as push-ups, tricep dips using a chair, and arm circles, in a bright and clean home gym

“Toned” arms means two things working together: enough muscle development to create definition, and low enough body fat to make it visible. This 4-week program handles the training side — progressive bodyweight sessions that build muscle in your arms using nothing but your own bodyweight.

What to Expect

Weeks 1–2: most gains are neural — your nervous system gets better at recruiting existing muscle fibers. You’ll feel stronger without much visible change. Visible muscle changes begin around weeks 4–6 of consistent training. Don’t judge the program by 2-week results.

Week 1: Foundation

Three sessions this week. Focus entirely on form — these reps should feel manageable.

Session (repeat all 3 days):

  • Push-up — 3 × 8 (knee push-up if needed)
  • Tricep dip (feet flat, knees bent) — 3 × 10
  • Table row — 3 × 10
  • Plank shoulder tap — 3 × 10 per side
  • Arm circles — 30 sec forward, 30 sec backward

Rest 60 sec between sets.

Week 2: Volume

Add one set to every exercise. The 25% volume increase is the training stress this week.

Session (3 days):

  • Push-up — 4 × 8
  • Tricep dip — 4 × 10
  • Table row — 4 × 10
  • Pike push-up — 3 × 6
  • Plank shoulder tap — 3 × 12 per side

Rest 60 sec between sets.

Week 3: Intensity

Harder variations, fewer reps. Quality over quantity.

Session A (Monday/Friday):

  • Diamond push-up — 3 × 8
  • Tricep dip (legs straight) — 3 × 8
  • Pike push-up — 3 × 8
  • Table row (more horizontal body angle) — 3 × 10

Session B (Wednesday):

  • Wide push-up — 3 × 10
  • Towel row — 3 × 10
  • Diamond push-up — 3 × 8
  • Plank shoulder tap — 3 × 15 per side

Rest 75 sec between sets.

Week 4: Peak

Session A (Monday/Friday):

  • Archer push-up — 3 × 6 per side (one arm reaches wide while the other does the work)
  • Pike push-up — 4 × 10
  • Tricep dip + 3-second negative — 3 × 8
  • Table row + 3-second negative — 3 × 10

Session B (Wednesday):

  • Push-up — 3 × max reps
  • Table row — 3 × max reps
  • Diamond push-up — 3 × 10
  • Plank shoulder tap — 3 × 15 per side

Rest 90 sec between sets.

After Week 4

Retest your max push-ups and max table rows. Most people see 30–60% improvement in 4 weeks of consistent training. To continue: restart the program at Week 1 using harder starting variations — if week 1 used standard push-ups, start the next cycle with diamond or archer push-ups.

The Other Half: Nutrition

This program builds muscle. Whether it shows depends on body fat. Consistent protein intake (0.7–1g per pound of bodyweight daily) and a moderate calorie deficit will reveal the muscle you’re building. Training and nutrition work together — neither produces full results alone.

15-Minute No-Equipment Arm Workout: 3 Circuits for Every Fitness Level

A fit person performing various arm exercises without any equipment in a bright and clean home gym. They are doing push-ups, tricep dips on a chair, and ar

When you have 15 minutes and no equipment, you can still get a real arm workout if the circuit is structured correctly. Here are three 15-minute circuits — beginner, intermediate, and advanced — built around the best bodyweight arm exercises. Run the one that matches your level 2–3 times per week.

How These Circuits Work

Complete each exercise for the specified reps, with short rest between exercises and 60–90 seconds between rounds. Total time including rest: 12–15 minutes.

Circuit 1: Beginner

For people new to arm training or returning after a break. Every exercise has a modification.

3 rounds — rest 20 sec between exercises, 75 sec between rounds:

  • Wall push-up — 15 reps (or knee push-up if wall is too easy)
  • Chair tricep dip (feet flat, knees bent) — 10 reps
  • Arm circles — 20 sec forward, 20 sec backward
  • Plank hold — 20 seconds

Total: ~13 minutes

Circuit 2: Intermediate

For people who can do 10+ full push-ups and have been training for at least a month.

3 rounds — rest 15 sec between exercises, 60 sec between rounds:

  • Push-up — 10 reps
  • Diamond push-up — 8 reps
  • Chair tricep dip (legs straight) — 10 reps
  • Pike push-up — 8 reps
  • Plank shoulder tap — 10 per side

Total: ~14 minutes

Circuit 3: Advanced

For people who can do 15+ consecutive push-ups with good form.

3 rounds — rest 10 sec between exercises, 90 sec between rounds:

  • Archer push-up — 6 per side
  • Pike push-up — 10 reps
  • Diamond push-up — 10 reps
  • Tricep dip with 3-second negative — 8 reps
  • Close-grip push-up — max reps

Total: ~15 minutes

Exercise Technique Notes

Push-Up

Hands shoulder-width, elbows at 45° (not flared to 90°), body straight from head to heels. Lower chest to floor, press back. Elbows flared outward is the most common form error — it stresses the shoulder joint unnecessarily.

Diamond Push-Up

Hands close under your chest, thumbs and index fingers forming a diamond shape. Loads the triceps and inner chest significantly more than a standard push-up.

Tricep Dip

Hands on a sturdy chair, feet extended. Lower hips until elbows reach 90°, press back. Back stays close to the chair — elbows point backward, not sideways.

Pike Push-Up

Walk feet toward hands until hips are raised and body forms an inverted V. Lower the top of your head toward the floor. This is the bodyweight equivalent of an overhead press — primarily targets shoulders, not chest.

Archer Push-Up

Wide push-up position. As you lower, shift weight toward one arm while the other straightens out to the side. Push back up through the bent arm. One arm does most of the work. Don’t attempt until standard push-ups feel easy.

When to Progress to the Next Circuit

  • Circuit 1 → Circuit 2: when you can complete 3 rounds without stopping
  • Circuit 2 → Circuit 3: when you can hit the top rep count on every exercise
  • Beyond Circuit 3: eliminate rest between exercises, or add a 4th round

Your arms adapt in 4–6 weeks — after that, the same circuit stops producing meaningful results. Move up as soon as the current circuit consistently feels manageable.

Best No-Weight Arm Exercises: An Honest Ranking of What Actually Works

A fit individual in a park performing various arm exercises without weights, such as push-ups, tricep dips on a bench, and arm circles, with motivational q

Not all no-weight arm exercises are equal. Some produce real strength and muscle development. Others are filler that YouTube thumbnails include for visual variety. Here’s an honest ranking of the best no-weight arm exercises — what works, what’s limited, and what’s mostly a waste of time.

Tier 1: Genuinely Effective (Do These First)

Diamond Push-Up

What it trains: Triceps primarily, chest secondarily.
Why it ranks highly: The hand position shifts significant load to the triceps — more so than any other push-up variation. Triceps make up about 2/3 of upper arm size, so targeting them effectively matters.
How to do it: Hands close together, thumbs and index fingers forming a diamond shape, elbows track back (not flaring wide). 3 × 8–15.

Doorway Row

What it trains: Biceps and upper back.
Why it ranks highly: It’s the only true pulling movement you can do with zero equipment (just a door frame). Pulling = bicep work. Nothing else on this list provides meaningful bicep load without equipment.
How to do it: Grip the door frame at chest height, walk feet forward until body is angled back, pull chest toward the frame. 3 × 10–15.

Tricep Dip (Chair)

What it trains: Triceps.
Why it ranks highly: Loads the tricep through a larger range of motion than push-up variations. The overhead extension component (at the bottom of the dip) provides a stretch load that’s particularly effective for tricep development.
How to do it: Hands on a sturdy chair seat behind you, feet extended forward, lower by bending elbows to ~90°. 3 × 8–12.

Tier 2: Useful When Combined With Tier 1

Standard Push-Up

A solid compound exercise. Trains triceps (and chest and shoulders), but less tricep-specific than diamond push-ups. Include it for volume, not as a primary arm movement.

Pike Push-Up

Trains anterior shoulder with tricep assistance. Good for shoulder development, which affects total arm appearance. Not primarily an arm exercise but worth including.

Table Row

Lie under a table, grip the edge, pull chest up. Similar stimulus to a doorway row. Good when a door frame isn’t available. 3 × 8–12.

Tier 3: Limited Value (Often Listed, Rarely Effective)

Arm Circles

A shoulder mobility drill. Does not build arm strength or muscle. Include in warm-ups, not workouts.

Isometric Bicep Curl Against a Table

Pressing up against a table provides isometric bicep work. Builds some strength and keeps the nerve pathways firing, but limited for hypertrophy. Use only when you have truly zero equipment and no door frame.

“Plank to Push-Up” as an Arm Exercise

This is a good core and shoulder exercise. It’s not primarily an arm movement — listing it as a top arm exercise is misleading. Include it for what it is: a dynamic core stability exercise.

A Complete No-Weight Arm Session

Time: ~20 minutes. Frequency: 2× per week.

  • Diamond Push-Up: 3 × 10
  • Doorway Row: 3 × 12
  • Tricep Dip (chair): 3 × 8–10
  • Standard Push-Up: 2 × 12 (volume filler)
  • Table Row: 3 × 10

When to Add Equipment

A resistance band ($15–20) for curls, or a pull-up bar ($25–30) for chin-ups, will meaningfully expand your options. Once you’ve built a foundation with these bodyweight exercises, equipment adds the pulling resistance needed for real bicep growth. The ceiling for bicep development with zero equipment is lower than most articles will tell you.