Core-Strengthening Pilates: A 3-Level Program From Beginner to Advanced

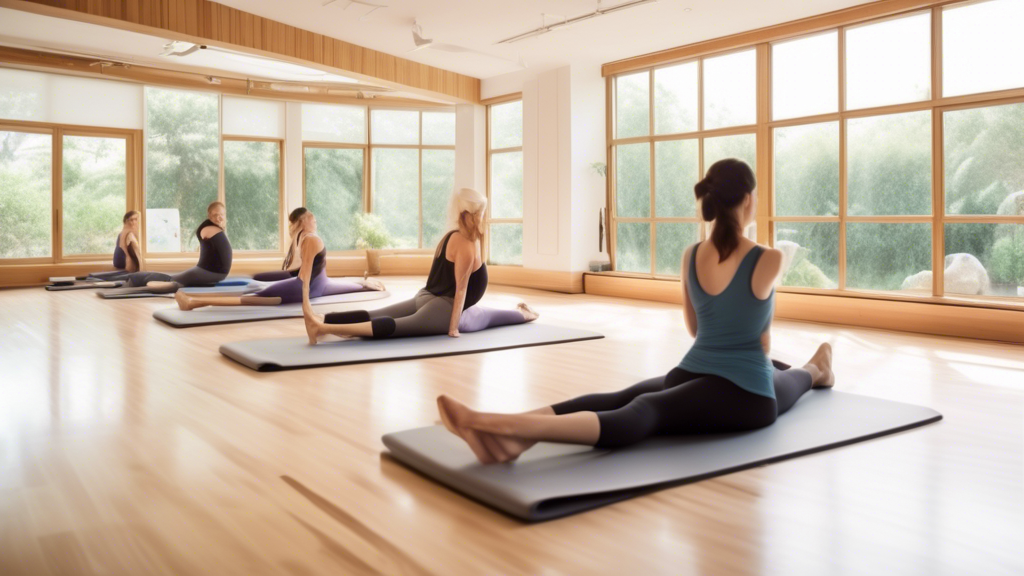
A serene Pilates studio with a large window letting in natural light, showcasing a clear view of a peaceful garden. In the foreground, a fitness instructor

This is a progressive Pilates program structured across three levels. Beginner exercises build the foundation: teaching deep core muscles to activate and the spine to move with control. Intermediate exercises add limb movement and coordination demands. Advanced exercises increase the load, instability, and range of motion requirements.

Plan 4 to 8 weeks at each level before advancing, depending on consistency and baseline. Move to the next level when the current one feels controlled and you’re no longer finding it challenging in the final round.

Two Things to Learn Before Starting

Neutral spine: Your lower back has a natural curve. In Pilates, “neutral” means maintaining that curve — not pressing the lower back flat into the mat, not exaggerating the arch. Most exercises begin and end in neutral spine. Learning this position prevents injury and ensures the right muscles are working.

Core engagement before movement: Before each repetition, exhale and gently draw your lower belly in and up — about 30% effort. This activates the transverse abdominis before the movement begins. It’s a gentle draw, not a hard vacuum or a sucked-in breath hold.

Level 1 — Beginner (Weeks 1 to 4)

3 times per week. Complete 2 to 3 rounds of each exercise before moving to the next.

Pelvic tilt — 10 reps
Lie on your back, knees bent. Exhale and gently press your lower back into the mat. Inhale and release to neutral. Small, deliberate movement — not a big rotation of the hips.

Dead bug (arms only) — 10 reps per side
Lie on your back, arms toward ceiling, knees at 90 degrees above hips. Lower one arm slowly overhead while keeping the back pressed into the mat. Return and switch. No leg movement yet.

Heel slide — 10 reps per side
Lie on back, knees bent. Exhale and slide one heel along the floor, straightening that leg. Keep lower back from arching. Return and switch sides.

Glute bridge — 15 reps
Feet flat, drive hips up by pressing through your heels, squeeze glutes at top. Lower slowly. Basic but important for establishing posterior chain engagement alongside core work.

Cat-cow — 10 cycles
On all fours. Alternate between rounding the spine toward the ceiling (cat) and dropping the belly toward the floor (cow). Move segmentally — try to feel each vertebra moving.

Level 2 — Intermediate (Weeks 5 to 12)

3 times per week. 3 rounds of each exercise.

Dead bug (full) — 8 reps per side
Now with legs: extend opposite arm and leg simultaneously. Lower back stays pressed into the mat throughout. If the back arches, raise the leg higher.

The Hundred (partial) — 3 sets of 30 pumps
Legs at 45 to 60 degrees. Curl head and shoulders up. Pump arms at hip height. Inhale 5 pumps, exhale 5 pumps. Build toward full 100 over several weeks.

Single leg stretch — 10 per side
Head and shoulders curled up. One knee pulls in while the other leg extends. Alternate with a rhythmic pull. Lower back pressed down.

Bird dog — 10 per side
On all fours. Extend right arm and left leg, hold 3 seconds, return. Hips stay level — no rotation at all.

Roll-up — 8 reps
From lying flat, peel the spine off the mat one vertebra at a time. Use hands behind knees to assist if needed. Lower the same controlled way.

Side plank — 20 to 30 seconds per side
Elbow under shoulder, body straight from head to heels. Hips don’t drop.

Level 3 — Advanced (Weeks 13 and Beyond)

4 times per week. 3 to 4 rounds.

The Hundred (full) — 100 pumps
Legs at 45 degrees, breathing coordinated throughout the full 100.

Double leg stretch — 10 reps
Both knees to chest, curl up. Extend arms overhead and legs to 45 degrees simultaneously. Circle arms back to hug knees in. The transition point when extending is where the core must work hardest.

Criss-cross — 10 per side
Rotate from the ribcage. Think armpit toward opposite knee — not just elbow reaching. Extend the opposite leg at the same time.

Teaser — 5 to 8 reps
From lying flat, simultaneously roll up and lift legs to form a V-shape, balancing on your tailbone. Lower with control. Begin with bent knees and work toward straight legs as control improves.

Side plank with rotation — 8 per side
In a side plank, thread the free arm under your body and rotate. This adds rotational demand to the already-challenging lateral hold.

Plank with leg lift — 10 per side
High plank. Lift one straight leg a few inches, hold 2 seconds, lower. Hips stay completely level.

Signs You’re Ready to Advance

You can complete all exercises in the current level with good form. You’re not feeling significant neck or hip flexor fatigue — if those areas are tired, they’re compensating for weak core activation. You finish the last round without the exercises feeling challenging. All three of these together indicate it’s time to progress.
Apartment Bodyweight Workout: How to Train Without Disturbing Your Neighbors

A cozy apartment living room with a person performing various bodyweight exercises like push-ups, squats, and lunges. The apartment is well-lit with natura

Training in an apartment has one constraint that standard home workout guides don’t address: impact travels through floors. Jump squats, burpees with jumps, and jumping jacks create noise that reaches neighbors below more than most people expect. This guide gives you a full-body bodyweight workout built specifically around that constraint — effective training that doesn’t require noise management.

The Core Principles

No jumping in the main sessions. Jump-based exercises are replaced with low-impact equivalents that produce similar training effects without floor impact.

Slow eccentrics are quiet and harder. Lowering slowly — 3 to 4 seconds on the way down — increases time under tension significantly. A slow-lowering squat is harder than a standard squat and completely silent. This is the primary tool for increasing intensity without adding impact.

Floor exercises are the quietest option. Push-ups, planks, glute bridges, and other mat-based movements produce essentially no floor noise. When you need complete quiet — late at night, early morning — shift toward floor-only variations.

The Complete Apartment Workout

3 rounds, 45 seconds rest between rounds. Takes 25 to 30 minutes.

Lower Body

Slow squat (3-second lower) — 12 reps
Take 3 full seconds to lower, then stand back up at normal speed. The slow eccentric loads the quads and glutes more effectively than a standard squat. No impact, no noise.

Reverse lunge — 10 reps per side
Step backward rather than forward. More space-efficient, less forward instability. Both knees reach 90 degrees at the bottom.

Glute bridge — 15 reps
Lie on back, drive hips up through your heels. Single-leg version for more difficulty. Entirely floor-based and silent.

Wall sit — 45 seconds
Slide down a wall until thighs are parallel to the floor. Static hold. Completely quiet, high quad demand, requires no movement at all.

Single-leg calf raise — 15 reps per side
Hold a wall for balance. Lower slowly — 2 to 3 seconds down.

Upper Body

Push-up — 12 reps
Standard or with variations: wide-grip emphasizes chest, close-grip emphasizes triceps, pike push-up targets shoulders. The most versatile quiet upper body exercise.

Tricep dip — 12 reps
Use a sturdy chair. Hands on seat edge, feet extended or bent, bend elbows to lower, press up.

Pike push-up — 8 reps
Hips high in an inverted V, lower your head toward the floor between your hands, press back up. More shoulder emphasis than a standard push-up.

Table row — 10 reps
Lie under a sturdy table, grip the edge, pull your chest toward the underside. Keep your body straight. Effective back and bicep exercise using only furniture.

Core

Plank hold — 30 to 45 seconds
Forearms or hands. No impact, no sound. The best core-to-noise ratio of any exercise.

Dead bug — 8 reps per side
Lie on back. Extend opposite arm and leg while pressing your lower back into the mat. Works deep stabilizers.

Glute bridge with march — 12 reps
Hold the top of a glute bridge, lift one foot a small amount off the floor, alternate. Adds anti-rotation demand.

Low-Impact Cardio for Apartments

Cardiovascular work without jumping requires some creativity:

  • High knee march: Lift knees to hip height vigorously. Controlled and quiet but genuinely elevates heart rate with sustained effort.
  • Shadow boxing: Jab, cross, hook, uppercut combinations. Gets heart rate up with zero floor impact. Add movement and pivoting for more intensity.
  • Step-ups: Step up onto a bottom stair or a low, sturdy box. Alternate legs for 60 seconds. Step rather than jump for low noise.
  • Squat-to-stand circuit: String slow squats, standing oblique crunches, and hip hinges together continuously for 20 minutes. More cardio effect than it sounds.

Timing Considerations

Even low-impact exercises produce some foot-strike and movement noise. Most building quiet-hours rules cover 10 PM to 7 or 8 AM. If your schedule requires late-night training, the floor exercises — planks, push-ups, glute bridges, dead bugs — produce essentially no sound and are your best options during those hours. Save the squat and lunge variations for daytime sessions.

Pilates for Menopause: How to Manage Weight and Build Strength at Home

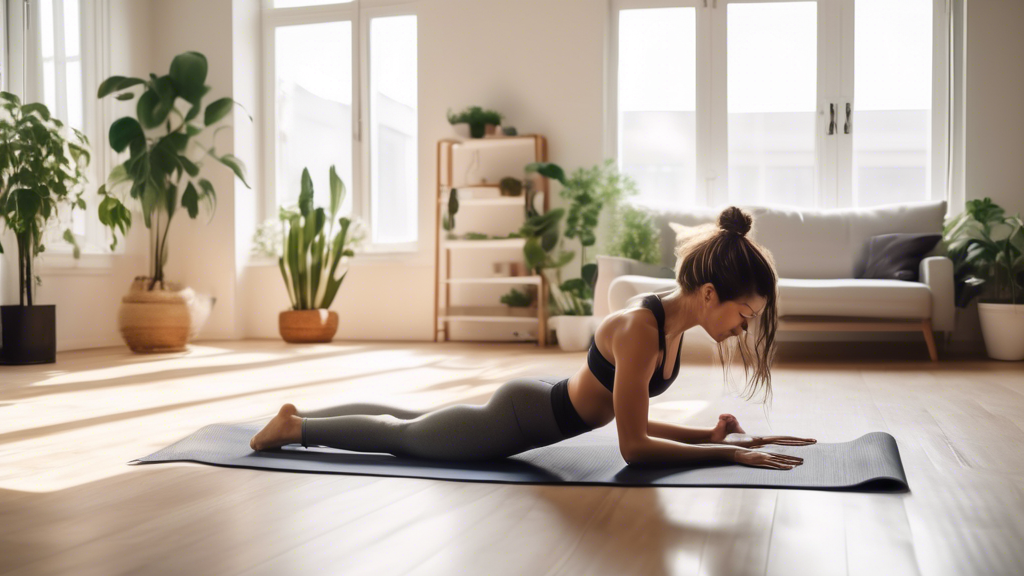
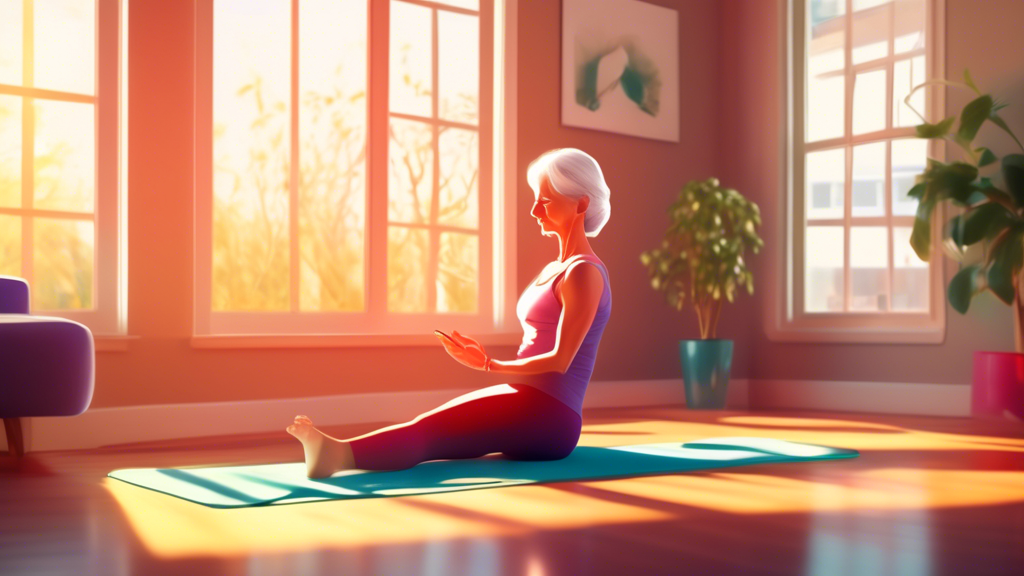
A serene woman in her 50s practicing pilates on a yoga mat at home, bathed in warm sunlight streaming through a window, her phone displaying a pilates workout app in the foreground.

Note: This article is for informational purposes only and is not medical advice. Consult your healthcare provider before starting any new exercise program, especially if you have bone density concerns, joint pain, or other health conditions associated with menopause.

Menopause brings significant physiological changes — declining estrogen shifts fat storage toward the abdomen, muscle mass decreases more rapidly, bone density drops, and sleep disruption affects recovery. Exercise is one of the most effective tools for managing all of these changes, and Pilates is particularly well-suited: it builds core strength and muscle density with low joint impact, improves posture, reduces stress, and supports the hormonal balance that influences weight management.

How Menopause Changes the Body (and How Pilates Responds)

Estrogen plays a key role in maintaining muscle mass, bone density, and metabolic rate. As estrogen declines, the body burns fewer calories at rest and loses muscle more quickly — a combination that drives weight gain many women experience during perimenopause and menopause even without changes in eating habits.

Pilates addresses this directly by:

  • Building muscle through resistance: Pilates movements use bodyweight and controlled resistance to build lean mass, which raises your resting metabolic rate.
  • Targeting the core and pelvic floor: These areas weaken significantly with declining estrogen. Pilates is uniquely focused on both.
  • Reducing cortisol: The controlled breathing and focused movement of Pilates reduces stress hormones that otherwise promote abdominal fat storage.
  • Improving bone density: Weight-bearing Pilates exercises stimulate bone remodeling, helping to slow the osteoporosis risk that accelerates post-menopause.

What You Need for Home Pilates

A mat is the primary requirement. A yoga mat or folded blanket works. Optional additions that significantly expand exercise variety: a Pilates ring (magic circle, approximately $20 to $30), a small resistance band, and a firm pillow for prop support. None are essential to start.

Core Pilates Principles to Know First

  • Neutral spine: The natural curve of the lower back should be maintained in most exercises — not flattened completely, not exaggerated. This protects the lumbar spine and properly recruits the deep core.
  • Engagement before movement: Before each exercise, gently draw your lower belly toward your spine — about 30% effort, not a full vacuum. This activates the transverse abdominis, the deep stabilizing layer that Pilates targets.
  • Breathing: Inhale to prepare, exhale on exertion. This coordinates breath with movement and prevents the tendency to hold breath under effort.
  • Control over speed: Slow, controlled movements with intentional muscle engagement outperform fast, momentum-driven reps in Pilates every time.

Key Exercises for Menopause

Pelvic Floor Activation

Lie on your back with knees bent. Gently contract the pelvic floor — think “lift and squeeze inward” rather than bearing down. Hold for 5 seconds, release for 5 seconds. Ten repetitions. This is foundational for bladder control and core stability, both commonly affected during menopause.

The Hundred

Lie on your back, legs lifted to tabletop (knees bent at 90 degrees) or extended at 45 degrees. Curl your head and shoulders up, arms extended at hip height. Pump arms up and down — 5 counts inhaling, 5 counts exhaling. Complete 10 full breath cycles. This challenges the deep core and improves circulation. Modify by keeping feet on the floor if neck strain occurs.

Single-Leg Stretch

From the same starting position, draw one knee to your chest while extending the other leg. Switch legs with controlled breathing — exhale as you pull the knee in. Ten repetitions per side. Works the obliques and hip flexors while requiring constant core stability.

Bridge with Progression

Lie on your back, knees bent, feet hip-width apart. Exhale and press through your heels to lift your hips to a straight diagonal from knees to shoulders. Hold 3 seconds, lower slowly. Ten repetitions. Progress by adding a hold at the top with a pelvic floor contraction. This strengthens the glutes, hamstrings, and lower back — the posterior chain that weakens with sitting and aging.

Side-Lying Leg Lifts

Lie on your side with your body in a straight line, lower arm extended under your head. Lift the top leg to about 45 degrees and lower slowly — don’t let it drop. Ten to fifteen repetitions, then repeat on the other side. Targets the abductors and outer glutes, which are critical for hip stability and fall prevention.

Swan Prep (Spinal Extension)

Lie face down, hands under your shoulders. Exhale and press partially up — lifting only your head, neck, and upper chest while elbows remain bent and forearms stay on the mat. Hold 2 seconds, lower. Ten repetitions. This counters the forward-rounding posture that worsens with age and strengthens the muscles along the spine.

A Complete 30-Minute Home Pilates Session

  1. Pelvic floor activation: 3 sets x 10 reps
  2. The Hundred: 1 set x 100 pumps (or build to this)
  3. Single-Leg Stretch: 10 per side
  4. Bridge: 3 sets x 12 reps
  5. Side-Lying Leg Lifts: 15 per side
  6. Swan Prep: 10 reps
  7. Child’s Pose: 1 minute
  8. Seated spinal twist: 1 minute per side

How Often to Practice

Three Pilates sessions per week is the minimum effective dose for noticeable change. On non-Pilates days, walking — 30 minutes at a brisk pace — complements the strength work and adds cardiovascular benefit that Pilates alone doesn’t provide. For bone density specifically, weight-bearing activity every day is ideal. Walking and standing Pilates movements both qualify.

Pilates and Weight Management During Menopause

Pilates alone is not a weight loss tool — it builds muscle and improves body composition, but the calorie burn per session is modest compared to aerobic exercise. The weight management benefit comes from the combination of increased lean mass (which raises resting metabolism), reduced cortisol (which reduces stress-driven fat storage), and improved sleep quality (which regulates hunger hormones ghrelin and leptin).

Pair Pilates with adequate protein intake (0.7 to 1 gram per pound of bodyweight), moderate calorie awareness, and daily walking for the most effective approach to weight during menopause. Pilates is the structural foundation; the other elements build on it.

Managing Common Menopause Symptoms Through Practice

  • Hot flashes: Exercise reduces frequency and severity in many women, though exertion can trigger them during sessions. Practice in a cool room, dress in moisture-wicking layers, and have water available.
  • Sleep disruption: Evening Pilates, finishing at least 2 hours before bed, improves sleep quality for most women by reducing stress hormones and physical tension. Morning sessions also work well — choose whichever you’ll maintain consistently.
  • Joint pain: The low-impact nature of Pilates makes it appropriate when joints are sensitive. Avoid movements that produce pain — modify rather than push through.
  • Mood changes: Exercise is a clinically supported intervention for menopause-related mood changes. The focused, mindful nature of Pilates provides additional benefit beyond the endorphin release of higher-intensity exercise.

Chair Exercises: A Complete Seated Workout Routine for Every Fitness Level

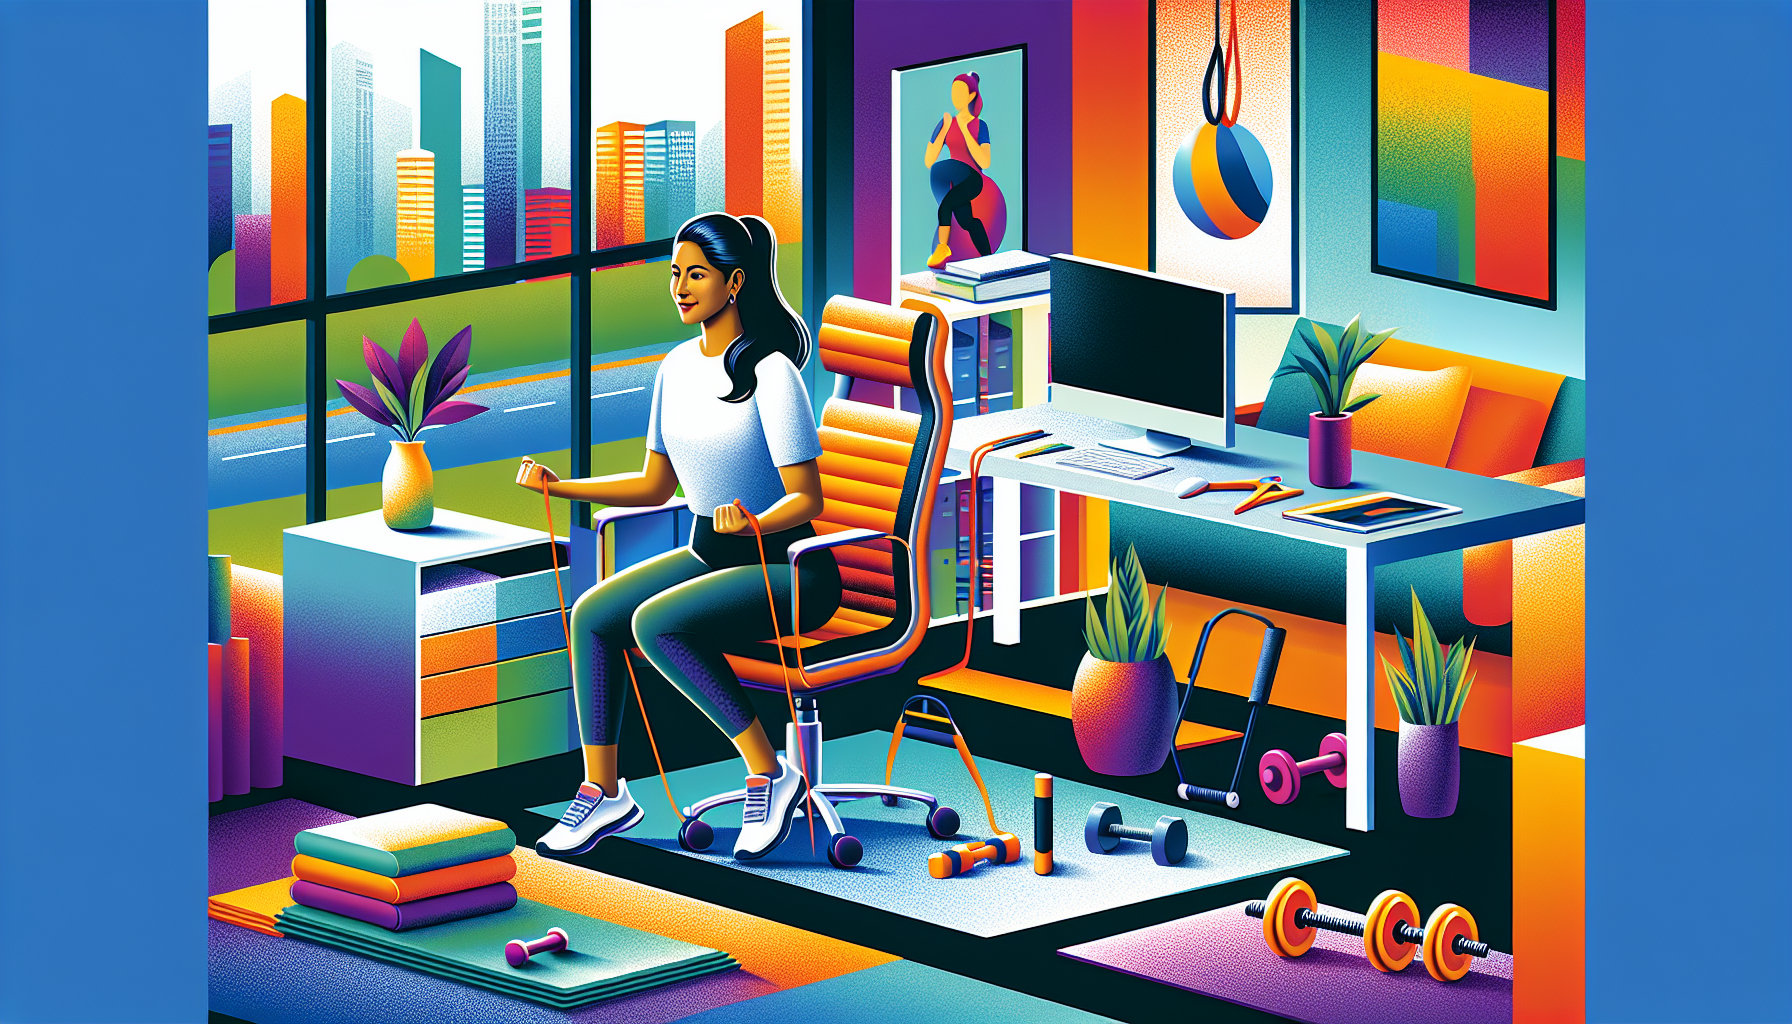
A person doing a fitness workout sitting on a chair in an office setting with exercise equipment around them.

Chair exercises let you train your upper body, lower body, and core while staying seated. They’re appropriate for people with limited mobility, balance concerns, or joint pain — and for anyone who spends long hours sitting and wants to counteract the effects. You don’t need a special chair: any stable, armless chair with four legs works.

If you have a specific medical condition, check with your doctor or physical therapist before starting, particularly if you have recent joint surgery, a heart condition, or severe osteoporosis.

What Chair Exercises Can and Can’t Do

Chair exercises can build meaningful upper body and leg strength, improve circulation, maintain range of motion, and support cardiovascular health when done at sufficient intensity and frequency. They won’t build the same muscle mass as standing or free-weight training, but for people who need a seated option, they produce real fitness gains. Consistency matters more than intensity at the outset.

The Complete Chair Workout

3 rounds of the full circuit, resting 60 seconds between rounds. Total time: 25 to 30 minutes.

Warm-Up (5 Minutes)

  • Seated march — 60 seconds. Lift knees alternately, as high as comfortable. Swing arms.
  • Neck rolls — 5 slow circles each direction. Stop if you feel pain.
  • Shoulder rolls — 10 forward, 10 backward.
  • Ankle circles — 10 each direction per ankle. Improves circulation in the lower legs.

Upper Body

Seated push-up — 12 reps.
Hands on the armrests or seat edge. Press your body up slightly, hold 2 seconds, lower. Targets triceps and shoulders. If your chair has no armrests, place hands on knees and press down as you straighten your elbows.

Overhead press — 12 reps.
Hold light weights (canned goods, water bottles) at shoulder height. Press overhead until arms are straight, lower. Targets shoulders and upper arms.

Bicep curl — 12 reps.
Hold weights at your sides, palms forward. Curl toward your shoulders, lower slowly.

Seated row — 12 reps.
Hold a resistance band (or a towel looped around a door handle at seat height). Pull your elbows back behind you, squeezing your shoulder blades. Targets upper back and biceps.

Lower Body

Seated leg extension — 15 reps per leg.
Sit tall. Straighten one leg fully, hold 2 seconds, lower. Targets quadriceps. Add an ankle weight for more difficulty.

Chair squat (sit-to-stand) — 12 reps.
Scoot forward to the edge of the seat. Cross arms over chest. Stand up using leg power — no pushing off the armrests. Sit back slowly and under control. This is one of the most functional exercises for seniors — it directly trains the movement required to get up from any seated surface.

Seated hip abduction — 15 reps per side.
Sit with feet flat. Lift one knee out to the side, return. Targets outer glutes and hip muscles essential for walking stability.

Calf raise (seated) — 20 reps.
Feet flat on floor. Raise heels as high as possible, lower slowly. Important for circulation and lower leg strength.

Core

Seated trunk rotation — 10 reps per side.
Cross arms over chest. Rotate your upper body to the right as far as comfortable, return to center, rotate left. Keep hips facing forward throughout.

Seated knee-to-chest — 10 reps per side.
Hold the sides of the seat for support. Bring one knee toward your chest, hold 2 seconds, lower. Works hip flexors and lower abs.

Seated side bend — 10 reps per side.
Reach one arm overhead, bend to the opposite side, return. Targets obliques and lateral trunk muscles.

Cool-Down (5 Minutes)

  • Seated hamstring stretch: extend one leg, hinge forward at the hip. 30 seconds per side.
  • Seated chest opener: clasp hands behind your back, gently draw shoulders back. 30 seconds.
  • Seated neck stretch: tilt head toward one shoulder, hold 20 seconds. Switch sides.

How Often to Do This Workout

3 times per week with at least one rest day between sessions. As strength improves over 4 to 6 weeks, increase resistance (heavier canned goods, thicker resistance band) rather than adding more exercises. Progression through resistance drives continued improvement.

Making It Harder Over Time

Once 3 rounds feel manageable: add a 4th round; slow the lowering phase of each exercise to 3 seconds; add resistance via canned goods, water bottles, or resistance bands; reduce rest between rounds to 45 seconds. These adjustments extend progress without requiring new exercises.

Restorative Yoga at Home: A Complete Sequence With Props You Already Own

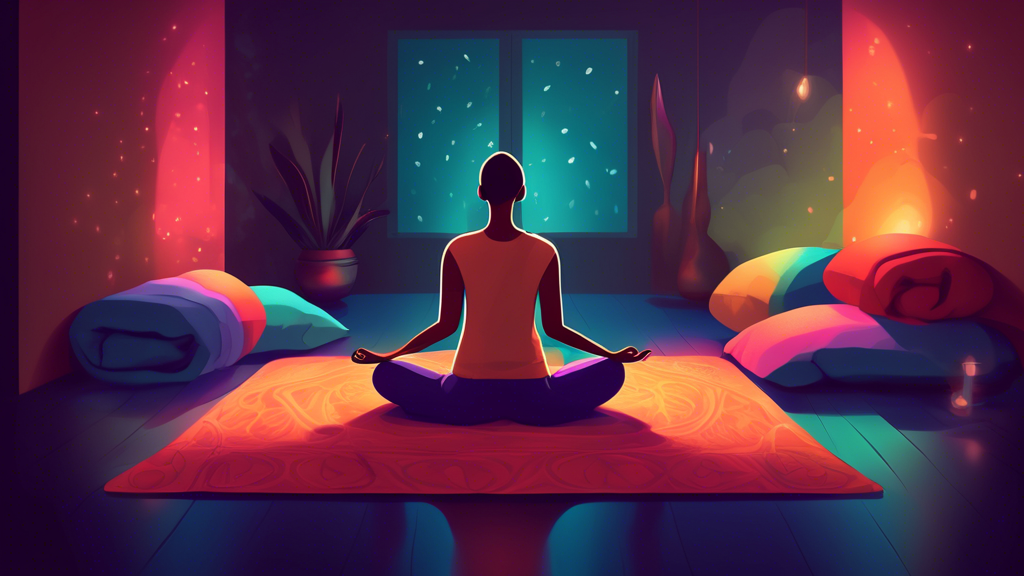
A person in a dimly lit room with soft lighting, peacefully holding a restorative yoga pose with blankets and bolsters for support, emanating tranquility and relaxation.

Restorative yoga uses supported, passive poses held for 5 to 20 minutes to activate the parasympathetic nervous system — the “rest and digest” state that counterbalances the stress response. Unlike active yoga, there’s no strength building or flexibility challenge. The goal is complete muscular release, which the body achieves when fully supported and given enough time.

You don’t need yoga blocks or bolsters. This sequence uses items found in most homes: folded blankets, firm bed pillows, and a rolled towel.

What Restorative Yoga Does (and Doesn’t Do)

Research supports its effect on lowering cortisol and blood pressure, reducing anxiety symptoms, and improving sleep quality when practiced regularly. It doesn’t build strength or significant flexibility — those require active practice. Restorative yoga is recovery, not training. It works best as a standalone practice 2 to 3 times per week, or as a wind-down after more active sessions.

Props You’ll Need

  • 2 to 3 firm bed pillows or a tightly rolled blanket (substitute for a bolster)
  • 2 to 3 folded blankets or beach towels (substitute for yoga blocks)
  • 1 rolled hand towel (for neck support)
  • An eye pillow or small folded cloth (optional, for savasana)

The Sequence (60 Minutes)

1. Supported Child’s Pose — 5 to 8 Minutes

Place a pillow or folded blankets in front of you. Kneel and spread your knees wider than your hips. Fold forward and rest your torso on the pillow, turning your head to one side (switch halfway through). Arms rest beside the pillow or extended forward, whichever is comfortable.

Effect: Releases tension in the lower back, hips, and shoulders. Promotes a sense of safety and inward focus.

Modification: If kneeling is uncomfortable, place a rolled towel behind your knees to reduce pressure on the joint.

2. Supported Reclining Butterfly — 8 to 10 Minutes

Sit with the soles of your feet together, knees dropped out to the sides. Place folded blankets under each knee for support — the inner thighs should feel no stretch, only release. Lie back on a pillow supporting your spine from the lower back to your head. Arms rest out to the sides, palms up.

Effect: Opens the hips and chest passively. The supported position allows the hip flexors and adductors to fully release — something active stretching rarely achieves.

Modification: If the lower back feels strained, bring feet further from your body (widening the diamond shape).

3. Supported Twist — 5 Minutes Per Side

Sit on the floor with legs extended. Bend your right knee and cross it over your left leg, foot flat. Place a pillow lengthwise along your left side. Twist to the right and fold forward onto the pillow, resting your cheek and forearms on it. Complete 5 minutes, then switch sides.

Effect: Gentle spinal rotation decompresses the vertebrae and releases tension in the muscles alongside the spine. One of the most effective poses for people who sit at a desk for long periods.

4. Legs Up the Wall — 8 to 10 Minutes

Sit sideways against a wall. Swing your legs up as you lie back, so your legs rest against the wall. Hips can be a few inches from the wall — you don’t need to be perfectly flush. Place a folded blanket under your hips if this feels uncomfortable. Arms rest out to the sides.

Effect: Reverses venous pooling in the legs, reduces swelling in feet and ankles, and calms the nervous system. Many practitioners report this as the most immediately effective pose for lowering stress.

Skip if: You have glaucoma, uncontrolled high blood pressure, or are in late pregnancy.

5. Supported Savasana — 10 to 15 Minutes

Lie flat on your back. Place a pillow under your knees to protect the lower back. Place a rolled towel under your neck if it feels strained. Cover yourself with a light blanket if you tend to cool down quickly. Place the eye covering over your eyes. Set a gentle timer so you don’t watch the clock.

Effect: Integrates the preceding poses. The nervous system continues shifting toward parasympathetic activation throughout this pose. Many people experience a light sleep state — this is normal and beneficial.

Don’t skip it: Savasana is the most important pose in a restorative sequence, not an optional add-on.

How Often to Practice

Two to three sessions per week produces measurable stress and sleep improvement within 4 to 6 weeks. Even a single 20-minute session on a high-stress day provides immediate benefit. Longer sessions (60 to 90 minutes) amplify the effect — the nervous system needs extended time in passive poses to fully downshift, which is why 5-minute versions of restorative poses produce less benefit than 10 to 15 minutes.

Tai Chi for Seniors: What the Research Shows and How to Start at Home

A serene senior citizen practicing Tai Chi in a tranquil garden with blooming cherry blossoms.

Tai chi is a slow, flowing movement practice originating in Chinese martial arts. For seniors, it’s one of the most evidence-supported exercises for fall prevention, balance improvement, and cognitive function. The movements are low-impact, can be adapted for people with limited mobility, and don’t require equipment or significant space.

Check with your doctor before starting if you have severe osteoporosis, recent joint replacement, or significant balance impairment that creates fall risk during standing practice.

What the Research Actually Shows

The evidence for tai chi in older adults is stronger than for most complementary practices:

  • Fall prevention: A 2019 systematic review of 18 studies found tai chi reduced fall rates by 20 to 45% in older adults. The CDC includes tai chi in its evidence-based fall prevention programs.
  • Balance: Regular tai chi practice improves static balance (standing still) and dynamic balance (moving) more than conventional balance exercises in most comparison studies.
  • Cognitive function: Studies show improvement in executive function, attention, and processing speed after 12 to 24 weeks of regular practice.
  • Blood pressure: Meta-analyses show moderate reductions in systolic blood pressure (approximately 7 mmHg), comparable to low-intensity aerobic exercise.
  • Joint pain: For knee osteoarthritis, tai chi reduces pain comparably to physical therapy in randomized controlled trials.

The Core Principles You Need to Understand

Slow, continuous movement: Every transition is controlled. Speed is reduced to the point where balance must be maintained throughout, not just at the start and end of each movement.

Weight shifting: Most tai chi movements involve shifting weight from one leg to the other. This constant challenge to stability is why the practice improves balance — it trains exactly the moment when falls happen (during movement, not while standing still).

Relaxed posture: Shoulders down, knees slightly bent, spine tall. Tai chi is practiced in a partial squat position that builds leg strength over time without loading the joints.

Breath coordination: Movements are coordinated with breathing — typically exhaling on the “outward” phase of a movement and inhaling as you prepare for the next.

How to Start at Home

Tai chi is best learned visually. Two practical starting options:

  1. YouTube — Dr. Paul Lam’s Tai Chi for Arthritis: A widely used beginner program designed specifically for older adults. The first four movements can be learned in a few sessions and provide real fall-prevention benefit on their own.
  2. Community classes: Many senior centers, YMCAs, and community centers offer tai chi classes at low or no cost. In-person instruction allows posture correction that videos cannot provide. Even 6 to 8 in-person sessions to learn the basics, followed by home practice, is a good approach.

The 5 Basic Movements to Learn First

From the Sun Style — one of the most accessible for beginners:

  1. Opening and closing hands: Stand with feet shoulder-width, arms at sides. Slowly raise arms to shoulder height as if floating, lower back down while opening and closing hands. Simple weight and balance practice.
  2. Step and reach forward: Step one foot forward, shift weight onto it while reaching both arms forward. Step back, shift weight back. Trains the exact weight-shifting pattern that prevents stumble falls.
  3. Cloud hands: Slowly move both hands in alternating horizontal circles at chest height while shifting weight side to side. Improves lateral balance and upper body coordination.
  4. Parting the wild horse’s mane: Step diagonally while one hand rises and the other lowers, as if separating something in front of you. Builds hip stability and single-leg balance.
  5. Wave hands like clouds: Gentler version of cloud hands. Suitable for days when you want lower-intensity practice.

How Much Practice You Need

Studies showing balance and fall prevention benefits typically used 2 to 3 sessions per week for 12 weeks or more. Fifteen to twenty minutes of daily practice produces better results than two longer sessions per week, because balance training adapts best with frequent, regular input. A reasonable starting target: 15 minutes daily, 5 days per week.

Chair-Modified Tai Chi

For seniors with significant balance concerns or lower limb weakness, many tai chi movements can be practiced seated in a chair or with one hand resting on the back of a chair. Weight-shifting between feet becomes weight-shifting in the torso. The arm and upper body movements remain identical. This is an appropriate starting point for people who aren’t confident standing practice is safe yet.